39
GB
Connecting to other devices
• If it was impossible to connect to the printer, be sure to set [USB Connect] under (Main
Settings) to [PictBridge].
3
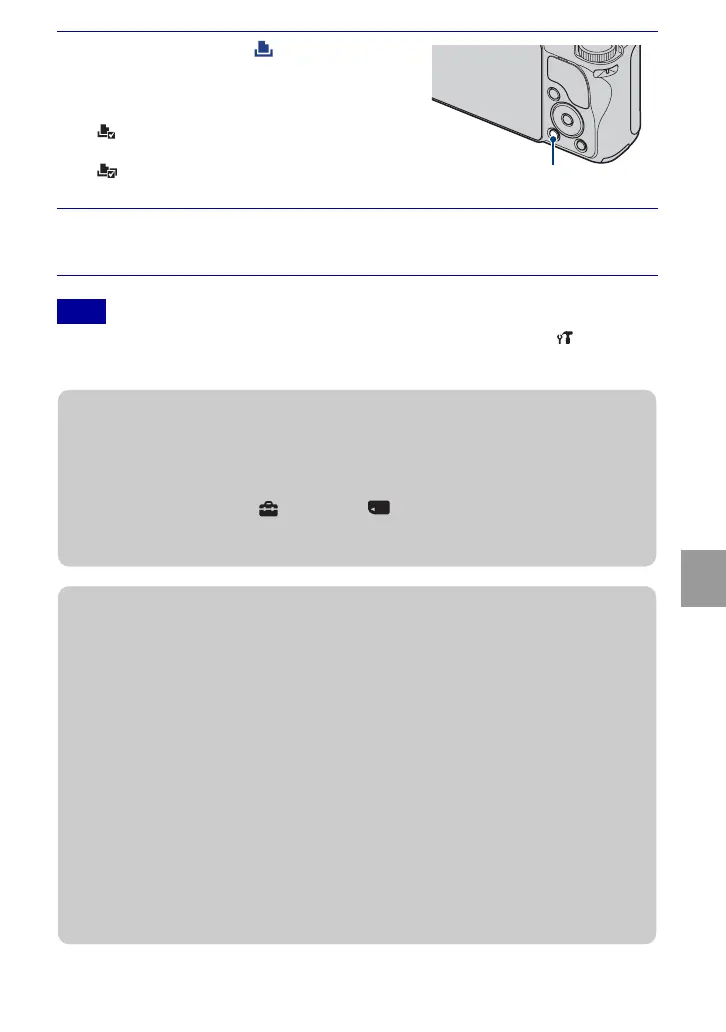
Press MENU t (Print) with v/
V/b/B on the control button t
desired mode t z.
(This Image): Print the currently
displayed image.
(Multiple Images): Press b/B to
display the image, then z.
4
Select the desired setting item, then [OK] t z.
The image is printed.
Note
MENU button
zPrinting at a shop
You cannot print images stored in the internal memory at a print shop directly from the camera.
Copy the images to a “Memory Stick Duo” media, then take the “Memory Stick Duo” media to
the print shop.
How to copy: Press MENU t (Settings) t (“Memory Stick” Tool) t [Copy] t
[OK].
For details, consult your photo printing service shop.
zSuperimposing dates on images
This camera does not include a function for superimposing a date on an image. The reason for
this is to prevent the date from being duplicated during printing.
Printing at a shop:
You can ask that images be printed with a date superimposed. For details, consult with a photo
printing service shop.
Printing at home:
Connect to a PictBridge-compliant printer, and press the MENU button, then set [Print] t
[Date] to [Date] or [Day&Time].
Superimposing dates on images using PMB:
With the supplied “PMB” software installed on a PC (page 41), you can directly superimpose the
date on an image. However, note that when images with a superimposed date are printed, the
date may be duplicated depending on print settings. For details on “PMB”, see the “PMB Guide”
(page 42).







 To Next Page