Do you have a question about the Sony Handycam NEX-VG20 and is the answer not in the manual?
Safety warning regarding fire or shock hazard and exposure to heat.
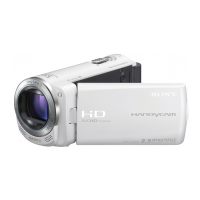
Verify all included accessories and components against the provided list.
Instructions for connecting the AC adaptor and charging the InfoLITHIUM battery pack.
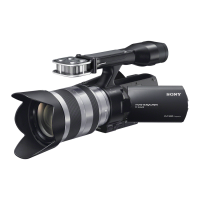
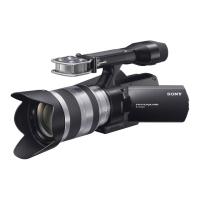
Detailed steps for mounting and dismounting E-mount lenses onto the camcorder.
Instructions on correctly inserting and securing a memory card into the camcorder's slot.
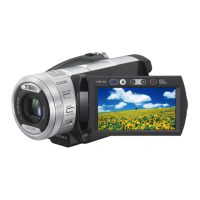
Initial steps to begin recording movies in high definition image quality (HD).
Details on starting, stopping, and notes for recording movies, including file management.
Procedure for installing the PMB (Picture Motion Browser) software before connecting the camcorder.
Steps to diagnose and resolve common issues such as power problems, device not operating, or recording errors.
Explanation of error codes (C:, E:) and warning indicators displayed on the screen for troubleshooting.
Estimated recording and playback times for different battery packs under various conditions.
Details on recording times for movies at different image quality settings and media capacities.
Estimated number of photos that can be recorded based on image size and media capacity.
Important guidelines for using and caring for the camcorder, including operating environment and handling.
Technical specifications covering signal format, recording formats, audio, and photo file types.
Technical specifications for the supplied E-mount lens, including focal length, aperture, and focus distance.
Explanation of various indicators and icons displayed on the camcorder's screen for quick reference.
Instructions for using the RESET button to initialize all camcorder settings, including the clock.
| Effective Pixels | 16.1 megapixels |
|---|---|
| Lens Mount | Sony E-mount |
| Video Resolution | 1920 x 1080 (Full HD) |
| Microphone | Built-in stereo microphone |
| Storage Media | Memory Stick PRO Duo, SD/SDHC/SDXC |
| HDMI Output | Yes (Mini HDMI) |
| Sensor Type | Exmor APS HD CMOS |
| Sensor Size | 23.5 x 15.6 mm |
| LCD Screen | 3.0" LCD (921, 600 dots) |
| Viewfinder | Electronic Viewfinder (EVF) |
| Recording Format | AVCHD |
| Focus System | Contrast-detection AF |
| ISO Sensitivity | 100-16000 |
| Audio Recording | Dolby Digital 2ch |
| Microphone Input | Yes (3.5mm mini jack) |
| Audio Input | 3.5 mm stereo mini-jack |
| Headphone Jack | Yes (3.5mm mini jack) |
| USB | USB 2.0 |
| Battery | NP-FV70 lithium-ion |