EasyManuals Logo

Sony HDCU3500 Service Manual

Sony HDCU3500
144 pages
To Next Page IconTo Next Page
To Previous Page IconTo Previous Page
Page #77 background imageLoading...
Page #77 background image
2-15-7. CN-4057 Board
Procedure
1. Remove the two screws (PSW3 x 8), and then remove the CN-4057 board subassembly.
2. Disconnect the flexible flat cable from the connector (CN001) on the CN-4057 board.
3. Remove the two hexagon screws, and then remove the CN-4057 board.
PSW
3 x 8
Locking compound 1401B
(1/2 size of a grain of rice)
Locking compound
application area
CN-4057 board subassembly
Hexagonal screws
D-sub panel
CN-4057 board
Flexible flat cable
CN001
Note
When attaching the hexagon screws, apply locking compound as shown in the figure.
4. Install the removed parts by reversing the steps of removal.
HDCU3500/HDCU5500
2-43

Table of Contents

Other manuals for Sony HDCU3500

Questions and Answers:

Question and Answer IconNeed help?

Do you have a question about the Sony HDCU3500 and is the answer not in the manual?
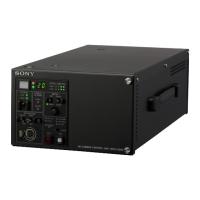
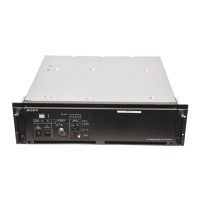
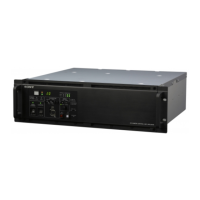
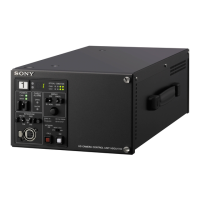
Sony HDCU3500 Specifications

General IconGeneral
TypeCamera Control Unit
Video Input12G-SDI, 3G-SDI, HD-SDI
Video Output12G-SDI, 3G-SDI, HD-SDI
Rack MountableYes
Control InterfaceRS-422
Power RequirementsAC 100 V to 240 V, 50/60 Hz
Operating Temperature0°C to 40°C
Storage Temperature-20°C to 60°C

Related product manuals