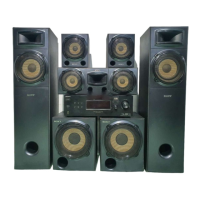
HT-GT1
9
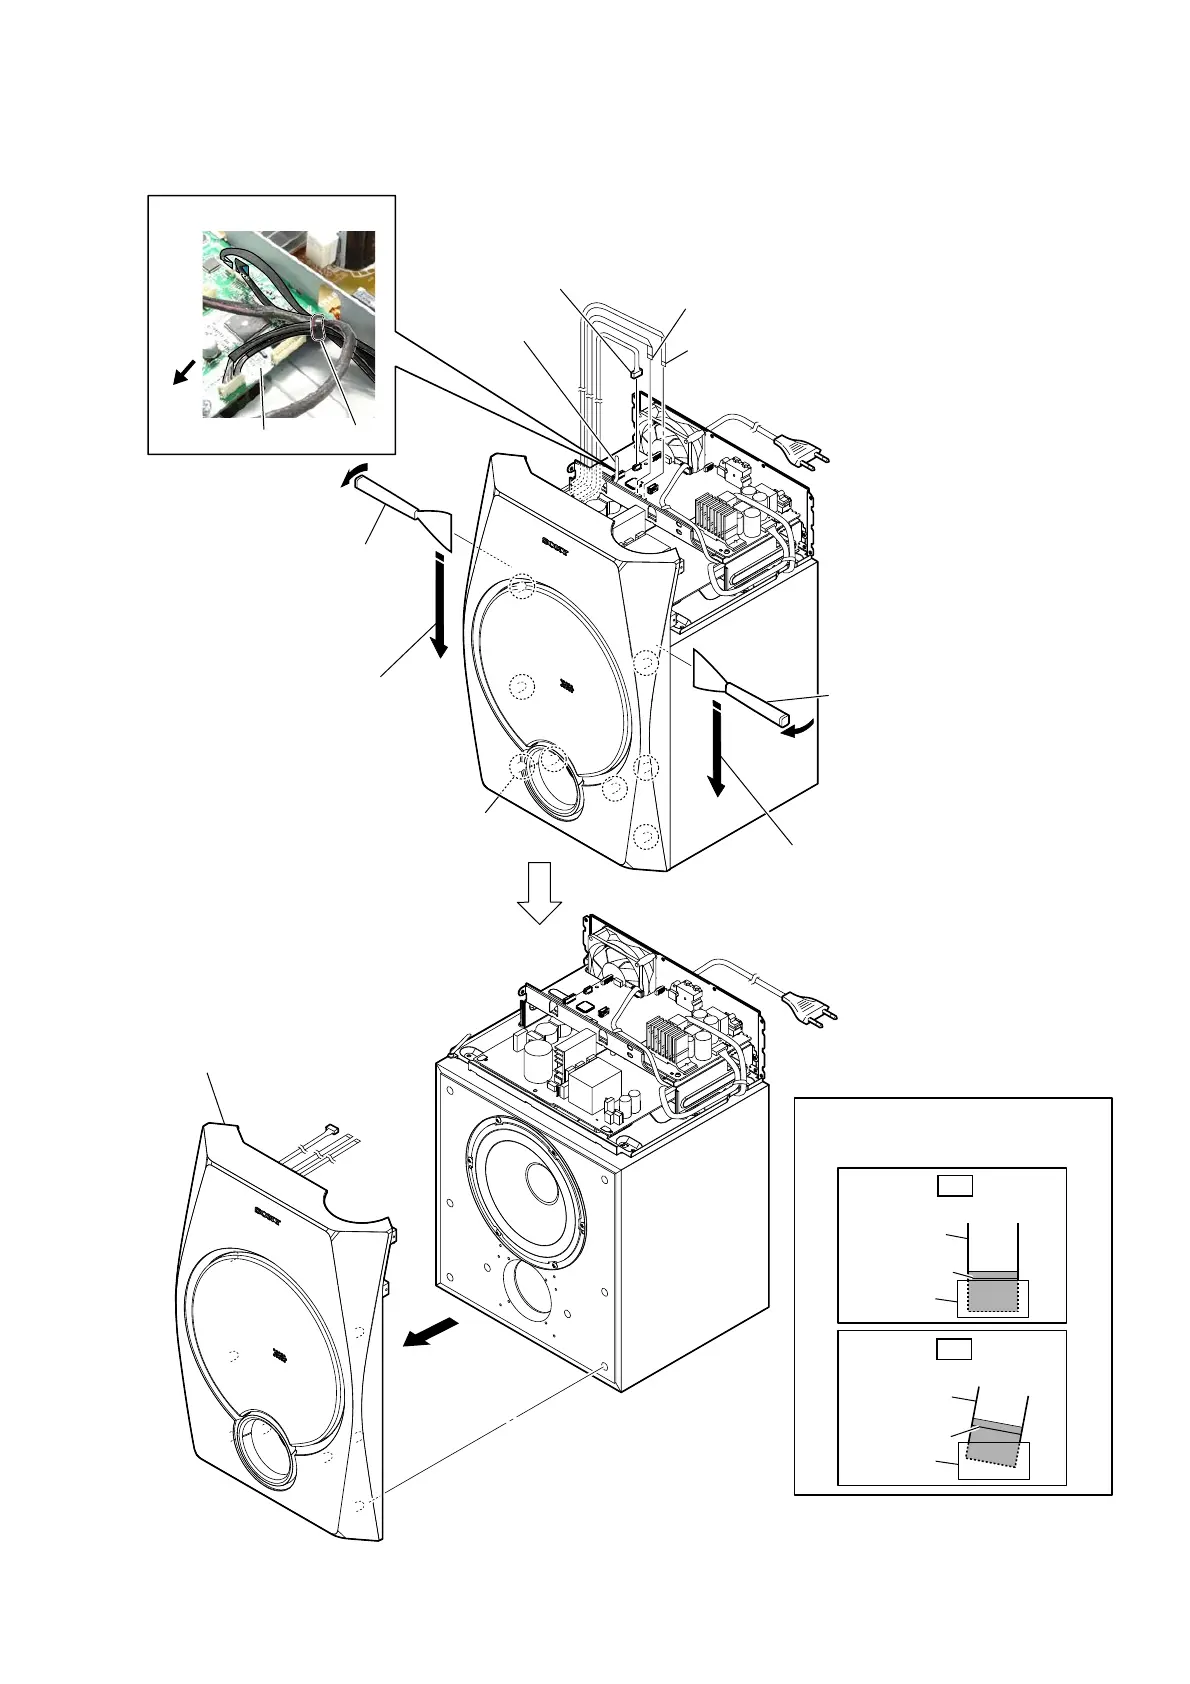
2-4. FRONT PANEL BLOCK
rear
side
3 flexible flat cable (14P)
(CN3003)
4 connector
(CN3005)
clamp
2 flexible flat cable (8P)
(CN3002)
total eight bosses
7 front panel block
6 While moving the jig in the direction
of the arrow, remove all bosses and
the front panel block.
5 Insert the jig into the space and slowly
remove the front panel block.
Note 1: When using a jig, please work
carefully so as not to damage
the front panel block and
speaker cabinet.
6 While moving the jig in the direction
of the arrow, remove all bosses and
the front panel block.
5 Insert the jig into the space and slowly
remove the front panel block.
Note 1: When using a jig, please work
carefully so as not to damage
the front panel block and
speaker cabinet.
colored line
Insert straight into the interior.
flexible flat
cable
connector
OK
colored line
Insert at a slant.
flexible flat
cable
connector
NG
Note 2:
When installing the flexible flat cable,
ensure that the colored line is parallel
to the connector after insertion.
1 Remove the wire
from the clamp.
:LUHVHWWLQJ
MAIN board
 Loading...