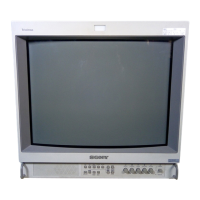
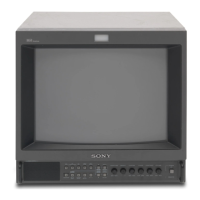
Adjustment Using the Menus
33
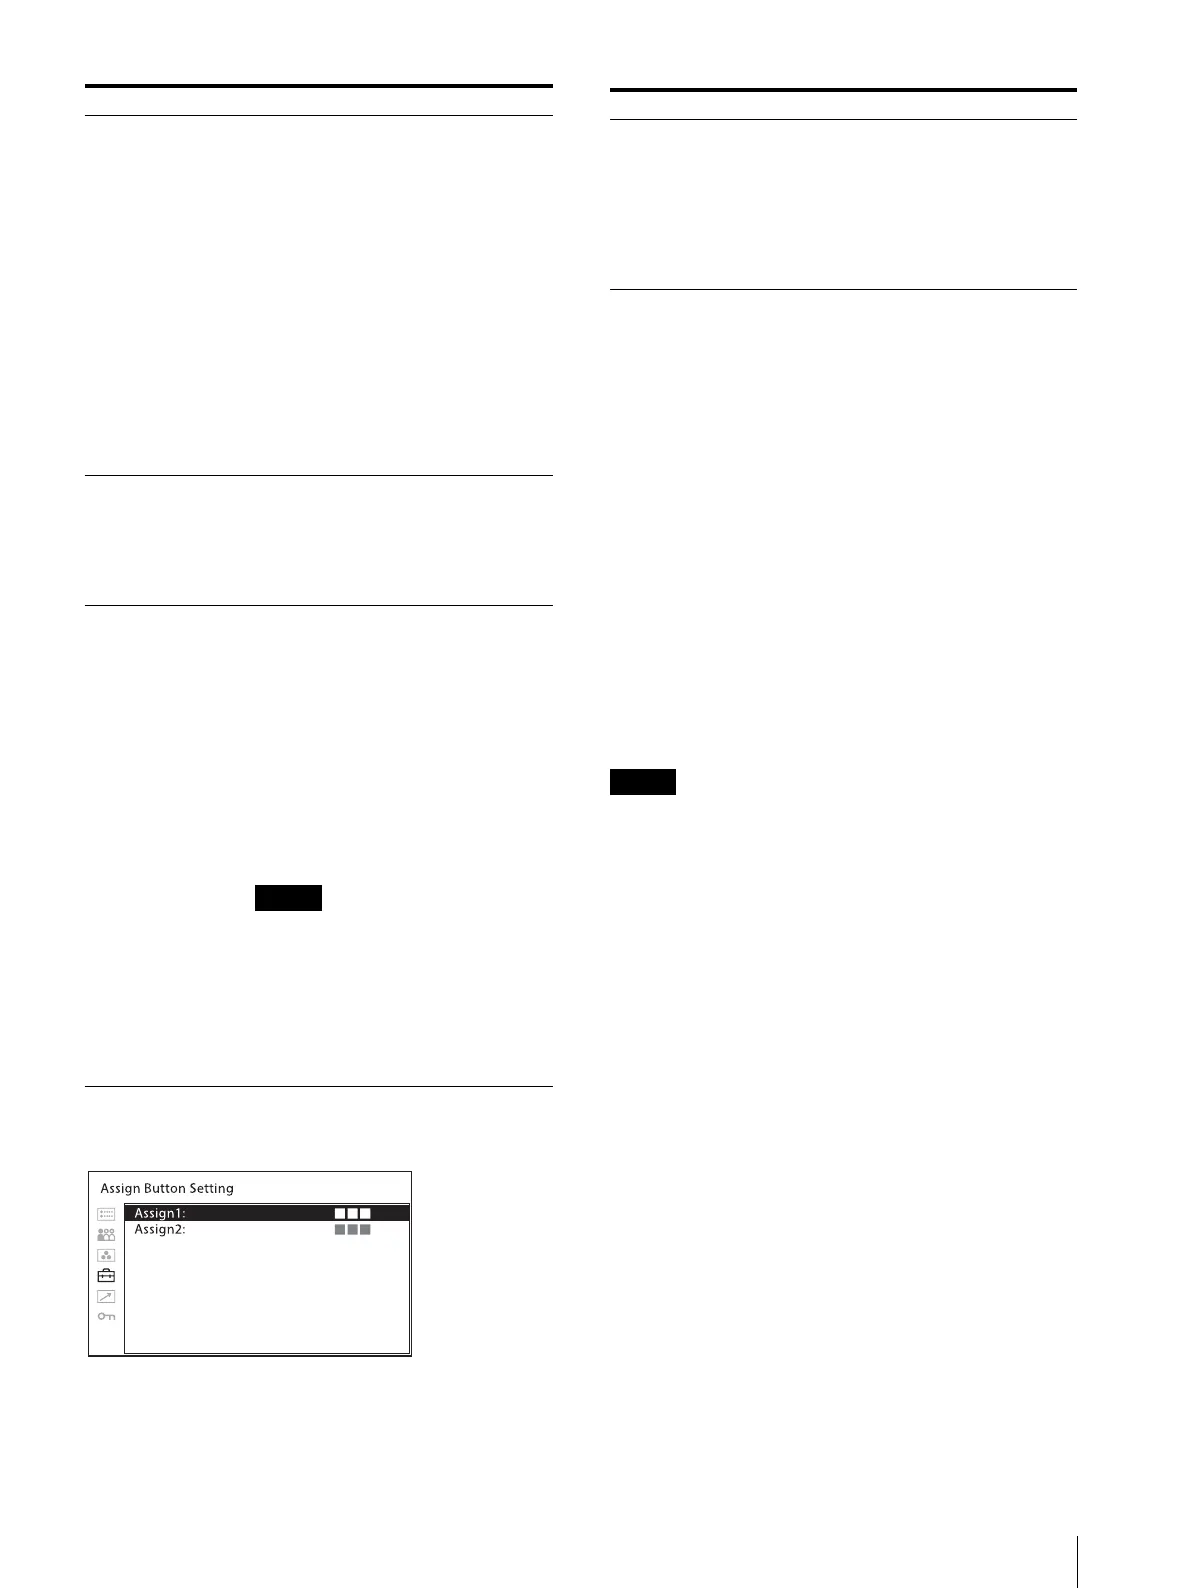
[Assign Button Setting]
About functions assigned to the ASSIGN 1/2
buttons
[Mono]
Press the button to display a monochrome picture.
When the button is pressed again, the monitor switches
automatically to color mode.
[Blue Only]
Press the button to eliminate the red and green signals.
Only the blue signal is displayed as an apparent
monochrome picture on the screen. This facilitates
observation of signal noise.
[Native Scan]
Press the button to switch between the image with the
scaling display ([Off]) and the image displayed directly
from pixels ([On]).
When Native Scan is selected, 2K resolution signals are
displayed while enlarged horizontally and vertically
with the following proportion (repeating pixel values).
– 1280 × 720 signal: × 3
– Others: × 2
640 × 480/60P, 720 × 480/60P, and 720 × 576/50P
signals for HDMI are not enlarged up to the end of the
display.
[Flicker Free]
Press the button to change the flicker free setting.
[R Off]
Press the button to turn off the R (red) signal.
[G Off]
Press the button to turn off the G (green) signal.
[B Off]
Press the button to turn off the B (blue) signal.
[User Preset1]
[User Preset2]
[User Preset3]
[User Preset4]
If a high level signal is continuously
displayed on the same area in the
HDR display, the protection
function activates wherein the
brightness of the bright part in the
display decreases to control the rise
of the surface temperature of the
OLED panel. When the level of the
bright part decreases or the change
of its position continues, the
protection function is deactivated.
However, it may take a while to
deactivate.
When [Signal Format] is set to
[Auto] or [444 XYZ 12bit] and the
XYZ signal is input, the optimum
setting for the XYZ signal is fixed.
[Input Setting Skip] Sets the skip setting when changing the
input setting. Select [Skip]/[Not Skip]
for each input setting of [Input
Setting1] to [Input Setting4].
[Skip]: Skips.
[Not Skip]: Does not skip.
[HDMI Format]
[HDMI Signal
Format]
Change the setting to receive images of
a high-resolution HDMI signal
(18Gbps)
1)
.
1) 3840 × 2160 or 4096 × 2160/50P,
resolution 60P 4:4:4 RGB/YCbCr or
4:2:2 YCbCr signals
[Standard Format]: Select to use for
a standard HDMI format signal.
[Enhanced Format]: Select to use for
a high-resolution HDMI format
signal.
Images and sounds may not be
output correctly with [Enhanced
Format]. In that case, select
[Standard Format].
To display the corresponding signal
with [Enhanced Format], use a
Premium High-Speed HDMI cable
within a length of 3 meters.
Submenu Setting
Submenu Setting
[Assign1]
[Assign2]
Assigns functions to the ASSIGN 1 and
ASSIGN 2 buttons of the side panel and
turns the function on or off.
The [Assign Button Setting] menu can
also be displayed by pressing and
holding the ASSIGN 1/2 button, and
the setting can be changed. Note that
you cannot move to another menu.
 Loading...