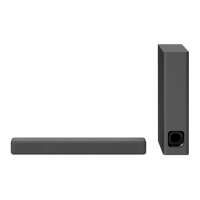
SA-WCT100/SS-MCT100
8
Note: Follow the disassembly procedure in the numerical order given.
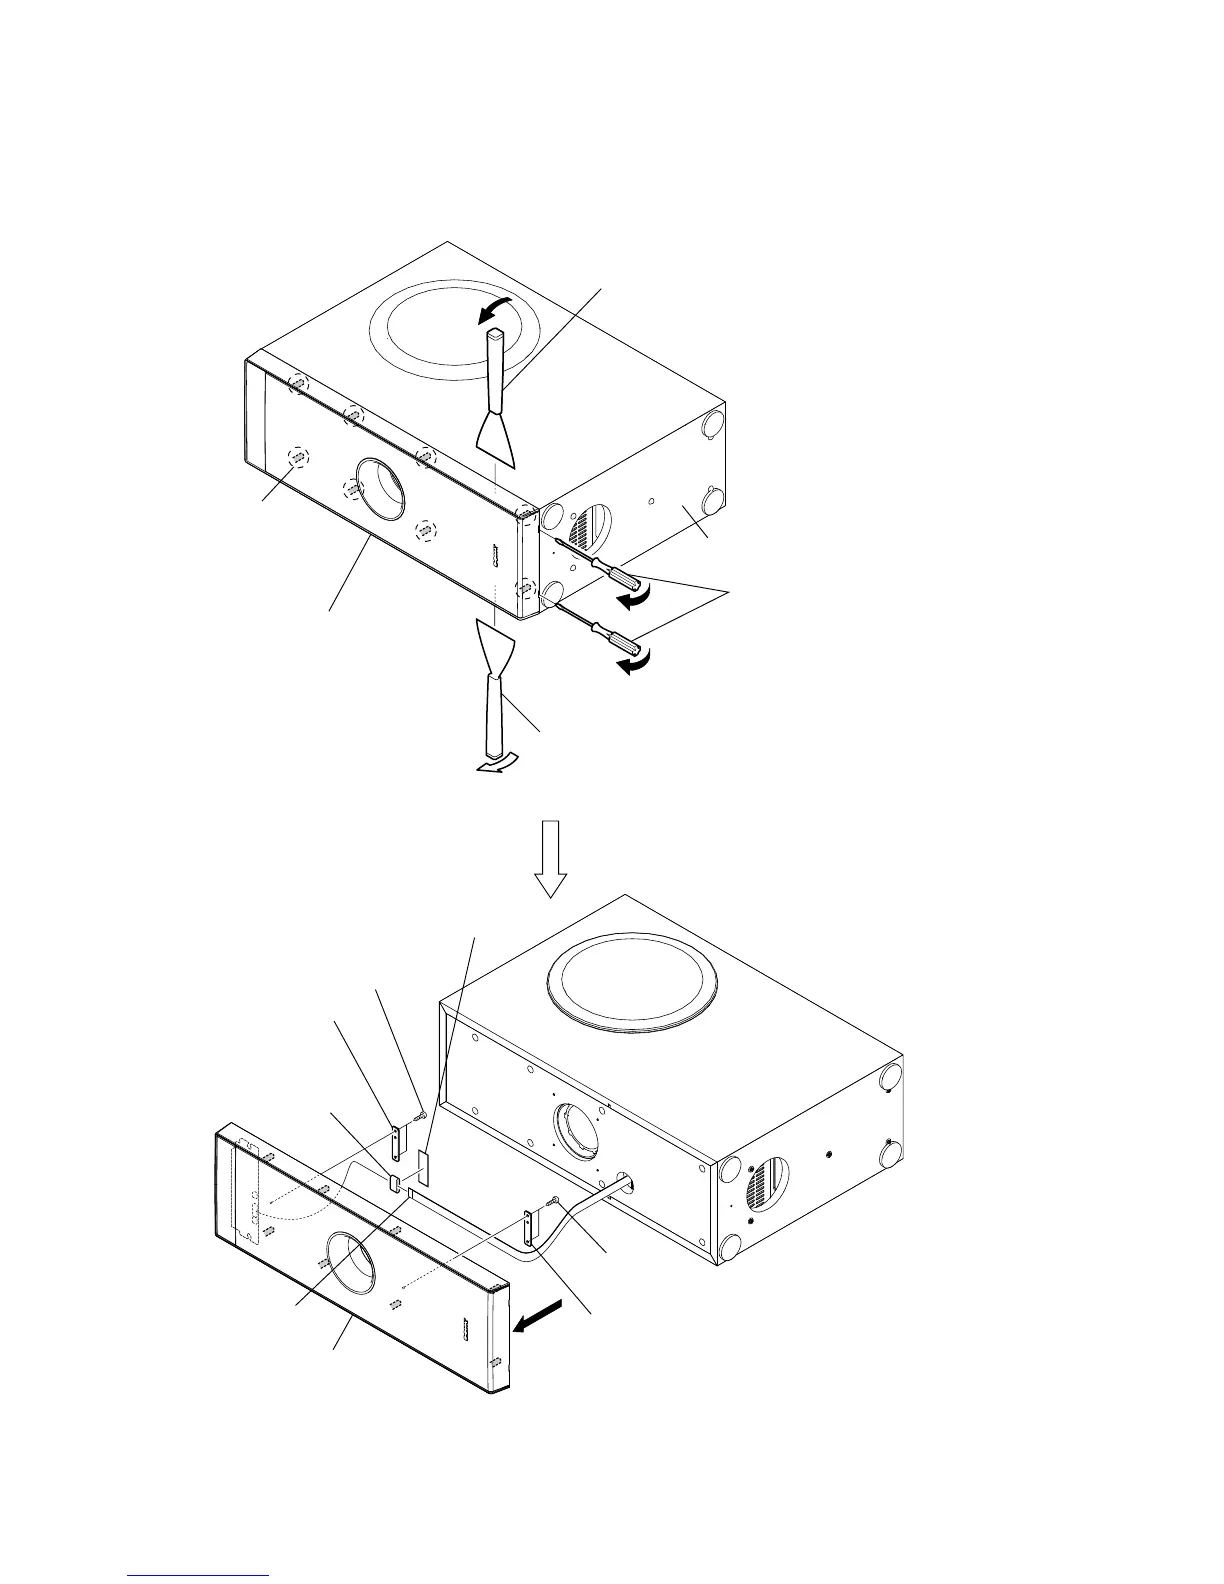
3-2. FRONT PANEL ASSY
Note: Please do set by placing the grille assy side up as shown in the fi gure and work.
wire (flat type) (15 core)
(CN801)
sheet (wire vibration proof)
Insert the jig (J-2501-238-A) into a space
made by inserting the screwdriver,
and raise the front panel assy gradually.
Insert the jig (J-2501-238-A) into a space
made by inserting the screwdriver,
and raise the front panel assy gradually.
Raise the front panel assy a little by little
from bottom to top of the set.
eight bosses
bottom side
Insert a flat-tip screwdriver into a recess
in the bottom of the set
to raise the front panel assy a little.
two screws
(BVTP3
×
8)
two screws
(BVTP3
×
8)
R
front panel assy
retainer board
retainer board
ferrite core


 To Next Page