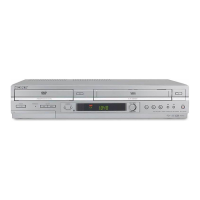
6-8
d. ACE HEAD POSITION (X-POINT) ADJUSTMENT
1) Playback the alignment tape (Color bar)
2) Press the “TEST” botton on VCR MAIN PCB to set the adjustment mode. (See Fig. 6-2)
3) Press the “0, 5” remote control buttons, then adjustment is operates automatically. (See Fig. 6-1)
4) Connect the CH-1 probe to “Envelope” the CH-2 probe to “H’D switching pulse” and then trigger to CH-1.
5) Insert the (-) driver into the X-Point adjustment hole and adjust it so that envelope waveform is maximum.
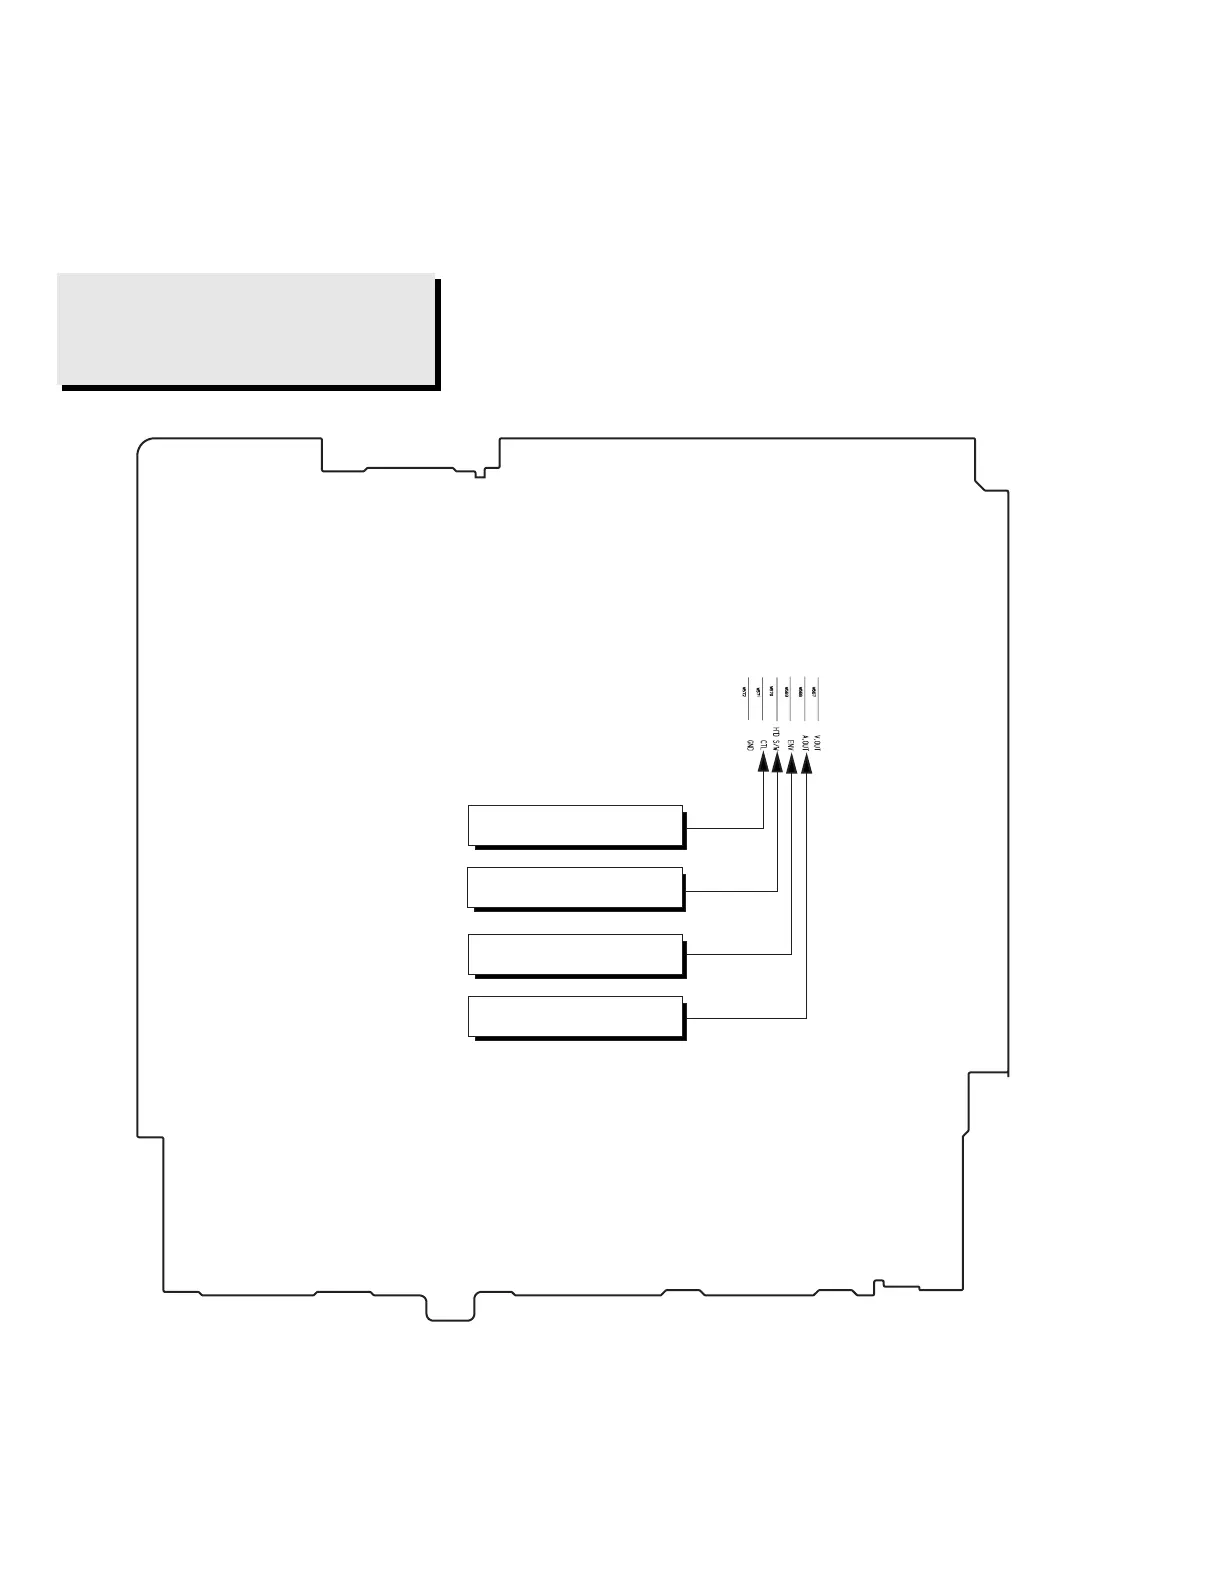
Test point: W568 (Audio Output)
W569 (Envelope)
W570 (H’D S/W -Trigger)
W571 (Control Pulse)
Fig. 6-10 Location of Test point (VCR Main PCB-Top View)
AUDIO OUTPUT
CONTROL PULSE
HEAD SWITCHING
ENVELOPE