Do you have a question about the Sony SRX-R515P and is the answer not in the manual?
Illustrates the physical connection and components of the digital cinema dual system.
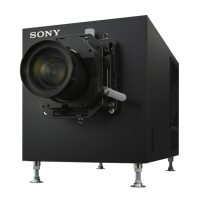
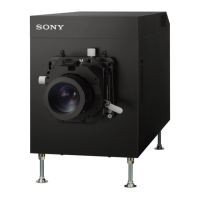
Identifies and describes the physical parts and their functions on the projectors.
Provides access to all system functions like Status, Schedule, SPL, and Library.
Guides the initial power-on sequence for the projection system.
Instructions for powering on the main power switch of the projectors.
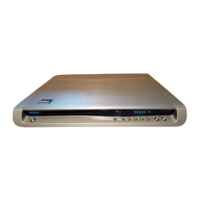
Steps for initiating the operation of the digital cinema server.
Process for accessing the projection system with user credentials.
Outlines the workflow from DCP ingestion to screening.
Describes how to choose which projector to operate.
Details the process of transferring DCP files using a USB drive.
Procedure for ingesting DCP files using the CRU DATAPORT.
Process for importing KDM files using a USB flash drive.
Loads pre-configured settings for screen adjustments like zoom and brightness.
Steps to choose a CPL for playback.
Guides the creation of a new Show Playlist (SPL) for screening.
Guides the setup of automated SPL playback at specific times.
Instructions for physically setting up the calibration camera.
Steps to connect the calibration camera to the projectors.
Precautions and steps before performing lens replacement.
Detailed instructions for detaching a lens from the projector.
Explains the meaning of status lights on the rear of the projector.
Describes the status indicators for the Integrated Media Block.
Explains the status lights on the front of the server unit.
Guides checking physical connections and component marriage.
Troubleshooting steps for projector power issues.
Addresses issues related to screen brightness and image quality.
Specific guidance for screen dimness, possibly lamp replacement.
| Brand | Sony |
|---|---|
| Model | SRX-R515P |
| Category | Home Theater System |
| Language | English |