and the mirror
Blast the optics with canned air, then continue on to the blast the rest of the
DVD chassis trying to blow the remainder of the dust away from the optics.
Using a Q-tip, clean the mirror and the lens with a high quality lens cleaner. I
like to use anti static lens cleaner but any glass cleaner should work, I have
even heard of plain alcohol being used. The goal is to leave a streak free
finish and use one end of the wetted q-tip to clean and the other to dry. BE
CAREFUL NOT TO SCRATCH THE MIRROR
One DVD in my collection had a single fibber from cloth on the outside of the
mirror, this seemed to be the major cause of the problem but the drive still
suffers from occasional errors.
UPDATED 8/28/03 Thanks CPU64!
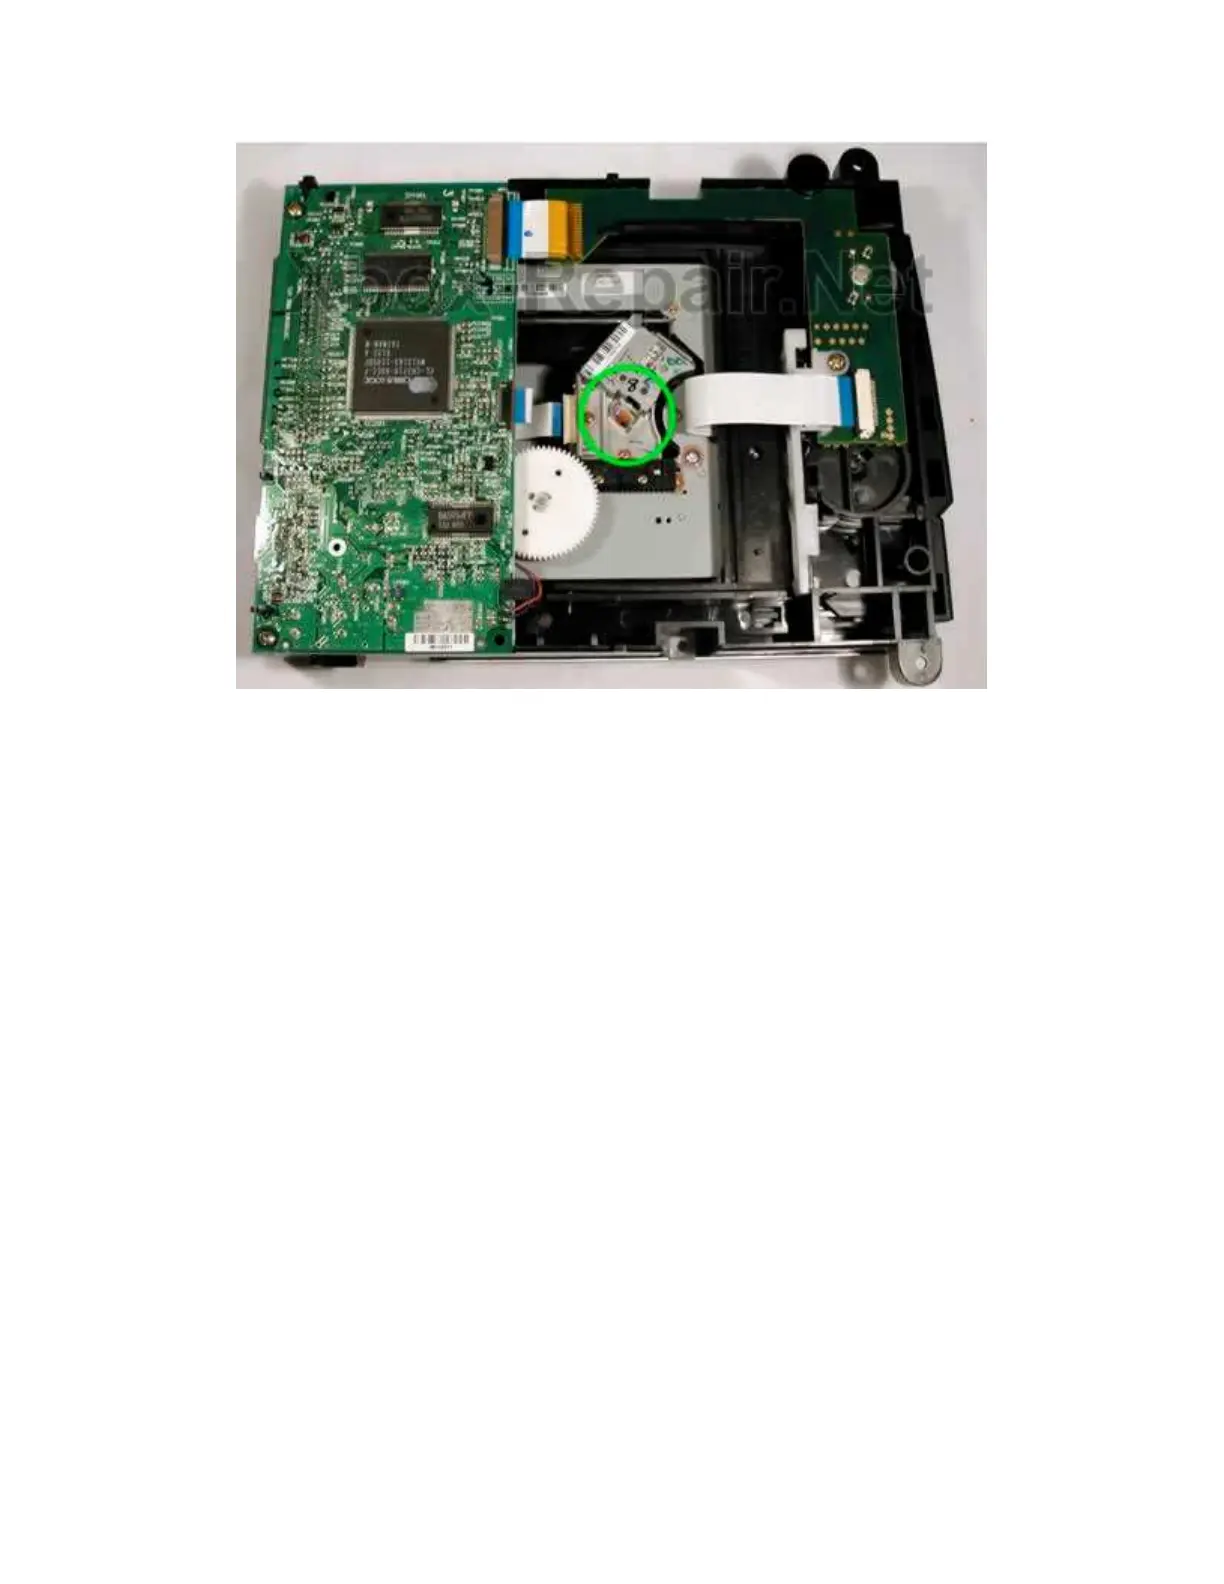
"Here's a picture I just made showing all the parts involved in
directing the
laser to the disc and back. Here you'll see that just cleaning the
top lens
and the bottom mirror isn't really enough.
This is the lens piece without the top lens section. In total, there
are 11
sections in that little piece that need to be cleaned to bring the
drive back
to full potential.
Also notice in the picture the SENSOR is detached from the
main body. The
little opening in between the sensor and the last focus lens