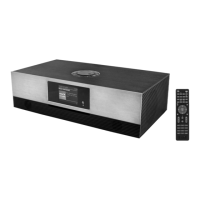
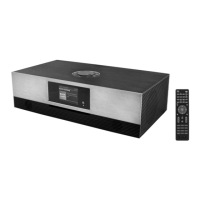
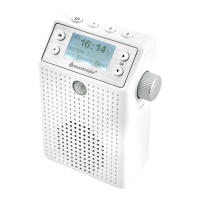
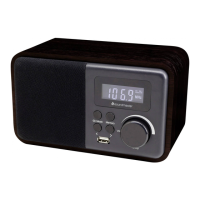
IR3200 / English Short Instruction Manual
3
GETTING STARTED / SET UP
Connect the unit to a suitable power source using the power supply provided. After showing a
starting screen, it will enter the last used listening mode. When the unit is started for the first
time, the setup wizard will be launched automatically.
GET THE NETWORK ENVIRONMENT READY
Make sure you have setup the wireless network and you have the WEP, WPA or WPA2 security
password to activate the connection.
You may also use the WPS (WiFi Protected Setup) function for easy pairing between the
network device and the unit. Check if the light indicators on the network device are in
appropriate status.
MAIN MENU
Under the main menu, you can select the following modes: Internet Radio, Music Player, DAB,
FM, Bluetooth
®
, AUX-In, Sleep and Alarm.
SETUP WIZARD
At the first time operation, system asks if you want to start the Setup Wizard. The Setup wizard
guides you through the basic setup parameters for time/Date and Network connection. To
change any settings later all setting functions are accessible from the Settings Menu.
Time/date Display format 1.
Select 12 or 24 as the time format.
Auto update 2.
The time and date can be updated manually or automatically from DAB, FM or
network.
Auto update works with data sent over DAB, FM or the Internet. The clock is only
updated when it is in a corresponding mode, so it is suggested to select a mode you
use regularly.
DAB and FM use time signals broadcast with radio transmissions. Network uses a
time signal sent from the Internet radio portal when in any network connected mode.
Time zone / daylight 3.
Set your time zone. If your country uses daylight saving and it is in effect, turn on the
Daylight saving option.
Manual update 4.
If you set No update, the wizard prompts you to set the time and date manually. The
date and time are displayed as dd-mm-yyyy and hh:mm.
The active value appears as flashing. Adjust each value with the “Tuning / Select”
knob. Once the value is set, press the knob to continue setting with next value.
 Loading...