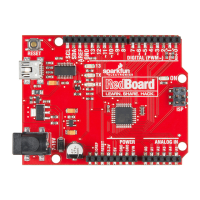
IOREF
RESET
RESET
7-15V
SCL
SDA
AREF
GND
13
12
~11
~10
~9
8
7
~6
~5
4
~3
2
1
0
TX
RX
13
3.3V
5V
GND
GND
VIN
A0
A1
A2
A3
A4
A5
POWER
ANALOG IN
DIGITAL (PWM~)
ON
ISP
TX
RX
PARTS:
LED
1
X
Wire
3
X
330Ω
Resistor
1
X
This secon lists the parts you
will need to complete the circuit.
Circuit 2
LEDs (light-emitting diodes) are small, powerful lights
that are used in many dierent applications. To start o
the SIK, we will work on blinking an LED. at's right
- it's as simple as turning a light on and o. It might
not seem like much, but establishing this important
baseline will give you a solid foundation as we work
toward more complex experiments.
Blinking an LED
1
Each circuit begins with a brief descripon
of the what you are pung together and
the expected result.
This is a schemac of your circuit.
This is an illustraon of how the
completed circuit should look. It is not
necessary to use the black holder for the
RedBoard and breadboard, but we
recommend it for the first me inventor!
Components like resistors need to have
their legs bent into 90° angles in order to
correctly fit the breadboard sockets. You
can also cut the legs shorter to make them
easier to work with on the breadboard.
LED
(Light-Emitting Diode)
Resistor (330 ohm)
(Orange-Orange-Brown)
Page 19