Do you have a question about the SPEC-D Tuning LHP-JET99JM-8-TM and is the answer not in the manual?
| Brand | SPEC-D Tuning |
|---|---|
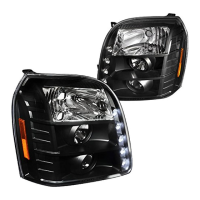
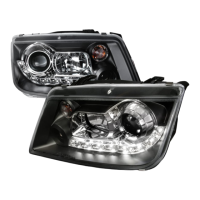
| Model | LHP-JET99JM-8-TM |
| Category | Automobile Accessories |
| Language | English |
Lists necessary tools and supplies for the headlight installation process.
Begin the installation by opening the vehicle's hood.
Remove protective plastic shielding located above the headlight assembly.
Carefully lift and remove the front vehicle grille.
Detach the top and bottom clips securing the headlight assembly.
Unscrew bolts located under the fender and in the fog light opening.
Gently pull the bumper forward to access the headlight's lower area.
Use a flathead screwdriver to disconnect the electrical connector.
Unscrew the two bolts located on the top of the headlight assembly.
Carefully pull the existing headlight assembly out of the vehicle.
Connect the electrical harness to the new projector headlight.
Position the new projector headlight and secure it with bolts.
Secure the bumper by installing bolts below the headlight, at fog light openings, and under the fender.
Reattach the top and bottom clips to the front bumper.
Place the front grille back onto the vehicle.
Put the plastic shielding back onto the top of the headlight.
The headlight installation process is now finished.