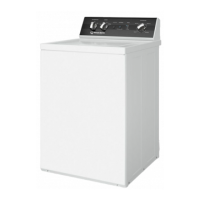
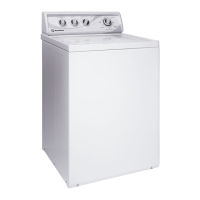
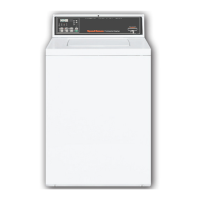
Do you have a question about the Speed Queen HA7221 and is the answer not in the manual?
Details components of the control panel and associated controls.
Shows the assembly and components of the washer's top, door, and control housing.
Describes the assembly of switches and their mounting brackets.
Details the installation of water inlet hoses and the mixing valve assembly.
Provides an exploded view and part breakdown of the mixing valve.
Illustrates the components and assembly of the agitator and its post.
Shows the parts and assembly of the lint filter, washtub, and hub.
Details the components and assembly of the outer tub, its cover, and the pressure hose.
Explains the motor mounting, drive belts, and idler pulley system.
Illustrates the assembly of the bearing housing, brake mechanism, pulley, and pivot dome.
Details the transmission assembly and the balance ring components.
Lists and illustrates individual parts for a specific transmission model.
Covers the pump assembly, associated hoses, and siphon break kit installation.
Shows the assembly of the front panel, main cabinet, and base structure.
Details the power cord, plug, and various wire terminals used in the washer.
Illustrates the grounding connection from the power cord to the control hood.
Shows the grounding path from the control hood to the control panel flange.
Details the grounding connection for the main wire harness to the cabinet.
Illustrates the grounding connection for the motor assembly to the base.
Provides instructions for removing and servicing the washer's control panel.
Explains how to remove, replace, and reinstall the washer's timer.
Details the procedure for removing and servicing the temperature or action switch.
Describes the steps for removing and servicing the pressure switch.
Provides instructions for removing and reinstalling the drain hose elbow.
Explains how to remove and reinstall the washer's loading door.
Details the procedure for removing and installing the agitator post assembly.
Provides steps for removing and installing the agitator drive shaft.
Describes how to remove and reinstall the front panel of the washer.
Explains the procedure for removing and installing the pump belt.
Details the process for removing and installing the main drive belt.
Covers the removal and installation of the motor and its mounting bracket.
Provides instructions for servicing the idler lever and pulley assembly.
Explains how to remove and install motor or pump pulleys.
Details the procedure for removing and servicing the motor switch.
Explains how to remove and install the pump assembly.
Provides steps for removing and reinstalling the cabinet top.
Specific steps for detaching the cabinet top from the washer.
Covers the removal and installation of the door and out-of-balance switch assembly.
Details the procedure for removing and servicing the mixing valve assembly.
Explains how to remove the washtub and lint filter.
Provides instructions for removing and installing the water seal assembly.
Details the procedure for removing and reinstalling the outer tub.
Explains how to remove and install the drive pulley and helix.
Provides steps for removing and installing the brake assembly.
Details the removal and installation of the lower bearing housing.
Explains how to remove and install the transmission assembly.
Provides instructions for removing and reinstalling the balance ring.
Details the removal and installation of the upper bearing assembly.
Explains how to set the timer knob indicator for proper operation.
Provides instructions for leveling the washing machine using its legs.
Details how to adjust the pressure switch for water fill levels.
Notes that no adjustment is required for the agitate and spin belt.
Explains how to adjust the pump belt tension.
Describes how to adjust the out-of-balance switch trigger sensitivity.
Lists possible causes and corrections for a lack of hot water supply.
Lists possible causes and corrections for a lack of cold water supply.
Lists possible causes and corrections for a lack of warm water.
Troubleshoots issues related to incorrect water fill levels.
Addresses problems where the timer fails to advance through cycles.
Provides troubleshooting steps for when the washer does not agitate.
Troubleshoots issues where the washer agitates continuously.
Offers solutions for problems with slow or no spin cycles.
Troubleshoots issues where the washer spins continuously.
Addresses repeated cycling of the drive motor overload protector.
Troubleshoots problems with the outer tub not draining properly.
Provides solutions for excessive vibration during washer operation.
Lists causes and corrections for water leaks from the outer tub.
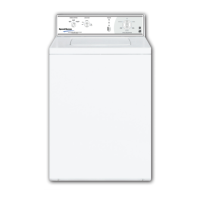
| Brand | Speed Queen |
|---|---|
| Model | HA7221 |
| Type | Top Load Washer |
| Capacity | 3.2 cu. ft. |
| Color | White |
| Control Type | Electronic |
| Number of Wash Cycles | 6 |
| Energy Star Certified | No |
| Water Level Selections | 5 |
| Voltage | 120V |
| Agitator | Yes |
| Width | 27 inches |
| Height | 43 inches |
| Water Temperature Settings | Hot, Warm, Cold |
| Cycle Options | Delay Start |
| Warranty | 3 Years |