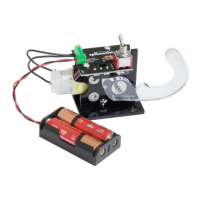
Assembling the PCB
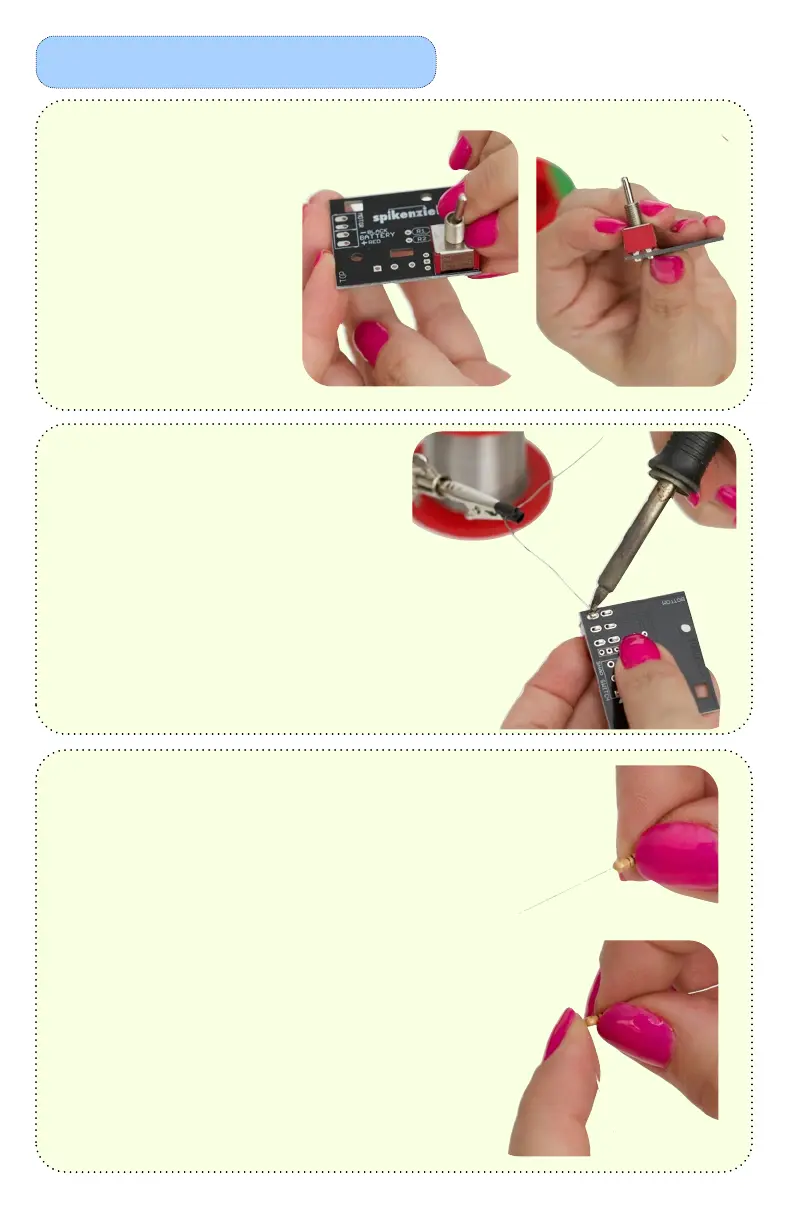
Switch Installation:
Make sure that the switch
is being installed on the
top side of PCB. There is
no orientation to the
switch. Refer to these
photos.
Switch Soldering:
The switch needs to be standing perfectly
vertical on the PCB. We use a ‘Helping
Hands’ tool to hold the solder.
This way, your fingers hold the switch,
and the other hand is free to solder.
Solder one tab, and see if the switch is
90˚ to the PCB.
Resistor Preparation:
There are 2 resistors in the kit. One
100 Ohm (brown black brown), gets
installed into [R1]. The 220 Ohm (red-
red-red) gets installed in [R2].
Bend the legs like in the photos here,
with the leg as close as possible to the
body of the resistor.