4
CHAPTER 3: SYSTEM ASSEMBLY
1. Unpack the Spivi Rendering Server and physically install it near your sound system and
where your display (LCD/TV/Projector) HDMI/DVI cable is ready to connect.
2. Connect the Spivi Rendering Server to a power outlet using the provided power cord.
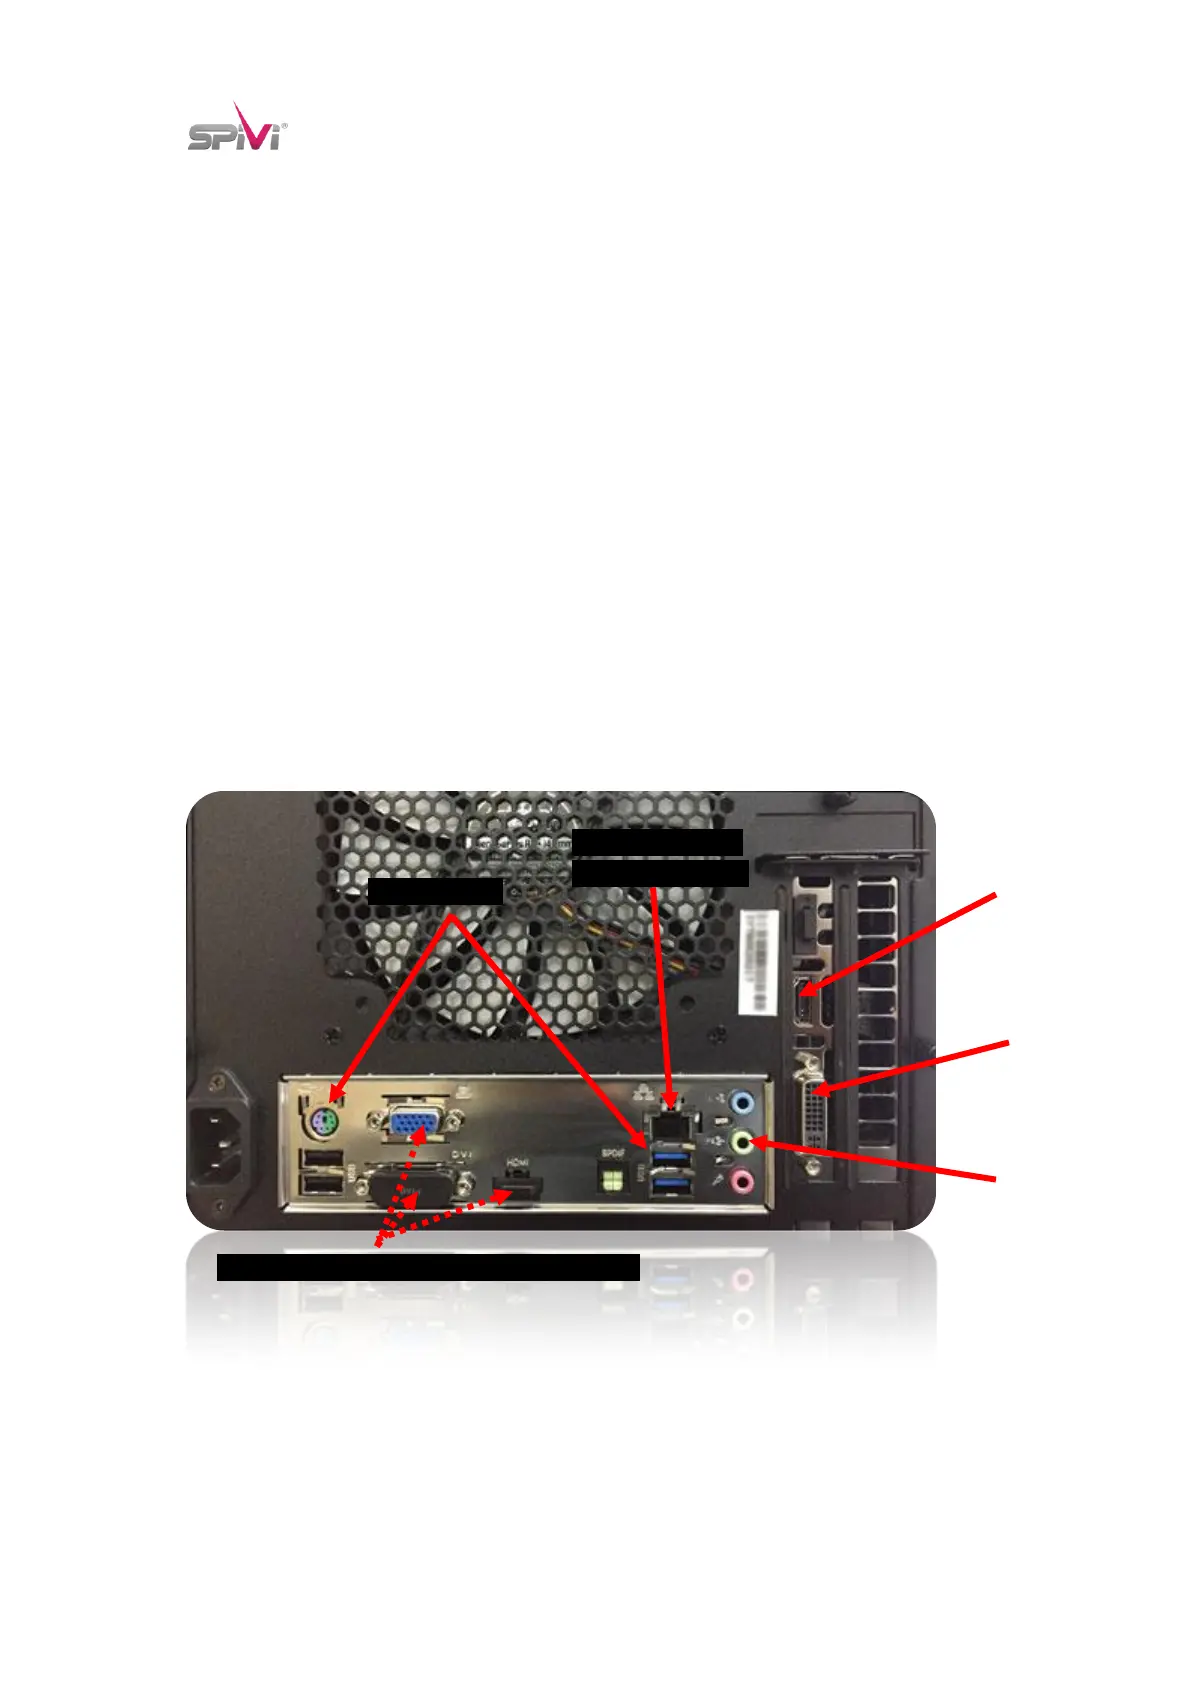
3. Using a CAT5 network cable, connect the Spivi Rendering Server to your network.
Your infrastructure internet connection must have DHCP service enabled.
4. Connect the XBOX Controller Wireless Receiver to a USB PORT on the BACK of the Spivi
Rendering Server.
5. Insert the BLE USB Stick to the FRONT USB PORT located on the FRONT RIGHT side of
the Spivi Rendering Server.
6. Unpack the AA batteries and install them into the XBOX controller.
CAT5 Network Port
to Spivi WIFI Router
NOTICE: DO NOT USE THESE VIDEO OUTPUTS!
* Computer back may look different