Do you have a question about the SportRack EXPLORER A90095 and is the answer not in the manual?
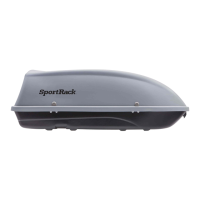
Attaches foam weather stripping to the inside of the carrier top. Do not cut the stripping.
Installs lock mechanisms and lock locators into the carrier top, ensuring correct orientation.
Attaches hinges to the carrier bottom using screws, washers, and plastic insert nuts.
Connects the carrier top to the bottom using hinges and fasteners, without full tightening.
Secures support assemblies to the carrier top, ensuring plastic protectors face inwards.
Installs front and rear snap latches to the carrier bottom using small screws and nuts.
Mounts lock brackets to the carrier bottom on the passenger side using specific hardware.
Verifies correct alignment of lock assemblies and tightens hinge and bracket hardware.
Instructions for closing the carrier lid by pulling the top downward from both ends.
Details on locking the carrier using the key and engaging all snap latches for safety.
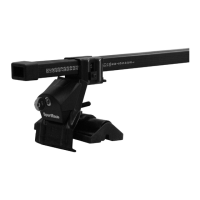
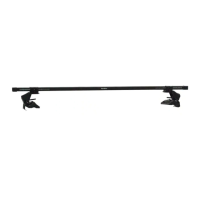
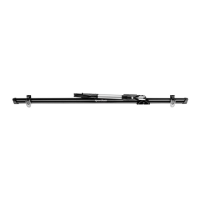
Mounts the carrier onto vehicle crossrails using U-bolts, plates, and threaded knobs.
Periodically checks all mounting hardware for tightness to ensure secure installation.
Uses vinyl hole covers to prevent water from entering unused holes in the carrier.
Provides instructions for cleaning with mild soap and water and for storage to prevent warping.
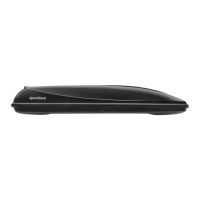
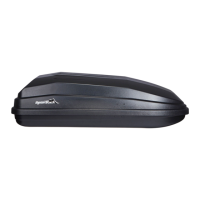
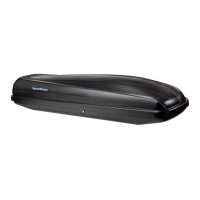
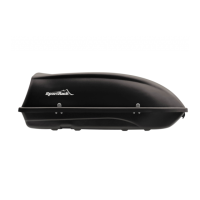
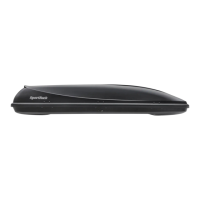
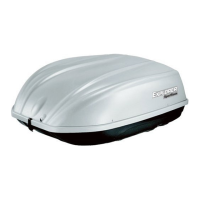
| Compatibility | Universal |
|---|---|
| Color | Black |
| Type | Roof Box |
| Material | ABS |
| Capacity | 18 cu ft |