Do you have a question about the SportRack AERO 1300 and is the answer not in the manual?
Engage all locking devices before motion. Avoid high speeds with empty carriers and add weight if needed.
User is responsible for assembly and damage. Consult manuals for load capacity and secure all hardware.
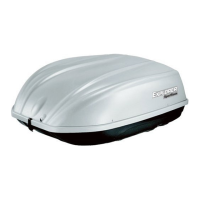
With assistance, place the cargo box onto the vehicle's roof rack system.
Adjust the box position to align mounting slots over the crossbars, favoring a rearward placement.
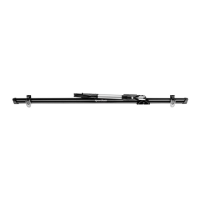
Set adjustable crossbars to their widest compatible position for the mounting slots.
Ensure adequate clearance between the box and the vehicle's rear hatch and front hood.
Attach saddle assemblies to the carrier bottom using pre-drilled holes and loosely tighten knobs.
Slide saddles under crossrails until they detach from carriage bolts and drop down.
Position saddles under crossrails, secure them over carriage bolts, and tighten knobs firmly.
Loosen knobs, slide saddles away from carriage bolts, then slide the box forward and lift off.
Place vinyl hole covers over any remaining holes in the carrier bottom to prevent water entry.
Insert key, turn clockwise to unlock. Key can only be removed when lid is closed and locked.
Close lid by pressing down, turn key counter-clockwise to lock, then remove key.
| Category | Automobile Accessories |
|---|---|
| Load Capacity | 110 lbs |
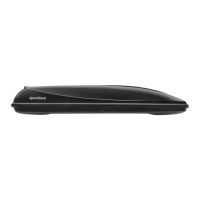
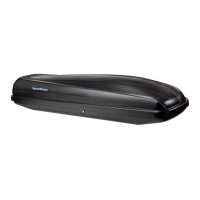
| Aerodynamic Design | Yes |
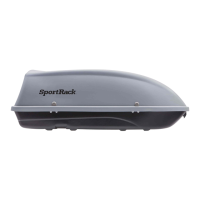
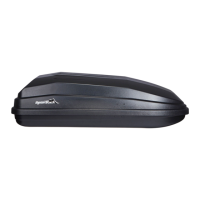
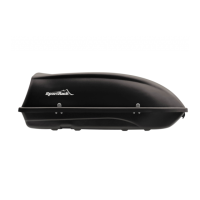
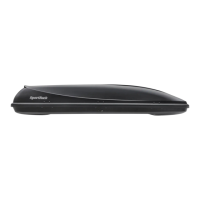
| Type | Roof Box |
| Capacity | 13 cubic feet |
| Material | ABS |
| Opening | Side |
| Compatibility | Most roof rack systems |
| Installation | Tool-free |