JUNIOR HACK ATTACK
™
SOFTBALL PITCHING MACHINE
SPORTS ATTACK, LLC. • 800.717.4251 • sportsattack.com
5
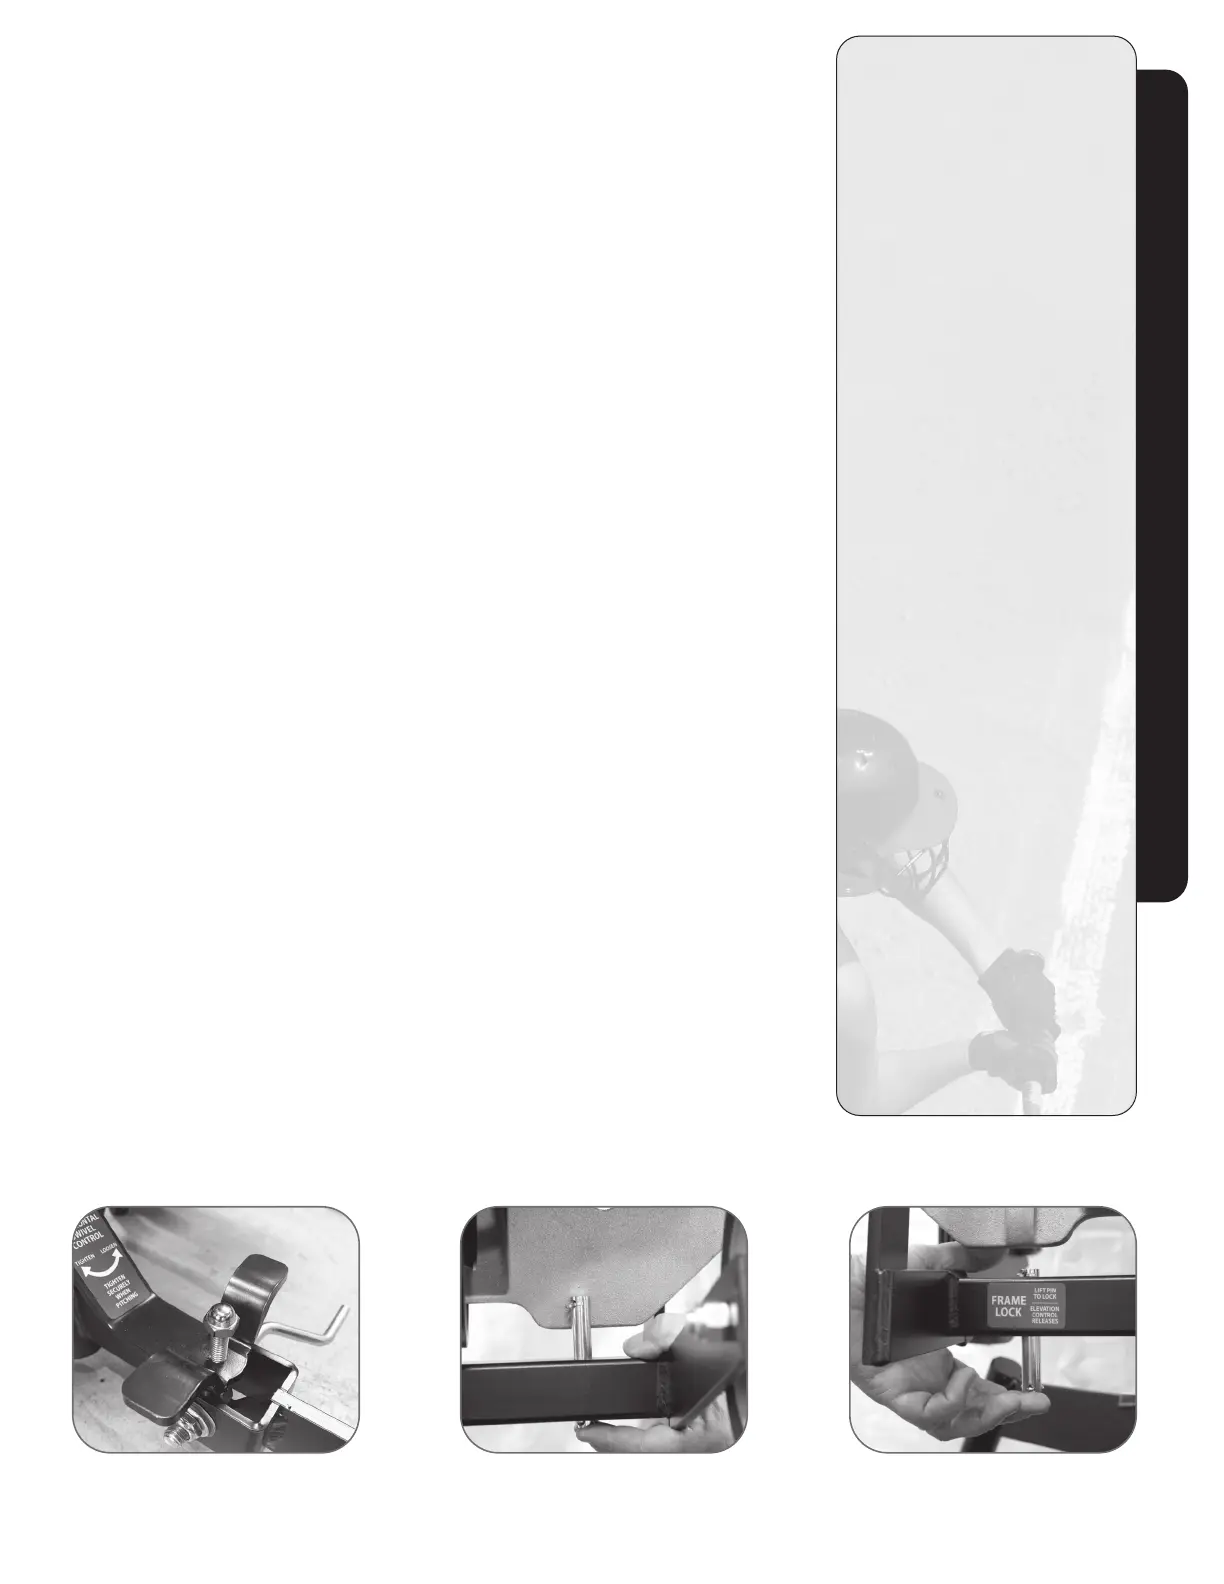
Softball Set-up & Preparation
SET-UP & PREPARATION
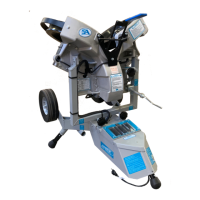
1. Be sure the horizontal swivel lock is tightened securely (See Photo A).
2. Turn the elevation adjustment clockwise until the throwing head is held tightly
against the frame lock pin (See Photo B). Tighten just enough to secure the throwing
head. It is not necessary to over tighten.
3. Install the long, rear leg (NOTE: the leg has a push button, which locks the leg into the
socket). Roll Junior Hack Attack onto the mound approximately four feet in front of
the rubber. The long leg is used for transporting only.
4. Tilt Junior Hack Attack forward until it rests on the throwing wheel guard.
See Figure 2, Page 4.
5. Insert the two front legs into the front sockets in the undercarriage (NOTE: the front
legs also have locking push buttons). Then remove the long, transport leg and insert
the short leg into the rear leg socket.
6. See Figure 3 on page 4.
Walk around to the front of Junior Hack Attack, and, with your back to home plate,
reach down and grasp the wheel guards. Then, lift machine up and over the front
legs and set it gently onto the rear leg.
7. Position Junior Hack Attack:
a. For optimal performance, position the Junior Hack Attack so the release point
is approximately 46 feet from home plate.
b. Then, sight down ball chute. Move the rear leg right or left to adjust machine so
that it is pointing directly at home plate.
c. Check the horizontal swivel lock to make sure it remains tight.
8. Unlock the frame lock (See Photo C). Turn the handle of the elevation control
counter-clockwise until the travel lock pin drops out of the way.
9. Adjust the throwing head:
a. Turn the handle of the elevation control clockwise. Raise the throwing head
until it will throw somewhere near the required height.
b. This initial adjustment will come through experience. To start, turn the elevation
adjustment 10 turns clockwise.
10. Examine Junior Hack Attack for condition and completeness:
a. Be sure the horizontal swivel lock is secured (See Photo A).
b. Throwing wheels must be tight on the motor shafts. Check that the keyway retaining
bolts are tight.
c. Wheel guard and ball chute must be securely fastened to the throwing head.
11. Be certain the on/off switch is turned “OFF”, then plug Junior Hack Attack into
an extension cord or other power source. (See generator information at right
if applicable.)
WARNING
HAZARD FROM
HIGH-SPEED
PROJECTILES
Being struck by a pitched ball
can cause serious injury or death.
Make sure that no one steps in
front of Junior Hack Attack while
it is connected to electric power.
Clear all hitters away from
home plate, the batter’s box
and the backstop area before
connecting Junior Hack Attack
to electric power.
GENERATOR
INFORMATION
1. Junior Hack Attack requires
a generator capable of
providing clean electricity
at a minimum of 1000 watts
at 120 volts 60hz.
2. Be sure the on/off switch is
“OFF” before plugging Junior
Hack Attack into the generator.
3. Start the generator, allow it to
reach full speed and be sure
all three speed control dials
are at “0” before turning the
on/off switch “ON”.
IMPORTANT:Generatorspeed
uctuationscandamagethe
electronic speed control.
Maintain adequate fuel in the
generator at all times.
4. Turn the on/off switch “OFF”
before shutting off the
generator and before
unplugging Junior Hack Attack.
Photo A Horizontal swivel lock Photo B Frame lock engaged Photo C Frame lock disengaged