Measuring
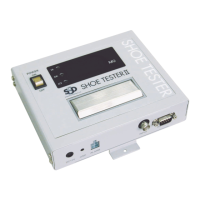
1.Turn the power of the main device on.
The power switch lights, and the measurement
display area is off. The area turns on when the touch
button is pressed.
2.While wearing the shoes to measure,
step onto the measurement stand, and
press the touch button in with your
bare hands until you hear a click, and
hold it there for three seconds.
NOTE
Do not touch any objects other than the touch button
while measuring. Doing so will prevent an accurate
measurement.
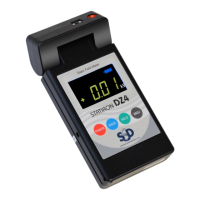
3.When the value in the measurement result display area
stabilizes, the result is indicated with a light.
If the measured value is within range: OK light (green)
If the measured value exceeds the maximum value: HI light (red)
If the measured value exceeds the minimum value: LOW light (red)
NOTE
If the device is set to make a sound, it will emit an operation complete sound or warning
sound. Refer to "Device Operation Settings" for details.
NOTE
Refer to the following when connecting the optional alarm output cable.
NOTE
The optional RS232C cable can be connected to output measurement data externally.
COM and NO
connection
When power is ON
When result is OK
When power is OFF
When result is not OK
Open Closed
COM and NC
connection
When power is ON
When result is OK
When power is OFF
When result is not OK
Closed Open