7
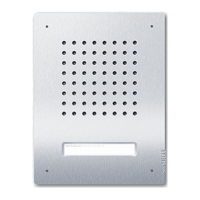
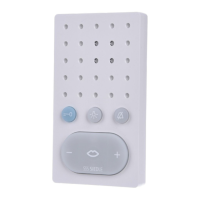
loudspeaker symbol. When setting
the system, if applicable move the
palm of one hand around 5 cm in
front of the grille. This should not
cause any feedback (whistling noise).
The volume controller is not required
in the Access door loudspeaker.
8 Terminals 6.1 to 6.4 are intercon-
nected. To make a button potential-
free, disconnect the relevant jumper
J P.
9 Following completion of installa-
tion, mount the front panel on the
ush mount housing and screw into
place.
The sealing strip fastened at the
back of the front panel must lie ush
with the outside wall in order to
guarantee an adequate seal.
Servicing
10 Changing the name plate
Carefully lever out the call button on
the narrow side using a at blade
screw driver and pull out towards
the front. Inscribe the name plate if
required and replace.
If required, Siedle offers an inscrip-
tion service. For details, ask your
electrical installer or contact Siedle
direct on www.siedle.com
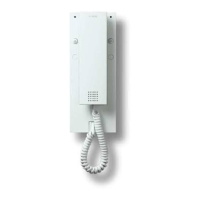
11 Exchanging the door loudspeaker
module
Pull out the at plug at the
BRMA050-… and release the
2screws. Then take out the
BRMA050-… Unscrew the module
carrier with speech module at
the 4xing screws (size5.5) and
remove. When inserting the new
module, ensure that the mounting
position is correct.
12 Exchanging modules
Unscrew the module carrier at the
4 xing nuts (size 5.5) and remove
the module in the module carrier.
An already connected terminal block
does not need to be disconnected,
but can be released by turning to
the left.
13 Unlock the module at the 2
catches and press forward out of the
module carrier.
When inserting the module ensure
that it is in the correct mounting
position (suspension of the retaining
cord is at the TOP). If necessary,
the terminal block fastened to the
module carrier must be removed by
turning to the left.
Care instructions
We recommend regular cleaning
and maintenance particularly when
installing in coastal regions, in indus-
trial areas or on busy roads.
Particularly aggressive types of dirt
such as bird droppings must be
removed as soon as possible.
Abrasive or scouring cleaning agents
such as steel wool, scouring sponges
or scouring cream should never be
used on our product surfaces!
For normal cleaning, warm water is
generally sufcient, where neces-
sary with the addition of washing
up liquid, using a soft scratch-proof
cloth (such as a glasses cleaning
cloth, furniture polishing duster etc.)
or a soft nylon brush.
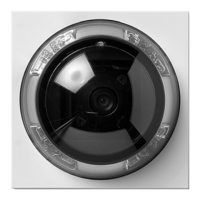
Plastic parts such as the shade over
the camera or nameplates must
not be treated using metal care
products.
After cleaning, remove all residues of
cleaning agents or lubricants in order
to prevent stains or discolouration!
Carefully rub all surfaces dry after
cleaning! Water droplets can also
result in staining under unfavourable
circumstances.
Application
La station de porte Siedle Classic est
conçue pour être encastrée dans des
murs (montage encastré).
Le principe d’installation de Siedle
Classic est similaire à celui de Siedle
Vario. L’installation s’effectue par
l’intermédiaire d’un bornier par
module. Chaque bornier indique
la désignation du module (p.ex.
BCMC650-02) et à côté de chaque
borne à vis gure la désignation cor-
respondante.
Tension électrique
L’installation, le montage et l’entre-
tien d’appareils électriques ne
doivent être réalisés que par un
spécialiste en électricité.
Selon DIN VDE0100 et EN60065,
des tensions extérieures supérieures
à 50V ne sont pas autorisées à
l’intérieur du boîtier encastré de la
station de porte.
Etendue de la fourniture
• Boîtier encastrable en tôle d’acier
galvanisé
• Carton protecteur d’enduit
• Façade comprenant modules de
fonctions et touche(s) d’appel avec
éclairage intégré
• Clé pour vis à six pans creux, taille
2,5
• Chiffon de nettoyage
• Cordon nylon pour support de la
façade
• La présente information produit
Accessoires
• ZDS/CL Accessoire antivol Siedle
Classic
• ZNSM/CL-02 Accessoire plaquette
de nom métal classique
Montage
• La façade comportant les unités
fonctionnelles ne doit pas être
encastrée.
• Si l’on applique l’enduit nal
ultérieurement, il faut au préalable
démonter la façade.
Français
 Loading...