GETTING STARTED
There are 8 rules that apply to the installation of these davits to your boat. These are Bill’s Rules.
Please adhere to them.
Rule violations are dealt with quickly. One violation mandates one week in Minnesota, in
January. Two violations require two weeks in January. Three or more violations and you will have to sell
your boat and buy a motor home.
1.) The stern rails of your boat may flex under pressure of davits. You may need to add
supplemental supports. Every boat is different.
2.) Proper Layout is key; trial fit everything before you drill any holes. Get a 3/4” sheet of
plywood and make a template of your swim platform and do your design of placement of
your davits, if you make a mistake you can throw it away. Careful planning eliminates
the need for extra work on your boat.
3.) Use only nuts and bolts to attach any load bearing device to a boat. Screws are NOT
allowed.
4.) Connect the davits to the boats bonding system. Don’t forget about lightning and that
sort of thing.
5.) When lifting, the inflatable must come into contact with the davit arms. This helps
stabilize the load.
6.) The boat must be restrained. It cannot be allowed to swing free. Use St. Croix Tie-
Down Restraints or the lifting lines to secure the inflatable.
7.) PULL THE DRAIN PLUG OUT OF THE INFLATABLE AS SOON AS YOU LIFT
IT OUT OF THE WATER! ALWAYS! Water weighs about 7 lbs. per gallon. There
are 7.5 gallons per cubic foot, and the average inflatable will hold about 26 cubic feet of
water. That potentially an extra 1,345 lbs! That is a lot of weight, so please pull the
plug out!
8.) Photographs- Send a photograph of your installation and the davits in use to the
factory. We use them as part of our boat shows displays. Some will even get into the
new catalog!
LAYOUT, DRILLING, AND LIFTING
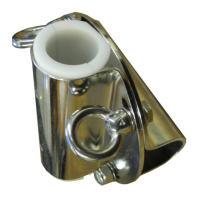
STEP 1 – Installing the davits is very straightforward. Clamp the
primary davit tube to the top rail of your stern. Position the ball joint
on the boat and mark the location. Drill the holes and install the bolts.
When you assemble the ball joint, Insert that through the upper
ball joint mounting plate, then thread on the ½” nut, then thread into the
bottom of the davit arm. The bottom ball joint plate is support for the
ball. It is used directly under the ball joint not as an internal backing
plate. When you have bolted down the top unit, then tighten the nut to
the bottom of the davit, so it does not come lose and rattle around
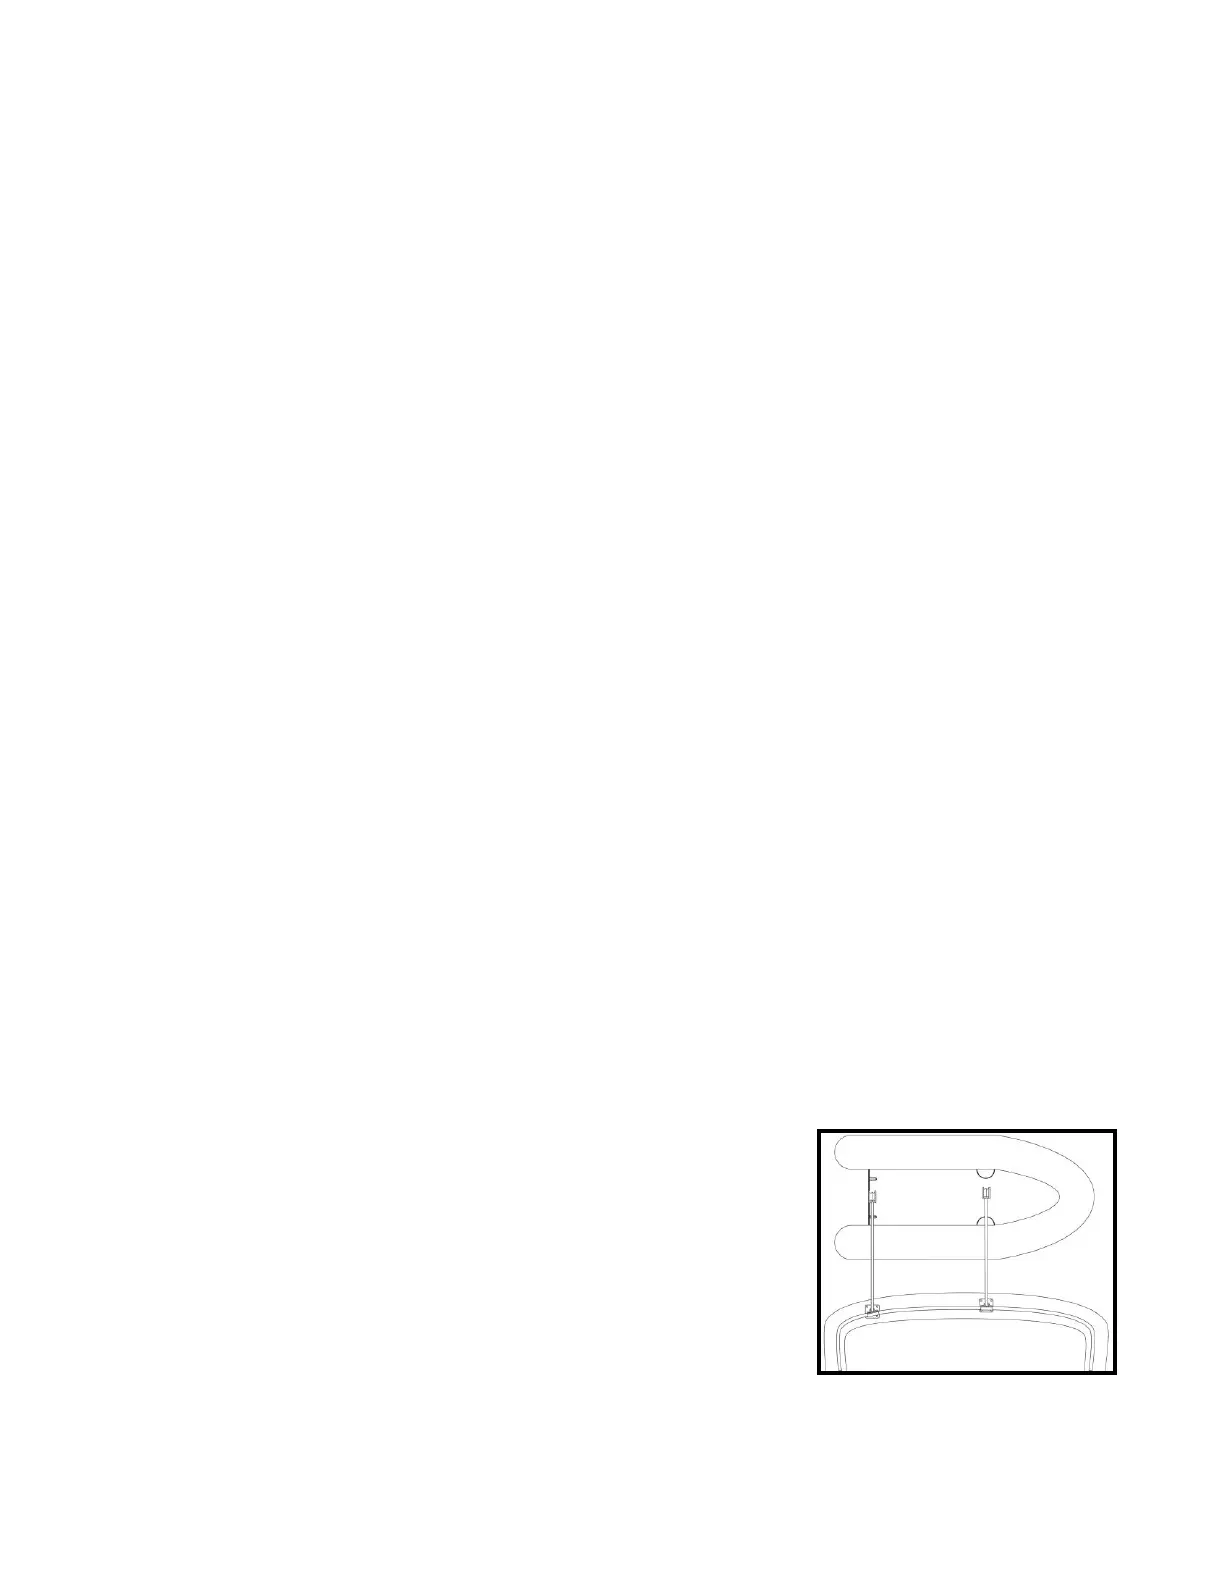
The upper mount consists of two identical pieces called clamshells. They are divided by a piece of
round plastic (bearings). The plastic is to prevent a burr from occurring when the davits are rotated. If