6
To prevent flooding, make sure that system is drained or isolation valves are
closed before opening multi-port valve.
Replacing Cover and Plug Assembly (as a unit):
1. STOP PUMP and release all pressure from system.
2. Remove all bolts and nuts around perimeter of cover.
3. Remove assembly by lifting straight up.
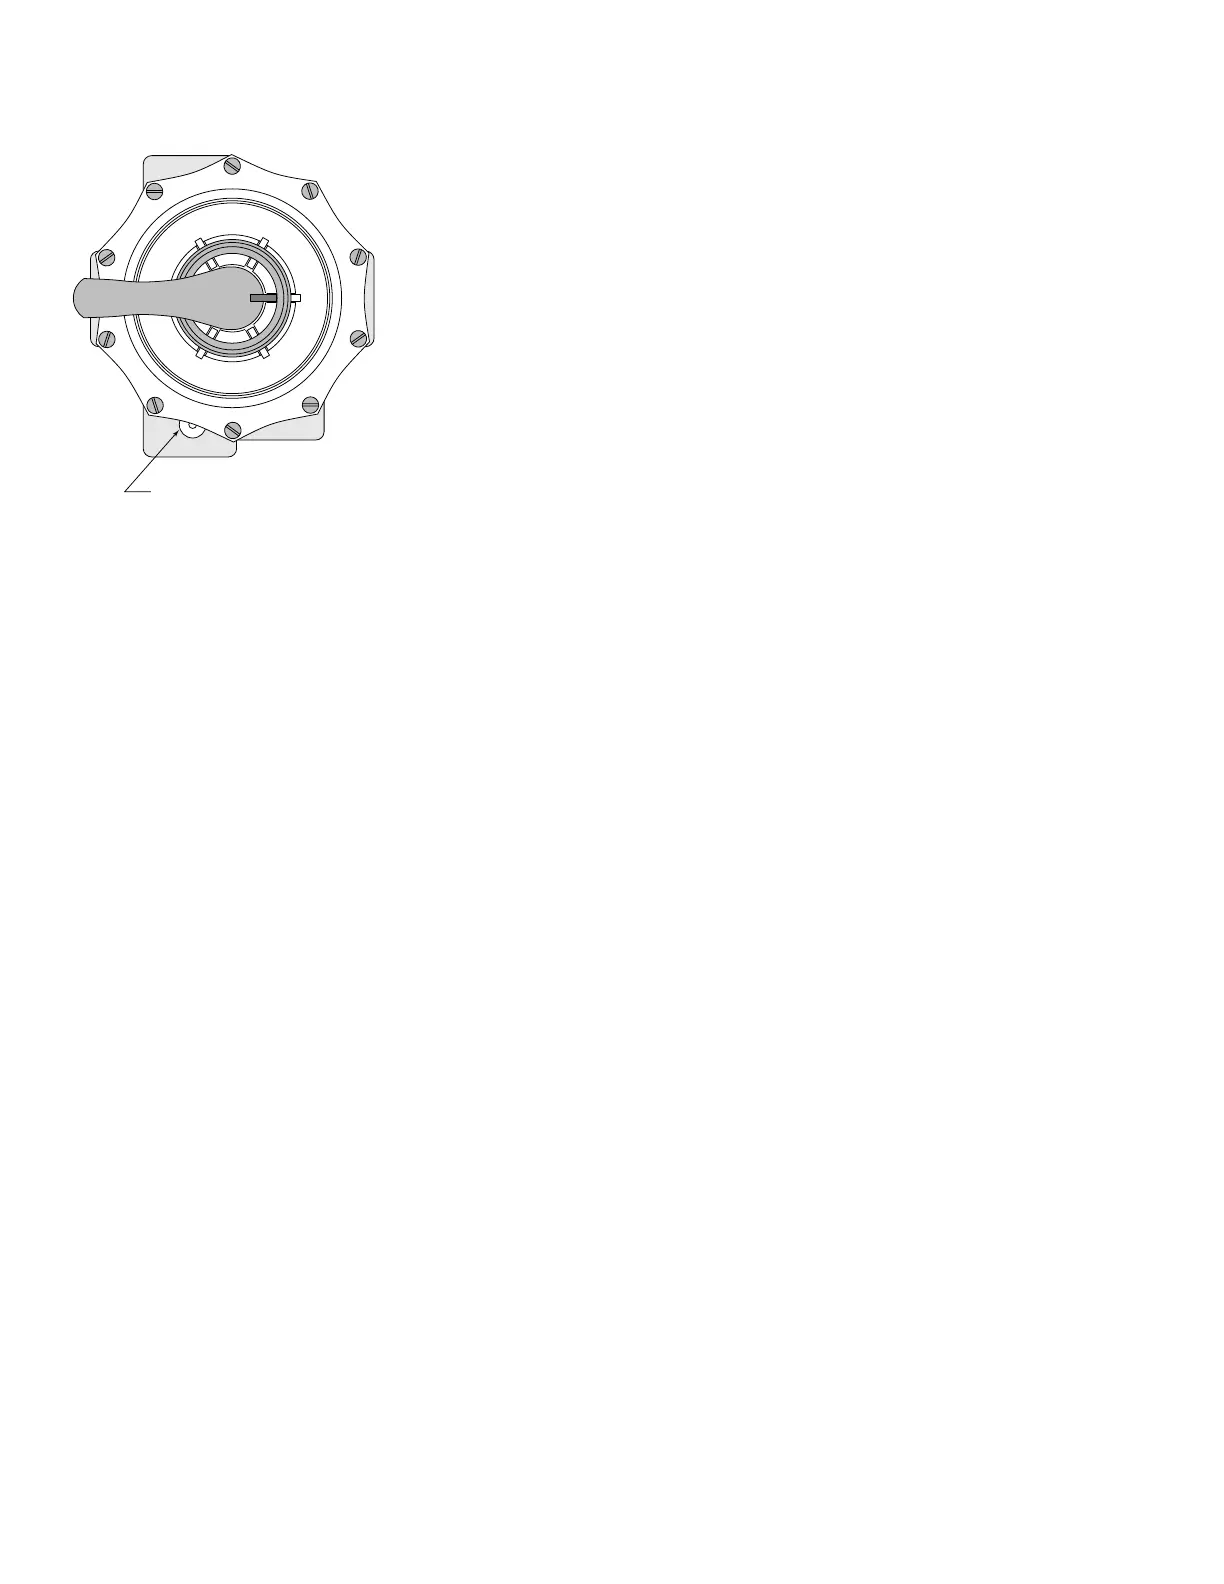
4. Align cover pin (see Figure 1) and install new cover and plug. Press
down on cover to allow bolts to engage nuts; tighten each bolt securely.
Replacing Internal Valve Parts:
1. STOP PUMP and release all pressure from system.
2. Place handle in “FILTER” position.
3. Remove handle pin and handle.
4. Remove washer.
5. Remove all bolts and nuts.
6. Remove cover by lifting straight up, while holding plug shaft down with
thumb.
7. While disassembled, check condition of plug, rubber gasket, spring, O-
Ring, and internal plastic washer. If any of these parts appear worn,
replace them.
8. Before reinstalling cover, be sure plug is in same position as when cover
was removed.
9. Make sure tab on valve cover aligns with pin on top of pump port (see
Figure 1). Press down on cover to allow bolts to engage nuts. Tighten
each bolt securely.
10. Replace washer, handle and steel pin, making sure handle is in filter
position.
Figure 1 – Cover alignment