W3 – Manual
WAM8W3A 6 Standby AB – standbygroup.se
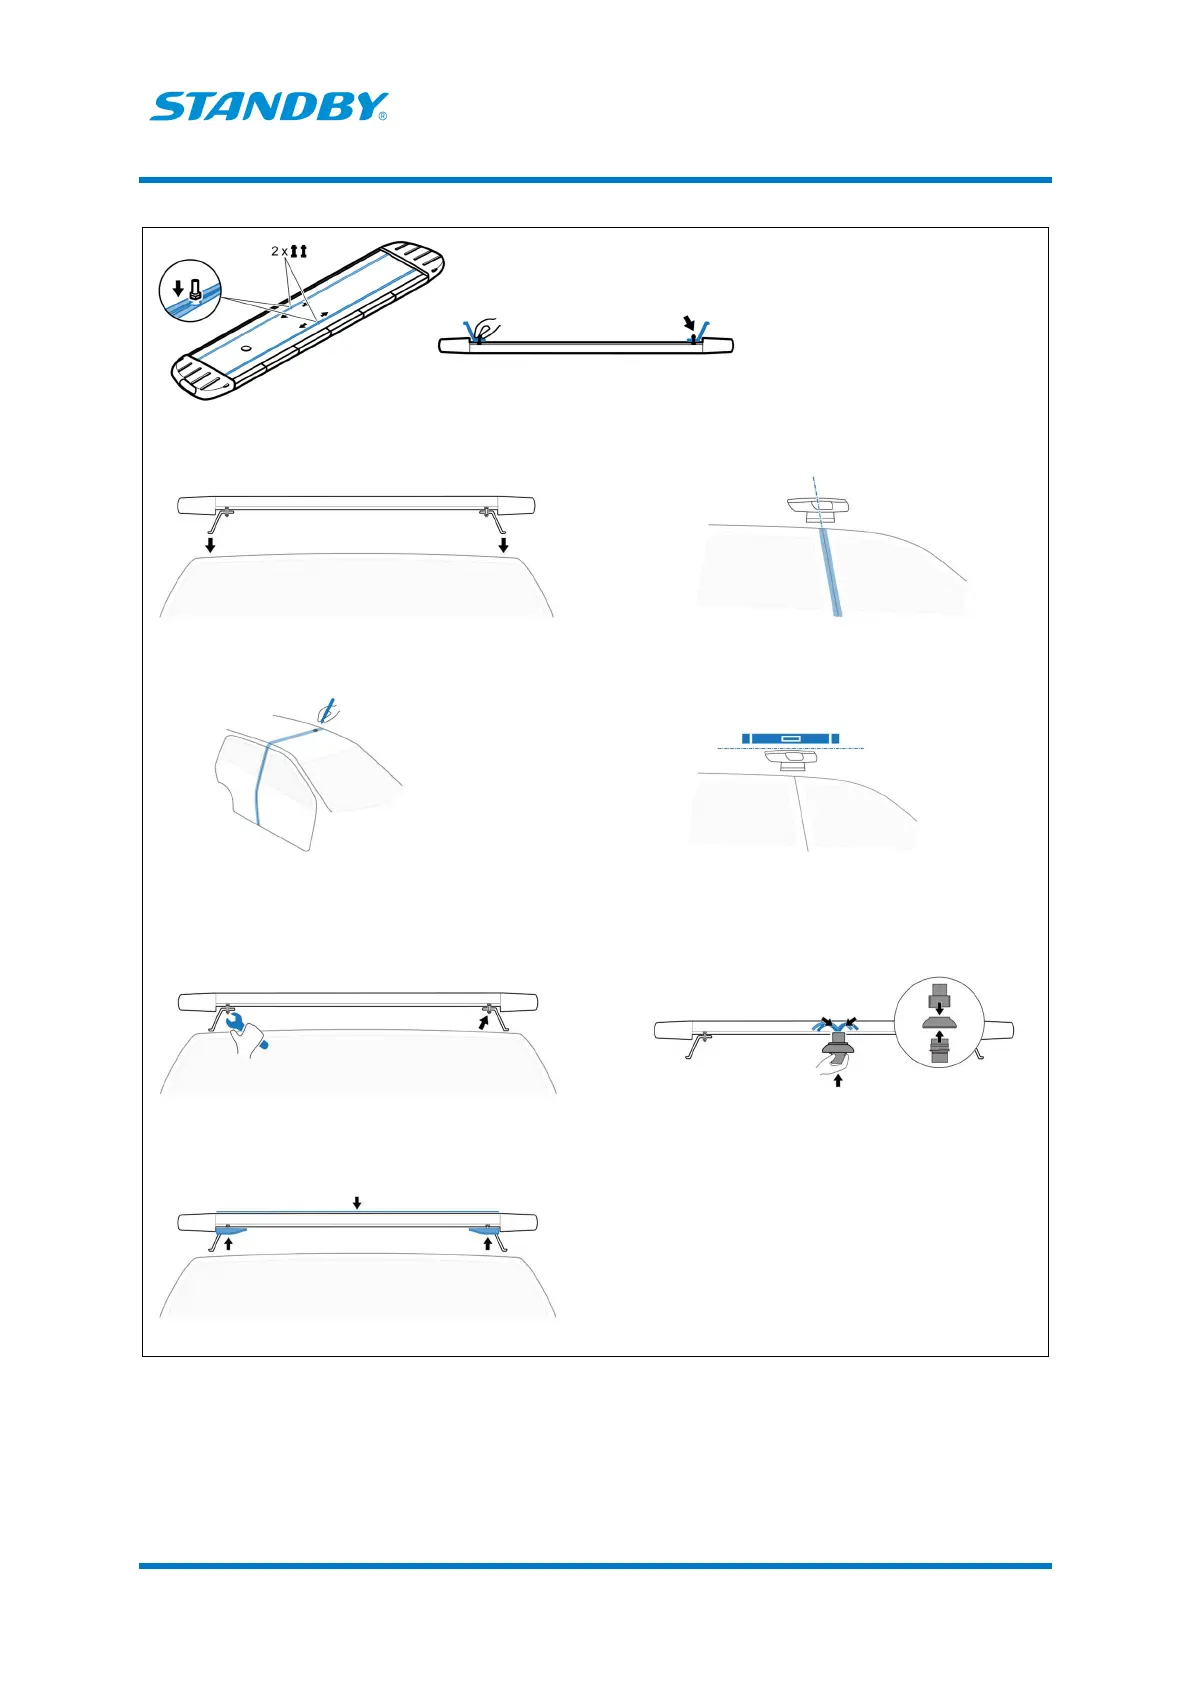
Table 2. Installation
−
Cannon connector as an option
1. Use fixing screws, by hand, to attach the roof brackets on the t
rails of the lightbar bottom. Do not tighten.
2. Pre install lightbar with the brackets on the
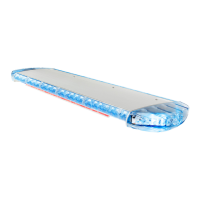
The Standby label is placed on the lightbar FRONT part.
3. Aline the lightbar with the B
1. Mark the location for the cable connector cables access
hole center.
2. Pre drill its center.
install the lightbar and brackets on the vehicle roof
rails. Make sure that the lightbar top line is horizontal.
6. Adjust and tighten the fixing screws (brackets and lightbar).
7. Mount the Cannon connector. Bring the connector up
through the lightbar bottom hole. Attach the four cables
from the lightbar to the connector.
8. Fasten the lightbar top and mount the aerodynamic covers.