English
7
(original instructions)
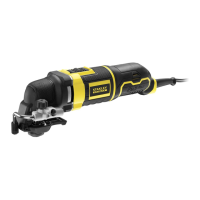
Carbide grout removal blade.
(Part number - STA26125-XJ)
Carbide coated surface ideal for
clearing grout and tile adhesive from
at surfaces and for fast stock
removal of wood, chipboard
and breglass.
Carbide rasp.
(Part number - STA26130-XJ)
Carbide coated surface ideal for grout
removal and for fast stock removal of
plastics, chipboard and breglass.
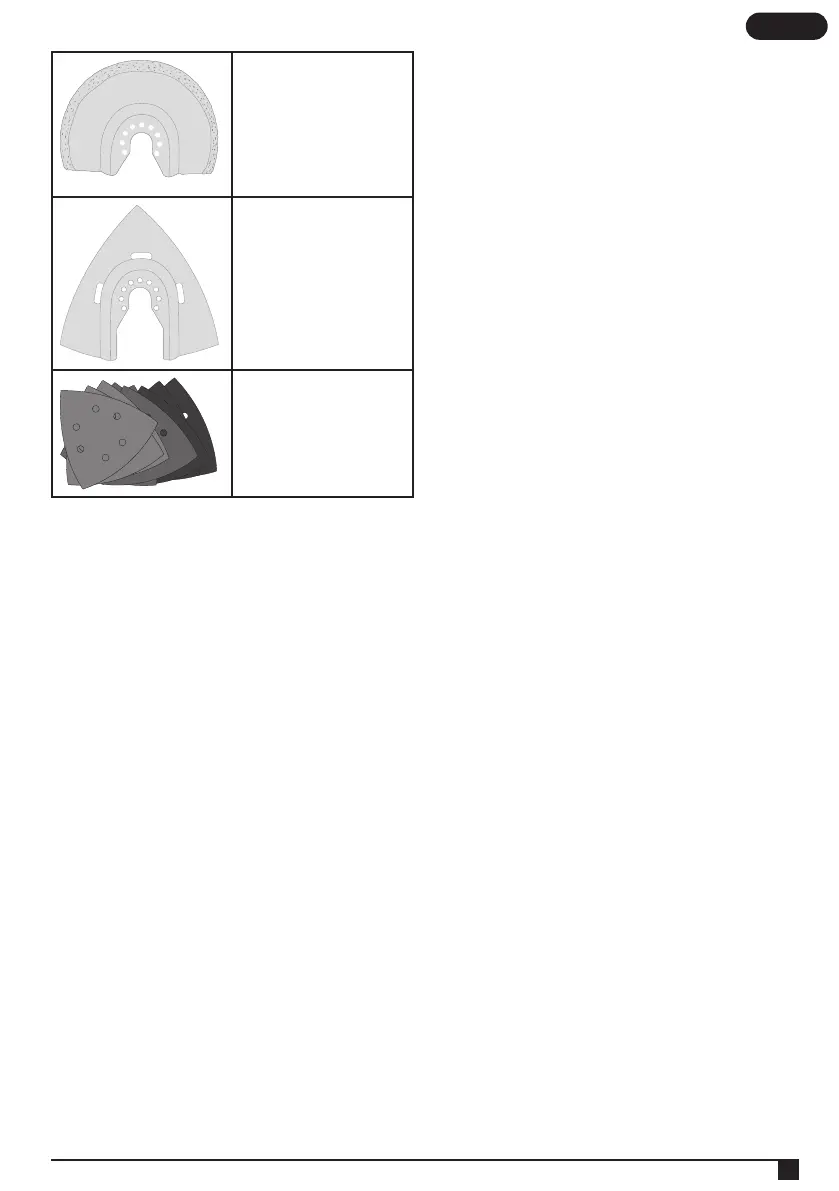
Sanding Sheets.
(Part number - STA32348-XJ)
Various grades for sanding of wood,
painted and varnished surfaces.
Assembly
Fitting and removing the accessories (g. A–G)
@
Warning! Before tting an accessory, disconnect the
tool from the mains supply.
Fitting a STANLEY FATMAX accessory (g. A–C)
● Hold the tool and squeeze the accessory clamping
lever (3).
● Slide the accessory (9) between the shaft and the
accessory holder making sure the accessory engages all
eight pins on the holder and is ush with the shaft.
● Release the accessory clamping lever.
Note: Some accessories, such as scrapers and blades can be
mounted at an angle if required (g. C).
Removing a STANLEY FATMAX accessory accessory
(g. A)
● Hold the tool and squeeze the accessory clamping
lever (3).
● Pull the accessory from the tool making sure the
accessory dis-engages from all eight pins on the holder.
● Release the accessory clamping lever.
@
Warning! Gloves must be worn when removing
accessories as then may become hot during use.
Fitting a sanding sheet (g. D)
● Line up the sanding sheet (10) with the sanding base (4)
as shown.
● Press the sheet rmly and evenly onto the sanding base,
making sure that the holes in the sheet coincide with the
holes in the base.
Removing a sanding sheet
● Pull the sanding sheet off the sanding base (4).
@
Warning! Never use the sanding base without a
sanding sheet or accessory in place.
Fitting the dust extraction adaptor (g. E)
● Line up the dust extraction adaptor (5) with the sanding
base (4) as shown.
● Press the adaptor rmly and evenly in to the
sanding base.
● Secure the adaptor by turning the locking
nut (11) clockwise.
● Connect a vacuum cleaner to the dust extraction adaptor.
Removing the dust extraction adaptor
● Turn the locking nut (11) anti-clockwise.
● Pull the dust extraction adaptor (5) out of the sanding
base (4).
Fitting the depth/cut guide (g. F)
The depth/cut guide allows you to precisely cut material at a
specied depth and more accurately track a marked cut line.
● Attach the depth/cut block (8) by inserting the tabs on the
guide into the slots on the main body.
● Secure the block to the main body with the bolt (12) and
tighten with the supplied hex wrench.
● Insert the guide (13) into the requried position and secure
by turning the depth/cut adjustment knob (14) clockwise.
Fitting alternative accessories (g. G)
● Place the spacer (6) onto the collar (15).
● Place the alternative accessory (16) onto the collar (15).
● Firmly attach the xing bolt (7) into place to ensure a tight
t for the alternative accessory (16).
Note: The spacer and xing bolt are not used to attach
STANLEY FATMAX accessories. STANLEY FATMAX
accessories are attached using the Super-lok
TM
Tool free
accessory clamping lever.
Use
@
Warning! Let the tool work at its own pace. Do
not overload.
@
Warning! Before cutting into walls, oors or ceilings,
check for the location of wiring and pipes.
Variable speed control (g. H)
The variable speed control allows you to adapt the speed of
the tool to the application.
● Set the variable speed dial (2) to the desired setting. At
setting 1 the tool will operate at low speed, 10,000 min
-1
.
At setting 6 the tool will operate at the maximum speed,
22,000 min
-1
.
Switching on and off (g. I)
● To switch the tool on, slide the on/off switch (1) forward
(position I).
● To switch the tool off, slide the on/off switch (1) to the rear
(position O).
Cut guide (g. F & J)
This feature allows you to more accurately track a marked
cut line.
● To use the cut guide, insert the guide (13) as shown in
gure J into the front slot on the depth/cut guide block (8).
 Loading...