G
B
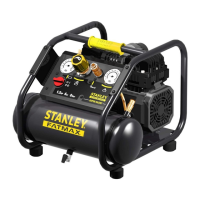
19
Connect the Blue wire to the terminal marked Neutral (N).
Connect the Brown wire to the terminal marked Live (L).
Connect the Yellow & Green wire to the terminal marked
Earth (E). Ensure that the outer insulation is gripped by the
cord grip and that the wires are not trapped when replacing
the plug cover. The mains lead on this product is tted with
a 13 amp (BS1363/A) plug. A 13 amp (BS1362) fuse must
be tted in the plug.
If in doubt consult a qualied electrician.
There are no user serviceable parts inside this product
except those referred to in the manual. Always refer
servicing to qualied service personnel. Never remove
any part of the casing unless qualied to do so; this unit
contains dangerous voltages.
Warning!
For your protection if this product is to be used outdoors it
should not be exposed to rain or used in damp locations. Do
not place the product on damp surfaces, use a workbench
if available. For added protection use a suitable residual
current device (R.C.D.) at the socket outlet.
Note: If the mains cable requires replacing it must be
replaced with an identical one and tted by a qualied
person.
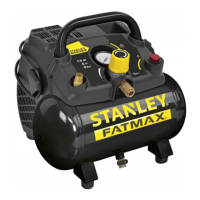
6.3 Start-up and use
● Check for correspondence between the compressor
plate data with the actual specications of the electrical
system. A variation of ± 10% with respect of the rated
value is allowed.
● Insert the plug of the power cable in a suitable socket
checking that the I/O switch located on the compressor
is in the OFF «O» position (Fig. 4).
● At this point, the compressor is ready for use.
● Operating on the I/O switch, the compressor starts,
pumping air into the receiver through the delivery pipe.
● When the upper calibration value (set by the manufacturer)
has been reached, the compressor stops.
When air is used, the compressor restarts automatically
when the lower calibration value is reached (2 bar between
upper and lower).
● The compressor continues to operate according to this
automatic cycle until the I/O switch is turned (Fig. 4).
● Always wait at least 10 seconds from when the compressor
has been switched off before restarting this.
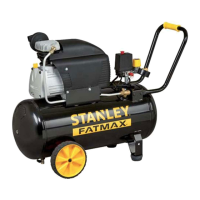
● The compressor is tted with a pressure reducer (ref.
7). Operating on the knob with the tap open (turning it in
a clockwise direction to increase the pressure and in a
counterclockwise direction to reduce it), air pressure can
be regulated so as to optimize use of pneumatic tools.
● The value set can be checked on the gauge (ref. 6).
● The set pressure can be taken from the quicklock
coupling (ref. 5).
● Please check that the air consumption and the
maximum working pressure of the pneumatic tool
to be used are compatible with the pressure set on
the pressure regulator and with the amount of air
supplied by the compressor.
● Always pull out the plug and drain the receiver once you
have completed your work.
7. CLEANING AND MAINTENANCE
Warning!
Pull the power plug before doing any cleaning and
maintenance work on the appliance.
Warning!
Wait until the compressor has completely cooled
down. Risk of burns!
Warning!
Always depressurize the tank before carrying out any
cleaning and maintenance work.
7.1 Cleaning
● Keep the safety devices free of dirt and dust as far as
possible. Wipe the equipment with a clean cloth or blow
it with compressed air at low pressure.
● We recommend that you clean the appliance immediately
after you use it.
● Do not use cleaning agents or solvents; these may be
aggressive to the plastic parts in the appliance. Ensure
that no water can get into the interior of the appliance.
● You must disconnect the hose and any pneumatic tools
from the compressor before cleaning. Do not clean the
compressor with water, solvents or the like.
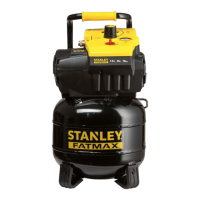
7.2 Condensation water (Fig. 2)
The condensation water must be drained off each day
by opening the drain valve (ref. 3) (on the bottom of the
pressure vessel).
Warning!
Dispose of the condensation water in an environmentally
compatible manner at the appropriate collection point.
MAINTENANCE RESUMPTIVE TABLE
FUNCTION
AFTER THE FIRST
100 HOURS
EVERY 100 HOURS
Cleaning of intake lter and/or
substitution of ltering element
● ●
Draining tank condensate Daily and at the end of work
 Loading...