Calibration
Calibrate the unit on wall before scanning for wood
or metal stud.
Note: While calibrating, the Intelli
LLaasseerr
™
PPrroo
must
nnoott
be placed directly over a stud, dense material
such as metal, wet or newly painted areas as this
will prevent the unit from calibrating properly. If this
is done over wood or metal stud the unit will give
no indication when moved away from the area.
Move to a different location and try again.
1. Hold the Intelli
LLaasseerr
™
PPrroo
flat against the surface,
making firm contact. Press and hold the “On”
button. All indicators on the LCD are displayed
while the unit goes through its’ 1 to 3 second
calibration cycle. The word “CALIBRATING“ will
appear on LCD (illustration 4) while the unit is
calibrating to surface.
Following the completion of calibration, the unit
will beep and the word “READY” will be shown
on the LCD (illustration 9). The LED light will
illuminate the keypad showing the depth mode
(1/2” depth default).
–7–
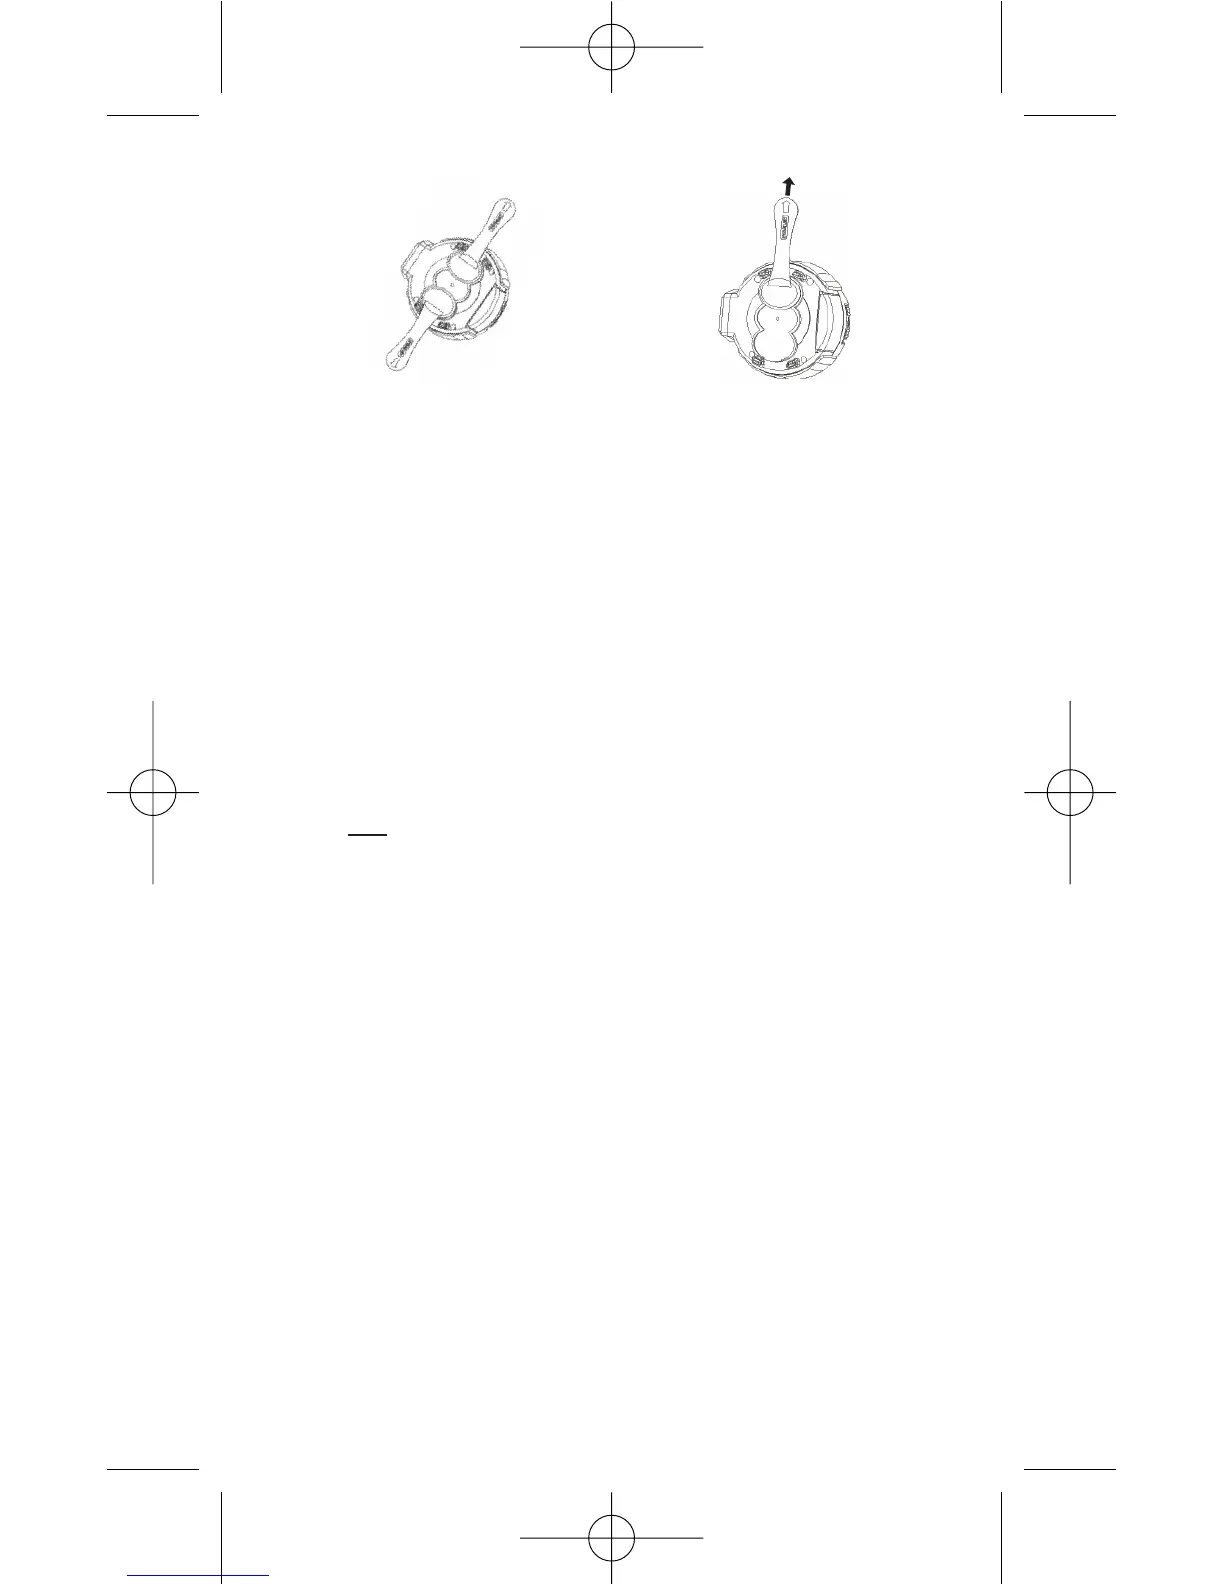
To remove the adhesive from
the surface and laser unit,
slowly pull the tab in the
direction shown.
Apply the 2nd adhesive pad
in the position shown.
Press the adhesive on to the
laser unit in the position shown.
Use the release liner to press the
adhesive to the unit. Then peel
away second release liner.
ILLUSTRATION 8
Remove the release
liner from 1 side.
Avoid touching adhesive.
WARNING:
Do not pull the adhesive and/or laser pod
away from the surface. Damage to the surface may
result. If the tab separates from the adhesive, very slowly
pull the unit away from the surface to allow time for the
adhesive to gently separate from the surface/unit.