3
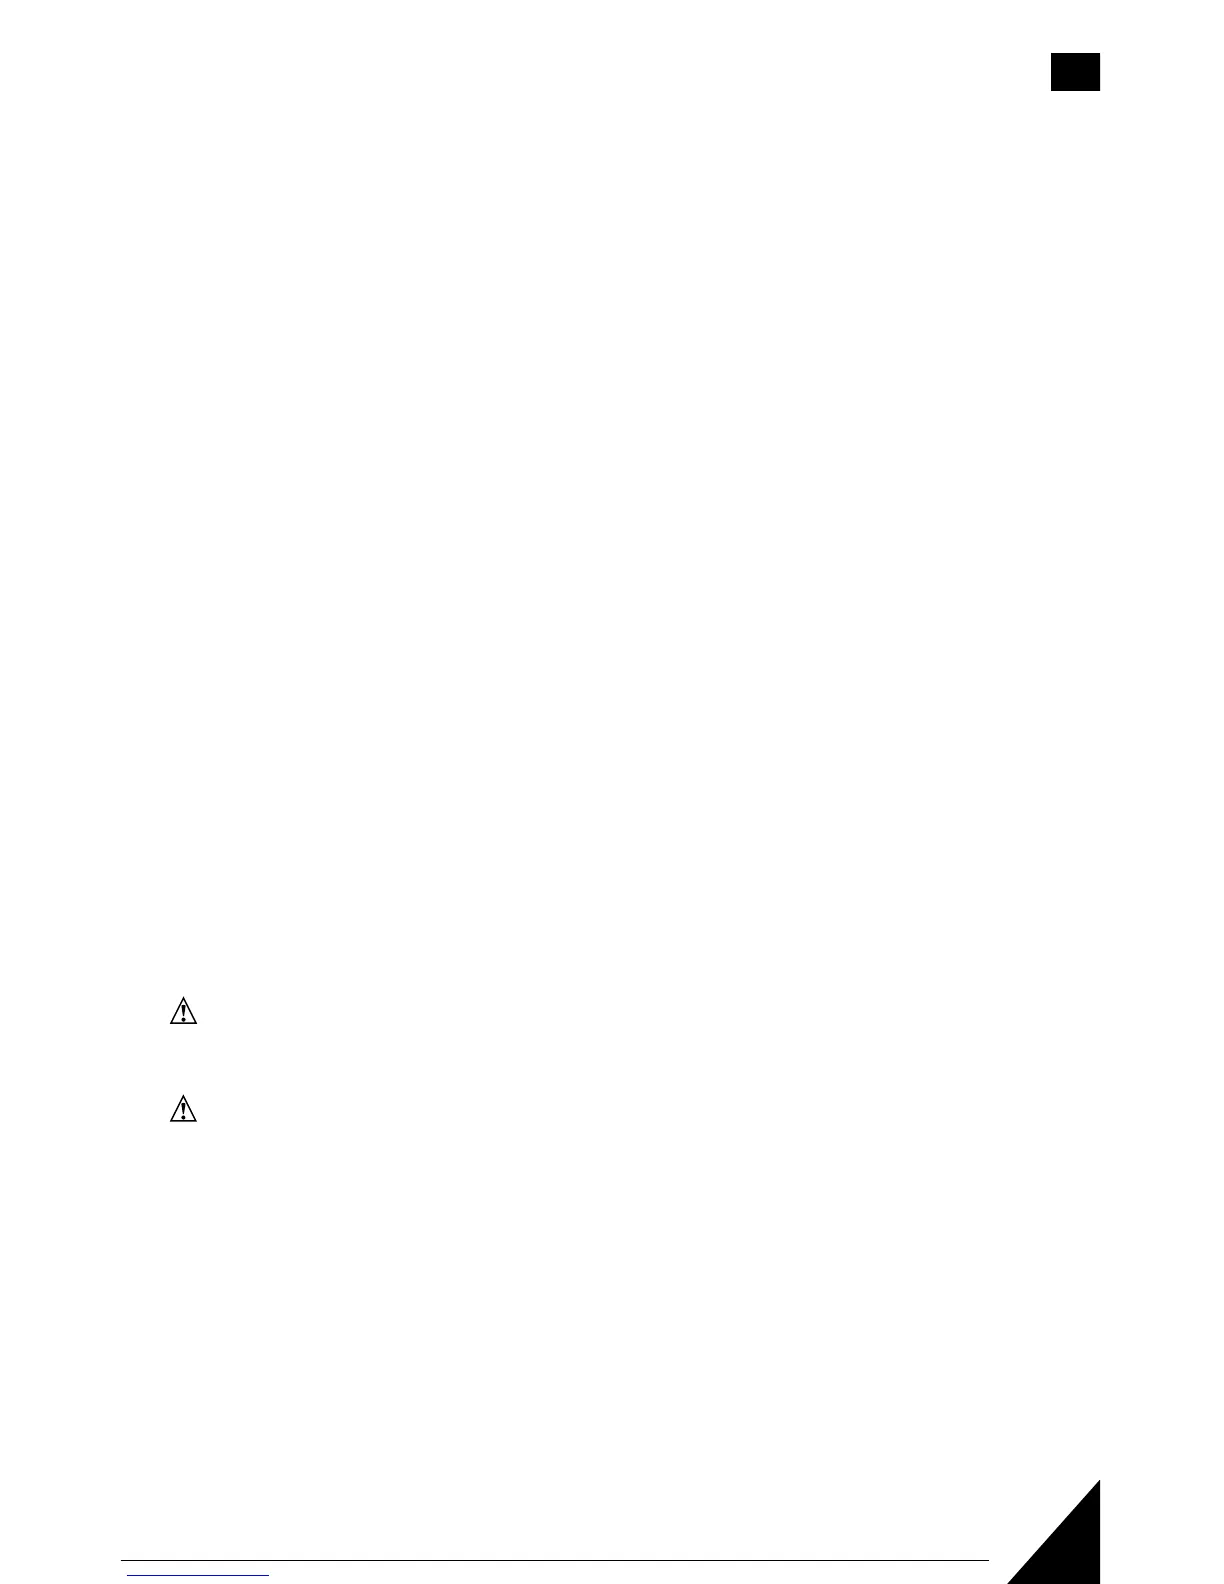
Selecting Scanner Depth Mode:
• Depressandholdactivationbuttononce(1x)toselectto1/2”(12mm)readdepthdetection.
The1/2”(12mm)modeLEDwillilluminate.
• Doubleclick(depresstwotimes-2x)andholdactivationtoselectto1”(25mm)readdepth
detection.The1”(25mm)modeLEDwillilluminate.
• Tripleclick(depressthreetimes-3x)andholdactivationbuttontoselect1-1/2”(38mm)read
depthdetection.The1-1/2”(38mm)modeLEDwillilluminate.
Note: For best results the depth mode selected should be based on the thickness of the surface
material being scanned.
Note: The unit cannot be moved before calibration is complete.
• WhentheredLEDgoesoff,theunitiscalibrated.
• Keepholdingtheactivationbuttonduringallofthefollowingprocedures.
Note: Once the activation button is released, the unit shuts off.
• IftheredLEDstayslit,movetheStudSensor150toadifferentlocationandtryagain.Releasing
the activation button will turn off the sensor.
Note: Whilecalibrating,theStudSensor150mustnotbeplaceddirectlyoverastud,dense
material such as metal, or over a wet or newly painted area, or it will not properly calibrate.
• SlidetheStudSensor150slowlyacrossthesurfaceinastraightline.Asitdetectsastud,thered
LED’s will go on.
2)Whenitdetectsthestudedge,thetopLEDwillgoonandanaudibletonewillsound.Usethe
marking notch located at the top of the unit to mark the stud edge.
3-4) Repeat the above steps from the other side of the stud. Coming from the opposite direction,
mark the other edge of the stud.
• Themidpointofthetwomarksindicatesthestudcenter.
Detecting Live AC Wires
The live wire red LED will illuminate and the Stud Sensor 150 sounds an audible tone, warning
whenintheproximity(typicallywithin4”(10cm)to18”(46cm)alongthesurface)ofalivewire.
Warning! This tool is not a measuring device and should not be used as a substitute for a
voltmeter.
Warning! The live wire red LED on the display is just an indicator and in some situations
the voltage detection option may not accurately indicate the presence of voltage in the event
of internal device failure or improper operation, and therefore should not be relied upon for
identification of the presence of hazardous voltages. Other evidence such as construction
blueprints or visual identification of wiring or conduit entry points should also be utilized.
Always turn off AC power when working near wiring.
Always follow proper safety practices and use a separate detection method to verify a de-
energized condition prior to commencing work.
Note: Static electrical charges that can develop on drywall and other surfaces will spread the
voltage detection area many inches on each side of the actual electrical wire. To aid in locating the
wireposition,scanholdingtheunit½”(12mm)awayfromthewallsurfaceorplaceyourother
handonthesurfaceapproximately12”(30cm)fromsensor.
Warning: Shielded wires or wires in metal conduits, casings, metallized walls or thick, dense walls