UNPACKING & SET-UP SUMMARY
CASTER / ACCESSORY HOLDER ASSEMBLY
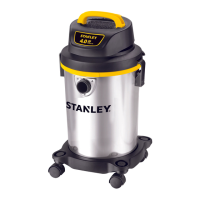
1.Pull lid latches in an outward motion, remove power head and some accessories that may
have been shipped in the tank.
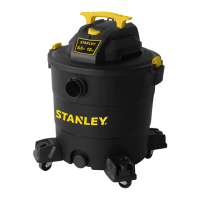
2.Attach the casters according to the instruction in this manual.
1.Invert dust tank, take the dolly to align the tank bottom sinking place. Secure with screws provided.
2.Return dust tank assembly upright.
3.Before replacing power head, refer to this manual to ensure you have the proper filters installed
for your cleaning operation.
4.Replace power head, and apply pressure with thumb to each latch until it snaps tightly in place.
Make sure all lid latches are clamped securely.
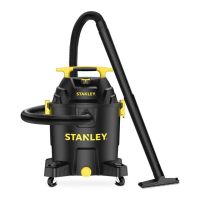
5.Insert the flexible hose end into inlet of tank.
6.Attach the extension wands to the accessor end of the hose. Apply slight pressure until fitting
is tight.
7.Attach one of the cleaning accessories (depending on your cleaning requirements) on the
extension wands. T
wist slightly to tighten the connection.
8.Plug the cord into the wall outlet. Your cleaniner is ready for use.
OPERATING INSTRUCTIONS
6