12
GB
8.
a
and
b
for the
corresponding Ceiling Height
D
table, the laser must be serviced at an authorized
service center.
Ceiling Height
D
Allowable Distance
Between
a
and
b
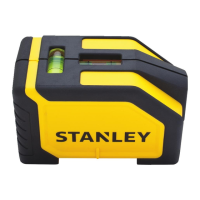
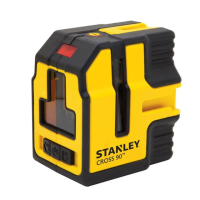
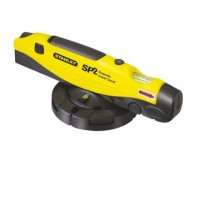
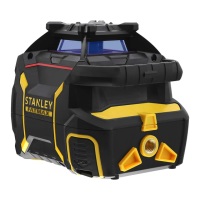
Using the Laser
Operating Tips
•
the laser.
•
• If the laser is ever dropped, check to make sure it
is still calibrated.
•
laser is self-leveling. Each laser is calibrated at
as long as it is positioned
•
Turning the Laser Off
position (Figure
A
2
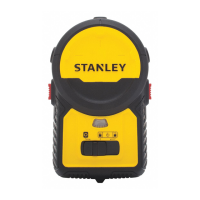
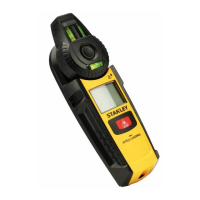
Using the Laser with the Bracket
G
or pole.
1.
•
or back of the laser (Figure
C
), position the
(Figure
G
1
).
• Turn the laser knob (Figure
G
2
bracket arm.
2.
If needed, change the height or position of the
laser on the bracket.
• Turn the adjustment knob (Figure
G
3
)
•
height (Figure
G
4
). To change the bracket
from 90° to 180°, slide the bracket arm to the
top of the bracket and then flip the arm to the
right (Figure
G
5
).
• Turn the adjustment knob (Figure
G
3
)
3.
Use the bracket’s clamp (Figure G 6 ) to hold
the laser in place on a stud, ceiling grid, or pole.
•
at the correct angle for attaching to the object.
G
7
).
•
ceiling grid, or pole.
• Turn the clamp knob (Figure
G
8
until the clamp is tight around the object and
the bracket is held in place.
Using the Laser with Other
Accessories
WARNING:
Since accessories other than those offered
by STANLEY have not been tested with this
laser, use of such accessories with this laser
could be hazardous.

 Loading...