4 Commissioning
4.1 Before every use
Make sure that the following conditions are met:
r Vacuum cleaner, mains cable, suction hose and accessories
are not damaged.
r All lters have been inserted and are not damaged.
4.2 Switching on and off
The plug socket on the vacuum cleaner remains always under
voltage, regardless of the main switch position.
l WARNING!
Danger of injury by automatically starting power tool!
▶ Switch off power tool or pneumatic tool before connecting to
the vacuum cleaner.
NOTE
With switch in position >0<, the plug socket on the vacuum
cleaner can be used as an extension cable.
l Power consumption: vacuum cleaner + connected power
tool (max. 2000 W) max. 16 A.
4.2.2 Switching on the vacuum cleaner
Functions see „3 Display and control elements“ on page 24.
▶ Insert plug into plug socket.
▶ Set switch to position >IR<.
↳ Vacuum cleaner starts immediately.
or:
▶ Set switch to position >A< or >AR<.
↳ Vacuum cleaner is in standby mode for power tools.
4.2.3 Setting the suction hose diameter*
▶ Set suction hose diameter at the switch.
l CAUTION!
Selector switch for minimum air volume ow signal (horn and
light) on vacuum cleaners with dust classes „M“ and „H“
In the modes >AR< and >IR< the following setting is made,
depending on the diameter of the hose:
Selector switch for
suction hose inner diameter
Volume air ow
∅ 35 mm
70 l/s
∅ 27 mm
41 l/s
∅ 21 mm
25 l/s
The speed can be adjusted individually after setting the hose
diameter.
4.2.4 Adjusting the suction power*
▶ Adjust motor speed on the switch.
or
▶ Set auxiliary air slide on the handle tube.
4.2.5 Switching off the vacuum cleaner
▶ Set switch to position >0<.
↳ Vacuum cleaner is switched off.
▶ After switching off, pull the mains plug out.
▶ Roll up mains connection cable.
▶ Store the mains connection cable on the cable hook.
▶ Store the suction tube by inserting it into the accessories holder*
on the container rear wall.
▶ Put the suction hose ends together so that no dirt particles leak
out.
▶ Remove Power tool.
5 Operating modes
5.1 Sucking up dry materials
▶ Only use a dry lter, vacuum cleaner and accessories, so that
the dust does not stick and or cake.
▶ When vacuuming soot, cement, plaster or similar dusts: Insert a
PE disposal bag in the dirt container.
▶ Always use disposal bags in combination with folded lter
cartridges.
NOTE
M, H and H-asbestos class vacuum cleaners should be
preferably used as vacuum cleaners for dry dusts.
5.2 Sucking up liquids
l WARNING!
Electrical shock hazard!
▶ If any foam or liquid is discharged, immediately switch off the
vacuum cleaner.
▶ Empty dirt container and folded lter cartridge.
NOTE




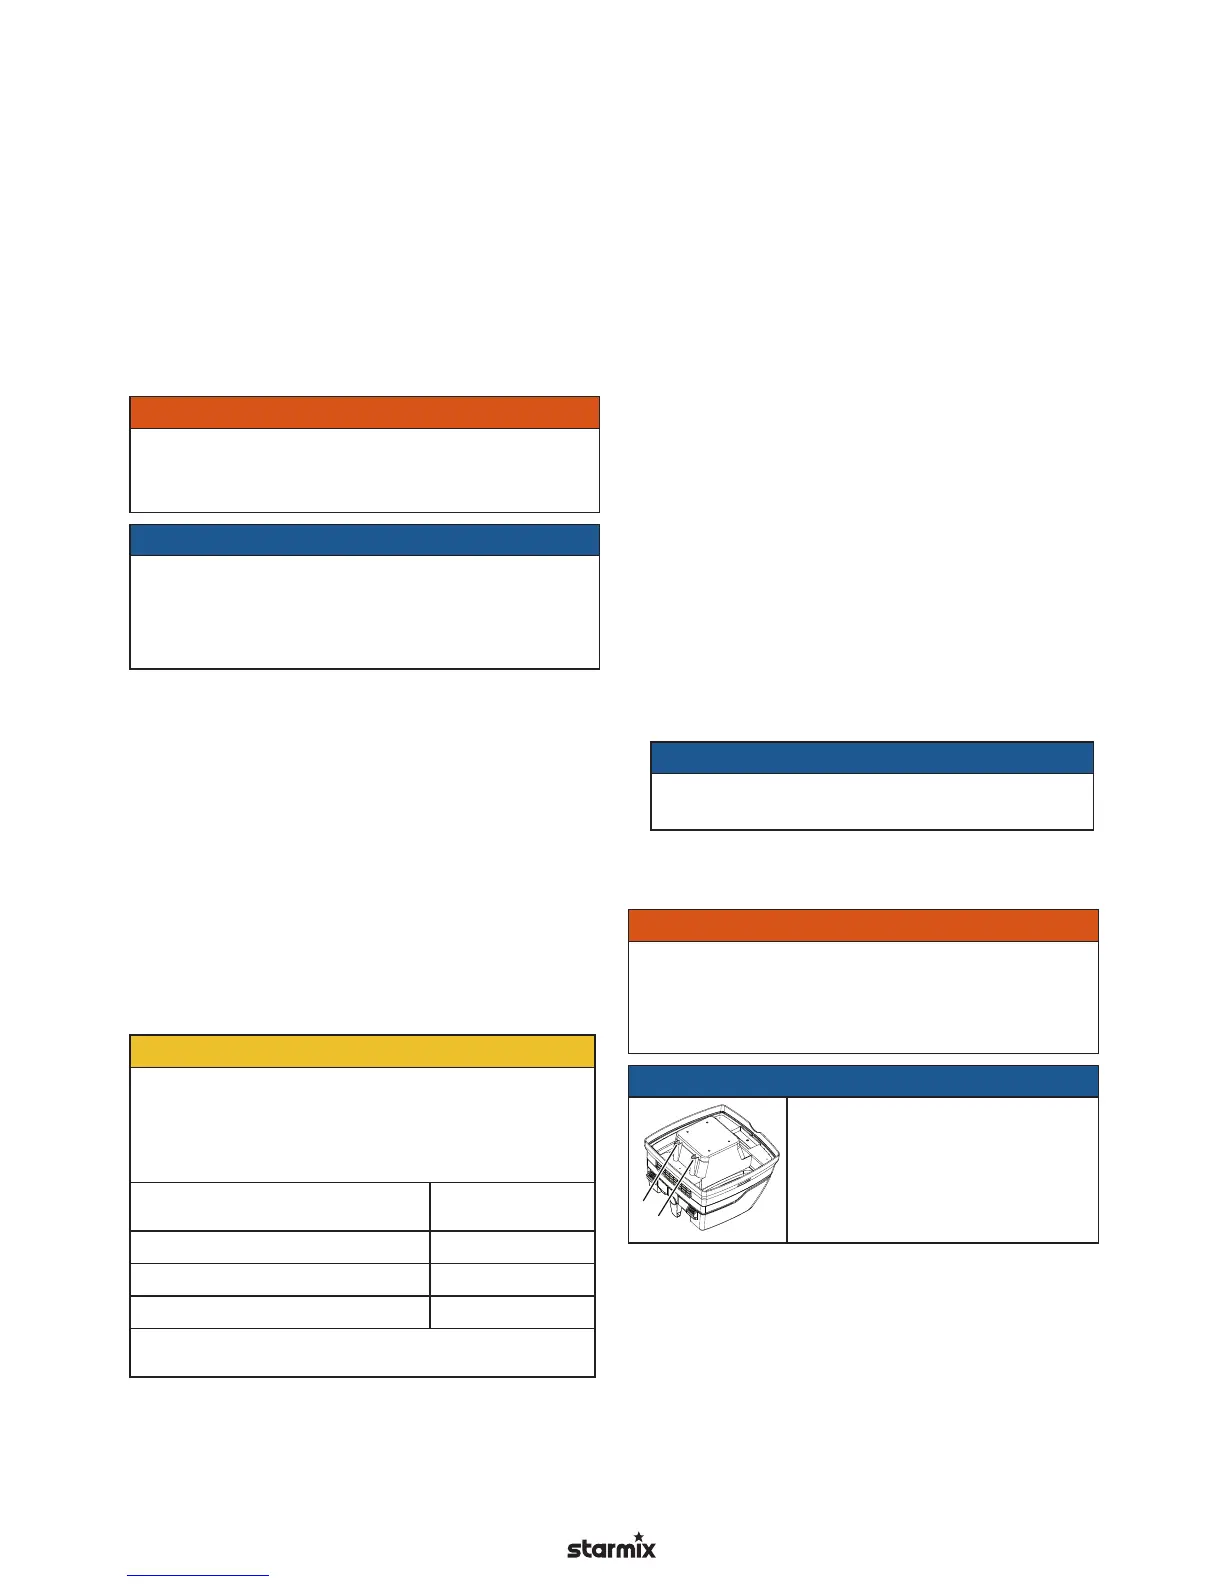
 To Next Page