Page 33
APPENDIX D
CALIBRATION OF TEMPERATURE READOUT
The temperature readout circuit is calibrated at the factory and should only be re-calibrated as indicated in the
recommended maintenance schedule or if the thermocouple or M265 controller chassis is replaced, or if the
temperature reading is judged inaccurate for other reasons.
The following procedure should be followed to re-calibrate the system.
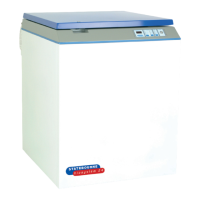
First turn off the power, then carefully remove the thermocouple sensor (blue/white wire) from the black PTFE
tube located inside the refrigerator at the 12 o’clock position. (On the Biosystem Archive Series the
thermocouple sensor is located in a tube in the vessel neck.)
Remove the fixing screws, slide the controller out of the cabinet, remove the six screws which retain the white
plastic cover and rest it in a position to allow access to the ZERO (RV1) and GAIN (RV2) potentiometers.
These are adjacent to the thermocouple connector on the printed circuit board.
Place the thermocouple probe in a beaker of ice/water to establish the 0° C reference.
Turn on the power to the controller and allow the electronics to stabilise for a few minutes. Turn the ZERO
potentiometer (RV1) with a trimmer tool or small screwdriver until a zero reading is obtained on the display. For
optimum accuracy adjust to the point where the polarity indication on the display changes from + to - or vice-
versa.
Next place the thermocouple probe in Liquid Nitrogen and turn the GAIN pot (RV2) to the point where the
display changes from -195 to -196.
Now turn off the power and replace the controller chassis.
Replace the thermocouple probe inside the black PTFE tube.
NOTE: During the calibration procedure the alarm will sound due to changing temperatures on the
thermocouple and sensors. These alarms should be muted and ignored. They are to be expected and
are not an indication of a faulty controller.
D-1