Page 10
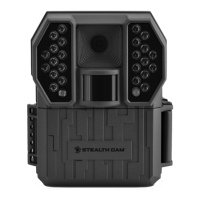
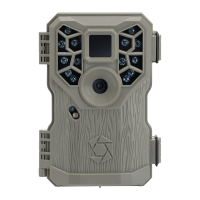
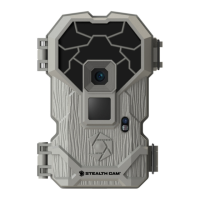
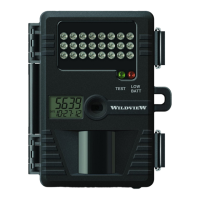
Camera Setup
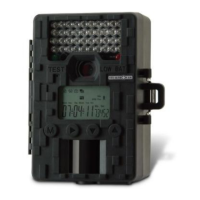
Battery Installation
Press the battery eject button on the bottom right to eject
tray. With the tray removed, insert 8 new AA batteries, being
careful to match orientation marked on tray. After batteries are
inserted, reinsert battery tray into camera. If you are using an
external power source, ensure that it is 12V. Other voltage
levels could damage your camera.
NOTE: Do not mix new and old batteries or alkaline and
lithium batteries.
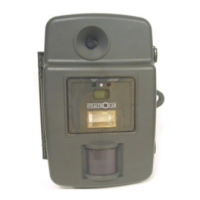
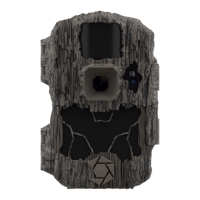
SD Card Installation
The SD card slot is located on the right side of your camera.
A class 10 SD card is required, use of a dierent card may
produce unexpected results. Insert SD card with label facing
you, as shown in diagram on the left. When inserting SD card
you should only feel minimal resistance and a click when the
card is fully inserted.
NOTE: For optimal performance use a Stealth Cam class 10
SD card.
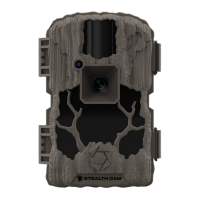
Power On and
Check Status
Power on your camera to
automatically begin sync. After sync
is complete, press the SYNC button
at any time to take and upload a
test photo to ensure your camera is
functioning properly.
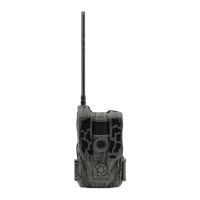
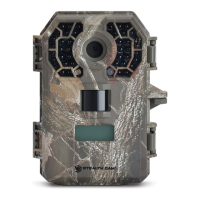
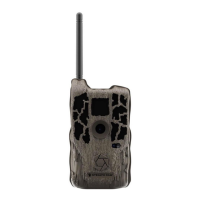
Antenna Installation
Screw on device antenna until it is
hand-tight. The antenna must be
screwed tight to ensure
the camera is sealed
from water. Be careful
that the antenna is not
overtightened.