17
Timer
The chosen time is dependent of:
∙ Own Taste (medium, rare, well-done)
∙ Quality of the meat
∙ Temperature of the meat (e. g. out of the fridge)
∙ Cutting thickness
∙ Degree of fat into the meat
Important! Poultry and minced meat must be grilled as long as no juice leaves the
meat anymore.
∙ During the heating time, the timer can be adjusted form 1 minute up to 99 minutes.
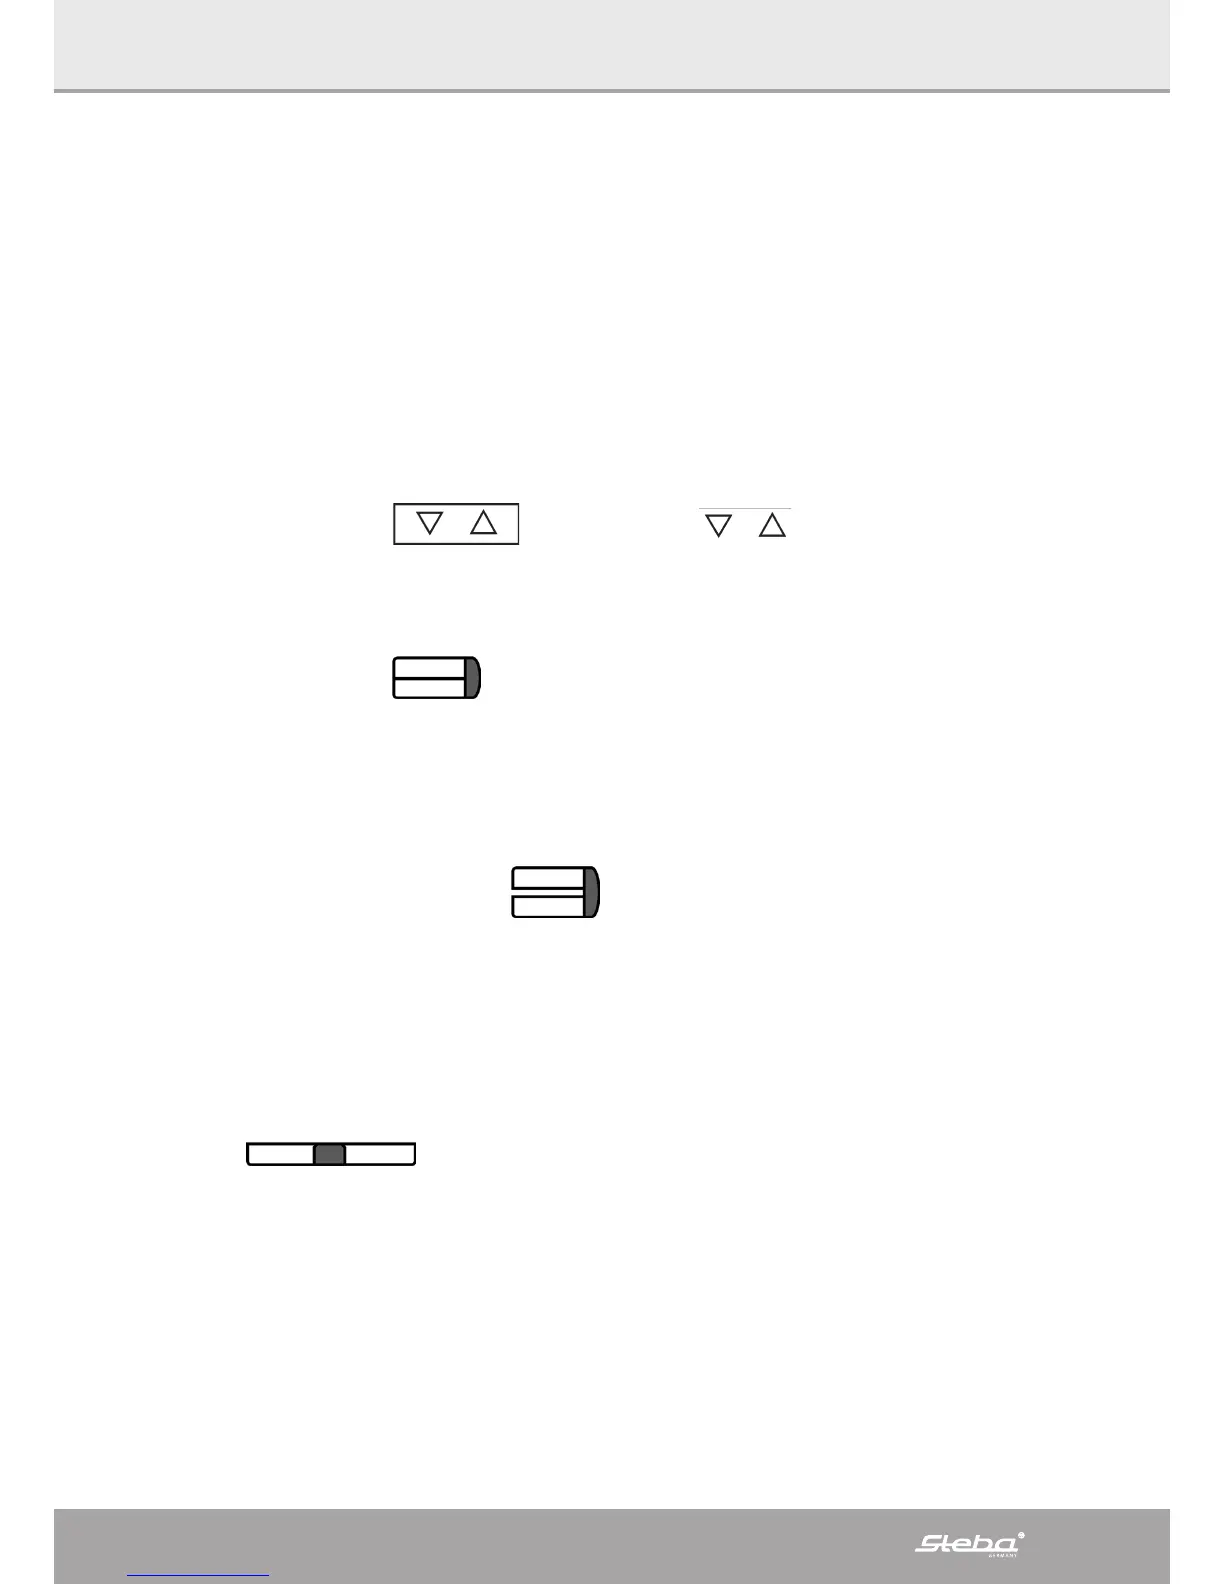
∙ Push the timer button
and choose with the time by minute or rap-
idly up to 99 minutes.
∙ After the countdown finished a beep can be heard and the device is put in standby.
∙ To extend the time, push the knob and set the time.
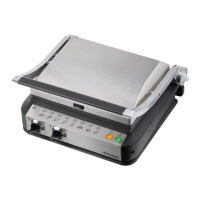
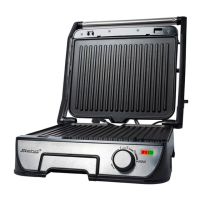
Contact grill
∙ Ensure the adjustable height control clip, located on the right side, is in the “OPEN” posi-
tion.
∙ Ensure the chosen temperature is reached and the green LED shines.
∙ To grill, open the device and put the food on the lower plate, close afterwards.
∙ The pendular upper plate adjusts to the thickness of the food.
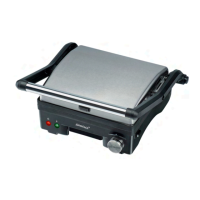
Height adjustment
∙ The height adjustment is used for cook au gratin or to reduce the weight of the upper
plate for pressure-sensitive food.
∙ To prepare thicker food you can chose the height between the grill plates.
∙ To adjust the height, take the upper side of the device at the handle and shift the knob
from “LOW” to “HIGH”.
∙ In order not to damage the non-stick coating, no metallic objects may be used.
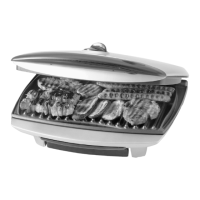
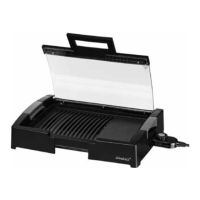
BBQ
∙ Heat up the device to maximal temperature until the LED in the display shines green.
∙ Lift the top of the device at the handle and push the height adjustment to “BBQ-Mode”.
Lay down the upper part carefully at the table.
Note: while making BBQ the food splash. It is useful to put a splash guard under the grill.
Unplug the device after grilling.