3. After step 2, press “CD I Skip down” button (12) again will go to the previous track and remain the play or pause mode.
4. If press and hold the “CD I Skip up/down button “ (12) during playback, the playing track will go fast forward or backward
until the button being released.
5. Press “CD I folder up “ button (14) to select your desire folder.
E-8
Encoding to MP3 file
The system is able to encode normal CD/Turntable/Aux in/Tape to MP3 format and recording at memory media with USB
connecting port or SD/MMC card. (Below explanation was perform USB encoding)
CD I encoding was recommended
Whole disc encoding
1. Insert the USB media into the unit and made sure it had enough memory to perform encoding.
2. Set the unit in CD I mode by press “CD I “ button (21) and get ready to playback. CD I /USB/SD operation display area
(2 ) will show the TOC of CD I. Then press “CD I /USB/SD Record “ button (16) start encoding, CD I /USB/SD
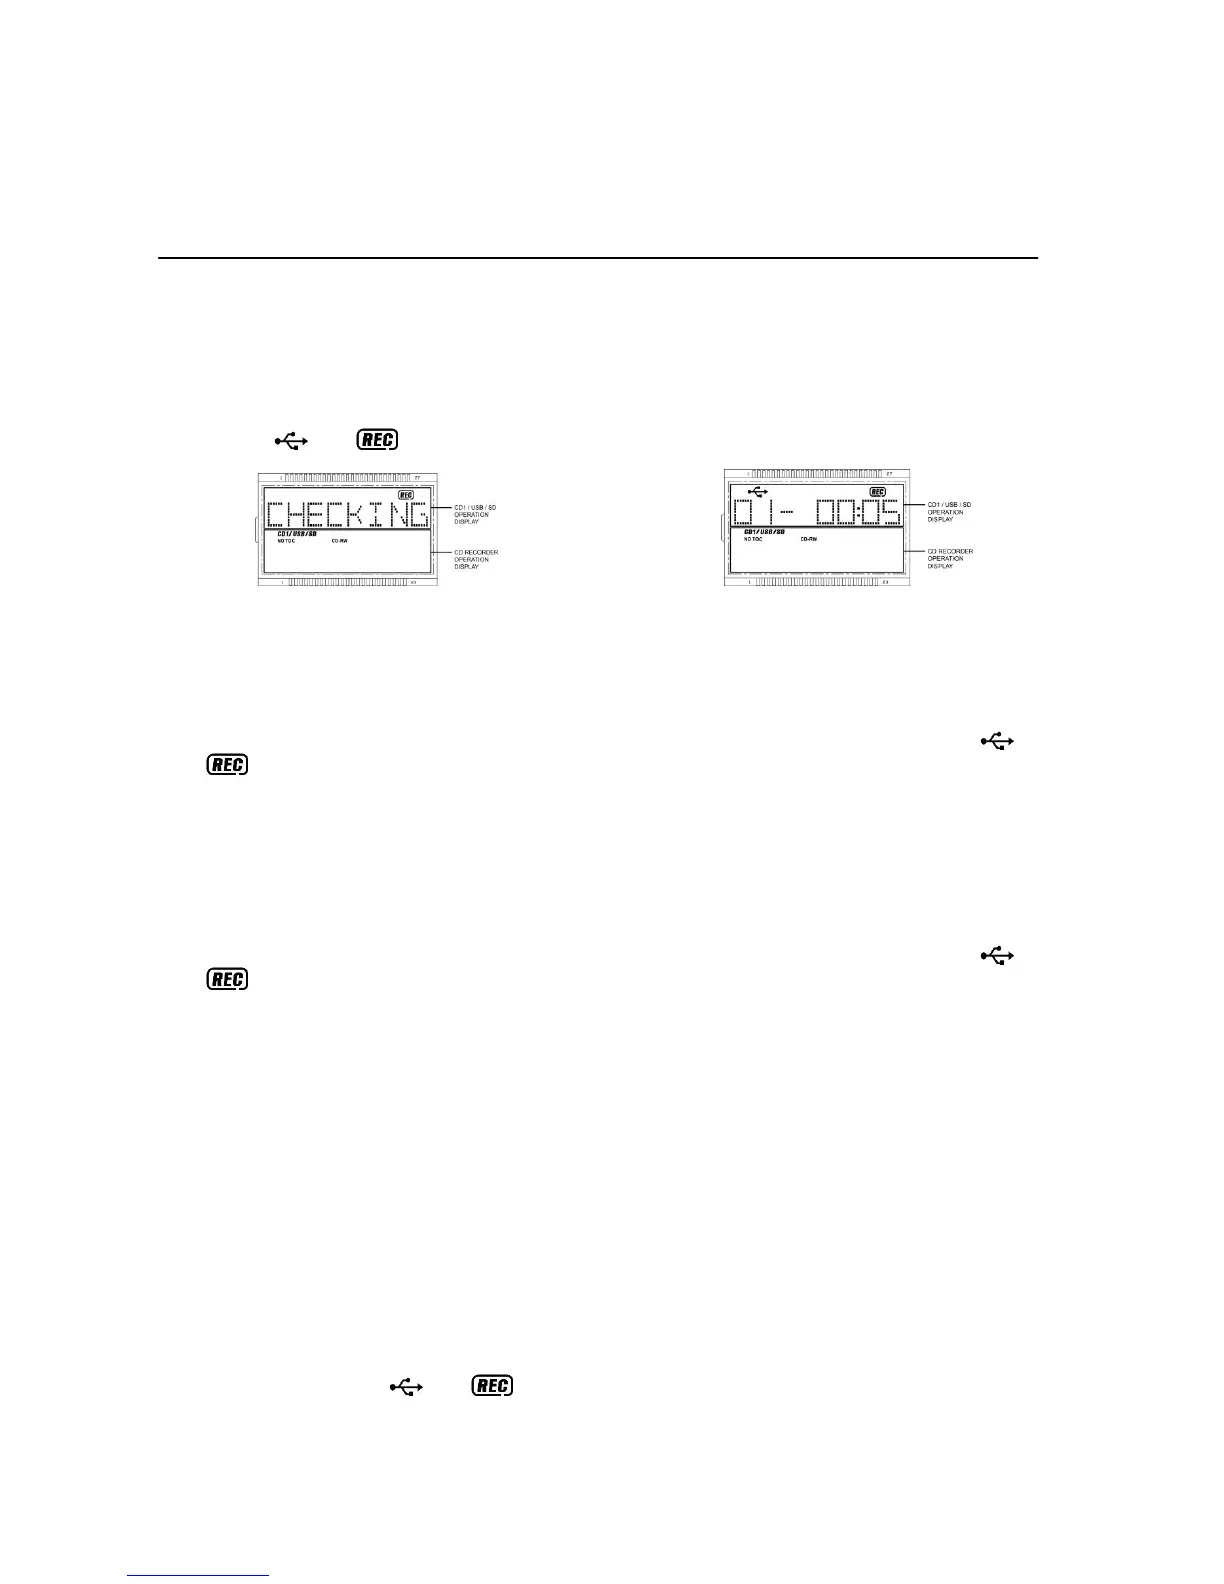
operation display area (2) will flash “ CHECKING “ few seconds (Figure 8), then CD I will start playback automatically
and the “ “ & “ “ icon will flashing(Figure 9). CD I encoding was performing now.
(Figure 8) (Figure 9)
3. After completed encoding, CD I and encoding system go to stop mode.
Encoding 1 track
1. Perform normal playback of the CD track you want to encode & record,
2. Press “CDI /USB/SD Record “ button (16) during the playback of the desire track, CD I /USB/SD operation display area
(2) will flash “ CHECKING “ few seconds (Figure 8), then CD I will start playback automatically and the “ “ &
“ “ icon will flashing(Figure 9). CD I encoding was performing now.
3. After completed encoding, unit will stop playback automatically.
Encoding by program
1. Select the desire tracks by following “ CD/MP3 programming “ procedures. Then press “CD I Play/Pause/Stop
“ button (10) to start playback.
2. During CD playback, press and hold the “CD I Play/Pause/Stop “ button (10) for 2 seconds to enter the stop
mode.
3. Press “CD I /USB/SD Record “ button (16) during the playback of the desire track, CD I /USB/SD operation display area
(2) will flash “ CHECKING “ few seconds (Figure 8), then CD I will start playback automatically and the “ “ &
“ “ icon will flashing(Figure 9). CD I encoding was performing now.
4. After completed encoding, unit will stop playback automatically.
Remark:-
- The recording speed is 1:1 and according to the actual plying time of the CD track
- The system will create a “ audio “ folder and then store the encoding track in it.
- The recording format is preset at – MP3 bit rate : 128 kbps, sampling rate : 44.1kHz.
- No song title will be recorded during encoding mode.
- To interrupt the recording, press the “ USB/SD Record “ button (25) again during record mode.
- Recording will be completed only entire song being encoded, if terminate the encoding process intermediately, there is
no track being recorded nor stored to the USB or SD/MMC card.
Phono/Aux encoding
1. Set the unit in Phono/Aux mode by press the “ Phono/Aux “ function button (19) and CD I /USB/SD operation display
area (2) will show “ENCODE”. Place the recorded vinyl & get ready for playback.
2. For Aux in encoding, connect the headphone output at the audio device (such as MP3 player, CD player etc) to the
3.5mm Aux-in jack (31) via a 3.5 mm connecting cable (not provided). The audio channel will change to Aux in
automatically and the turntable was not able to turn.
3. Press “CD I /USB/SD Record “ button (16) once, USB/SD operation display area (2 ) will show “USB” then press “CD I
/USB/SD Record “ button (16) again to confirm encoding, CD I /USB/SD operation display area (2) will change to
“ ENCODE “ again and “ “ & “ “ icon will flashing, encoding is performing now.
4. Start the playback of the vinyl at Phono or Aux in device.
5. After completing of encoding, press “CD I /USB/SD Record “ button (16) again to stop the encoding and then stop the
Phono/Aux in playback.
 Loading...