2. Press “CDII Rec “ button (33) and then the “ CD Play/Pause ” button (26) until the play indicator “ “ show on
CD Recorder operation display area (2).
3. After few seconds, the CD Recorder operation display area (2) will show the time counter and now the system is start
recording process. Now push the cassette tape to the cassette compartment to start playback of which the track you
prepare to record.
E-5
4. After completing of recording, press the “CDII Stop ” button (29) and then stop the playback of the cassette tape.
iii) CD I recording
1. Select the Function switch (7) to “ SOURCE ” position, then press the “CD I “ function button (21) to select CD I mode
and place the audio CD to the CD I compartment.
2. Press “CDII Rec “ button (33) and then the “ CD Play/Pause ” button (10) until the play indicator “ “ show on
CD/CD Recorder operation display area (2).
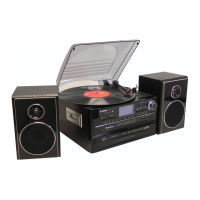
3. After few seconds, the CD Recorder operation display area (2) will
show the time counter and now the system is start recording process.
Now press “CD I Skip Up button“ (12) to choose the track you
prefer to record then press “CD I Play/Pause ” button (10) to
start playback the track to record. (Figure 5)
4. After completing of recording, press the “CD I Stop / ” button
(10) and then stop the playback the CD I /USB/SD media and press
the “CDII Stop ” button (29) to stop the recording.
(Figure 5)
vi) USB/SD recording
1. Insert the USB/SD media device refer to “Playback of MP3 song via USB storage media or memory card” section in
below of this manual. Select the Function switch (7) to “ SOURCE ” position, then press the “CD I “ function button (21)
and CD I /USB/SD button (8) to select USB or SD mode, press and hold the “CD I /USB/SD Play/Stop / “ button
(10) to set the USB/SD function at stop mode. The rest recording procedure were same as CD I recording.
Remark:-
- The recording speed is 1:1 and according to the actual plying time of the playing source
- To suspend the recording process, press the “CDII Play/Pause ” button (26), “ BUSY “ will flash a second on CD
Recorder operation display area (2) then will change to show the current recording track nr. and the recording is in pause.
To re-start, press again the “CDII Play/Pause ” button (26) until the play indicator “ “ show on CD/CD Recorder
operation display area (2).
B) Recording setting
i) Recording level
The preset recording level of the system is lower than original music source in order to avoid distortion during recording
except Aux-in recording mode.
ii) Track separation(on remote control only)
You can divide the recording music track by track during recording :
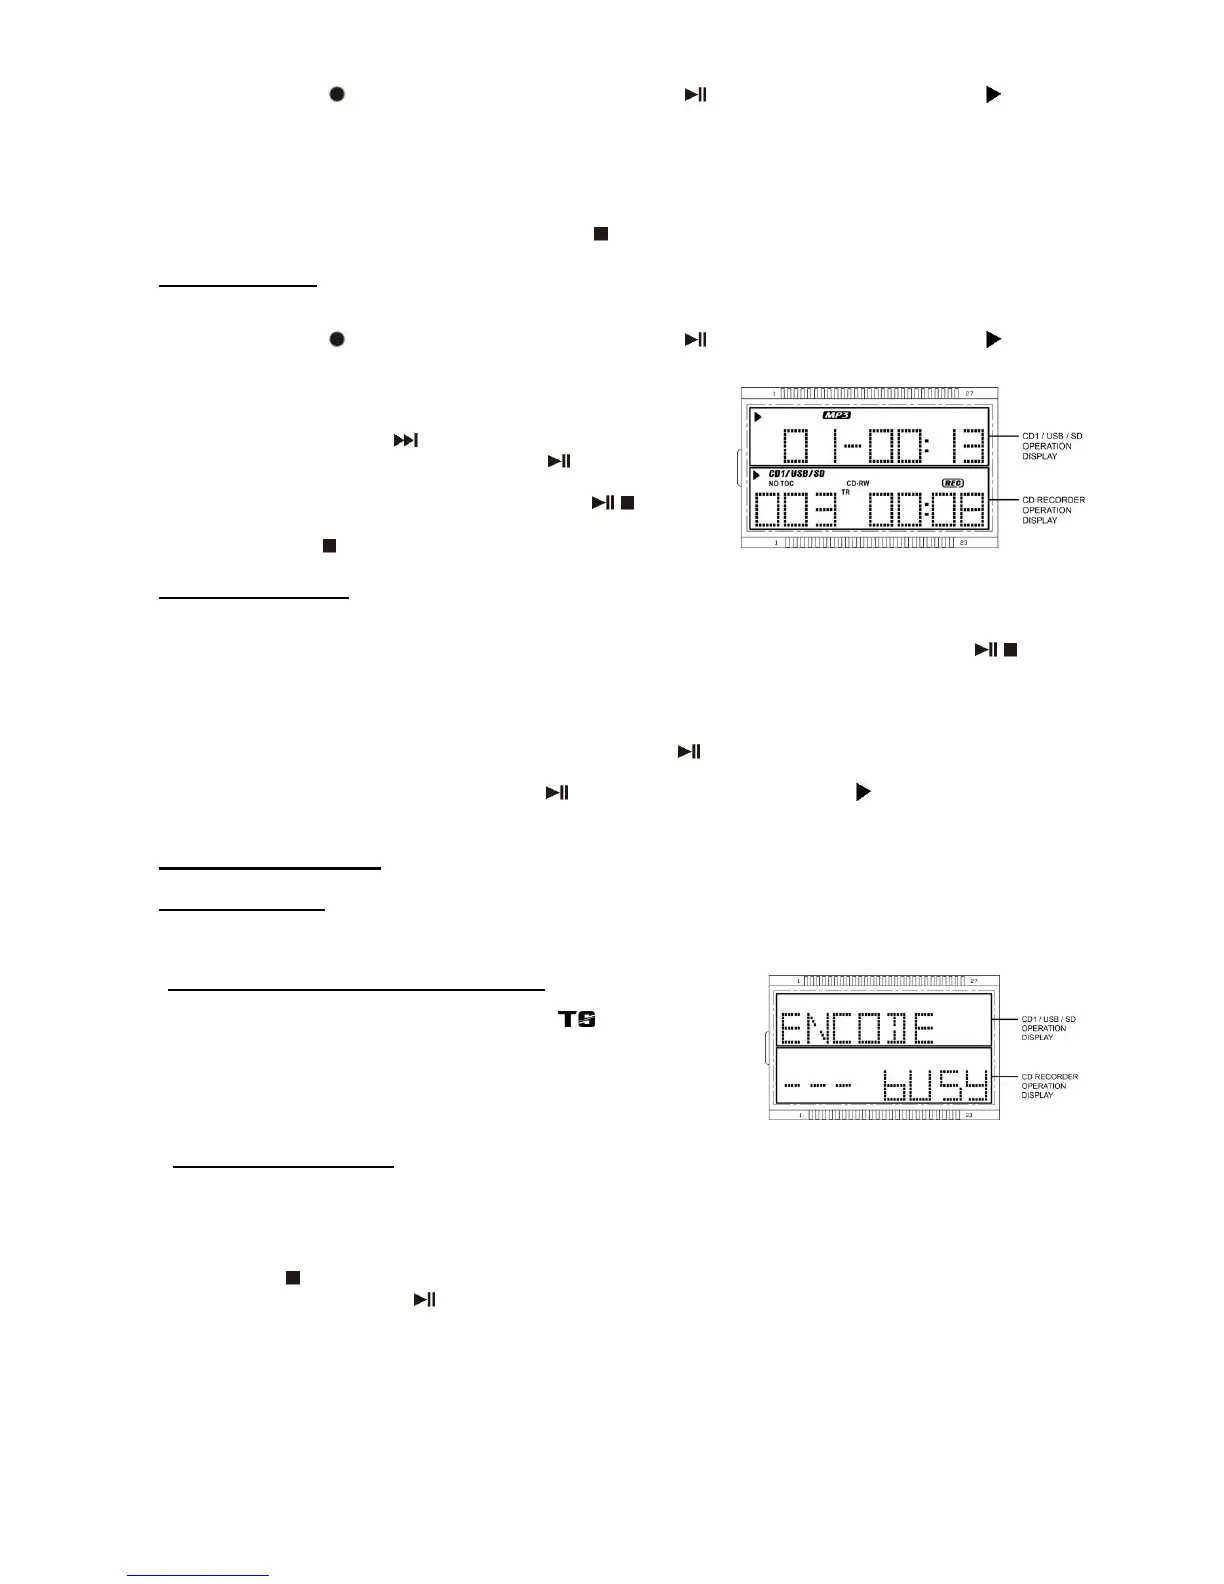
1. Anytime when press the “ CD Track separate “ “ button on remote
control once during recording at any mode, the system will generate a new
track and continuous the recording. The word “busy “ will briefly show on
CD Recorder operation display area (2).(Figure 6),
it mean the unit is creating a new track successfully.
(Figure 6)
iii) Finalize a CD-R(W) disc
You must convert the CD-R(W) disc into standard CD before playing at other audio CD player. This process is knows as
finalizing and a table of contents (TOC) will written to the CD on the same time:-
1. Select CDII function mode and place the CD-R(W) disc you are going to finalize.
2. Press the finalize button (24) CD stop mode. “ Fin-d “ appears on CD Recorder operation display area (2). (press the
“CDII stop ” button to quite finalize mode if necessary)
3. Press the “CDII Play/Pause ” button (26) to start finalizing and CD Recorder operation display area (2) will show
“ BUSY“ during the process.
4. After completion, the CD tray will open automatically and “ OPEN “ will disappear from CD Recorder operation display
area (2).
Remark:-
- The time for finalizing is subject to the contents of recorded and it may take up to 15 minutes in some cases.
- No button is working during finalize process.
- Never turn off the power or un-plug the power cord during finalize process.
- The CD-R disc cannot be recorded again after finalizing.
 Loading...