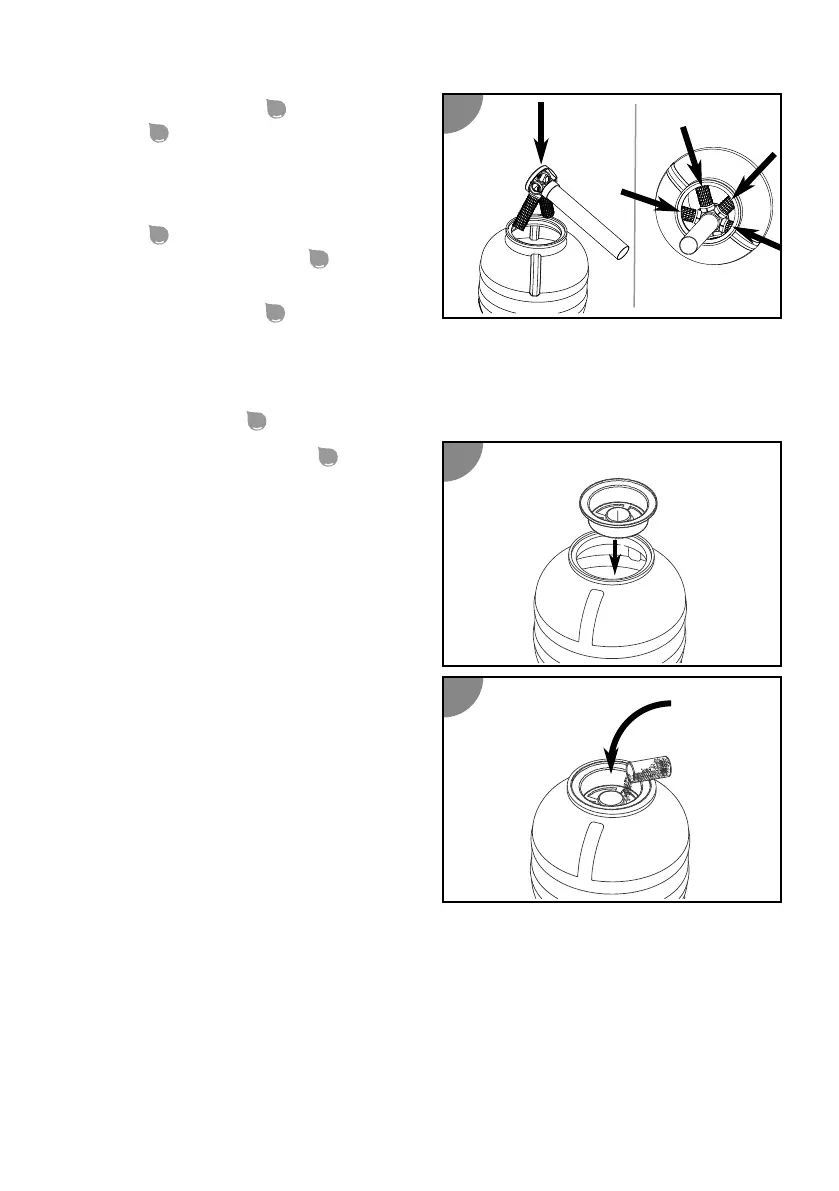
4. Insert two lter arms
into the
screen
unl they lock in place, and
check that the lter arms are ed
securely.
5. Insert the riser pipe including
screen
, with the two lter arms
ed, into the lter vessel
.
6. Inside the lter vessel, insert the
remaining lter arms
into the
screen unl they lock in place, and
check that the lter arms are ed securely.
7. Posion the screen in the center of the lter vessel boom.
8. Fill the lter vessel
approximately 1/3 with water.
9. Aach the centering device
to the
opening of the lter vessel so that it
centers the pipe of the screen.
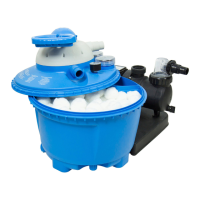
10. Fill the lter vessel with quartz lter sand
or lter balls.
Please refer to the secon "Technical
data" for the required quanes.
Quartz lter sand and lter balls must not
be used together.
11. Remove the centering device from the
opening of the lter vessel.
Store the centering device for the next
lling.
51