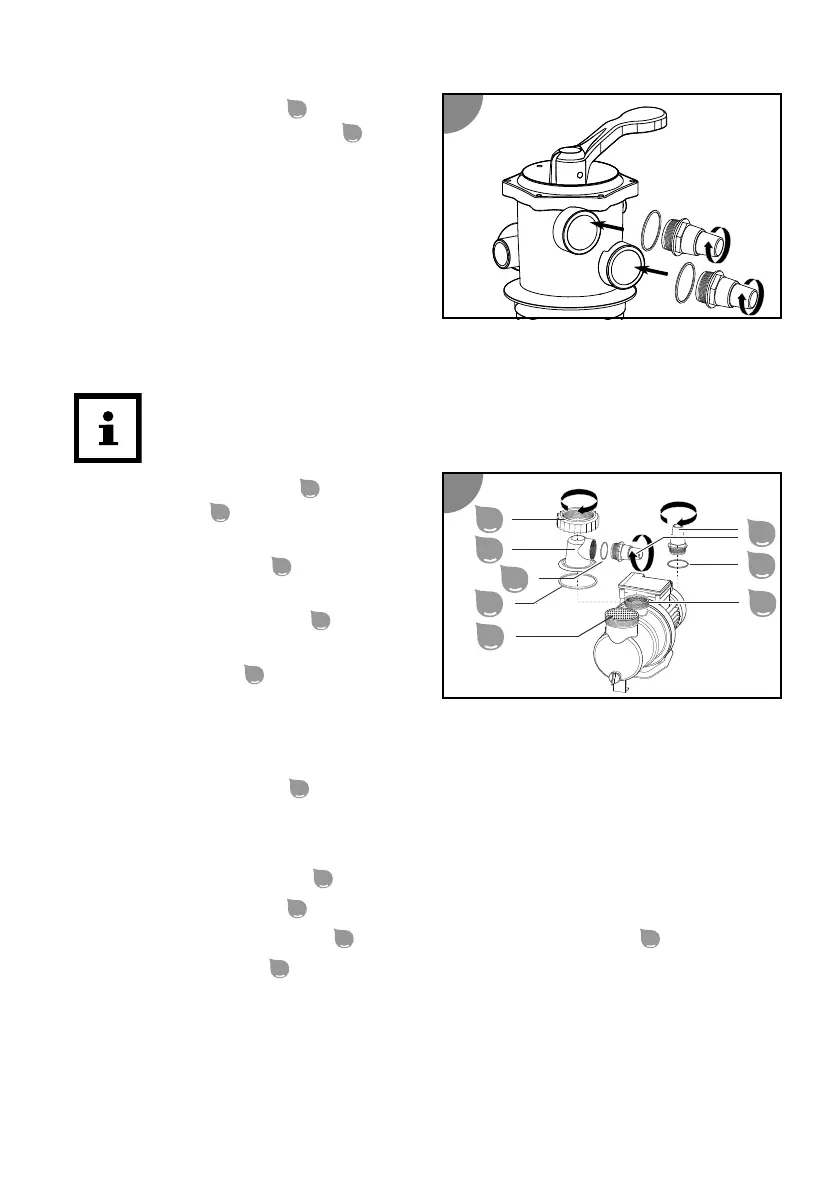
20. Screw the hose adapter
into the
connecons on the valve head
by
turning it clockwise.
The lter vessel is prepared.
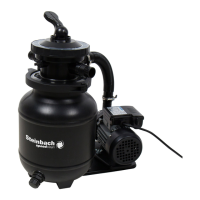
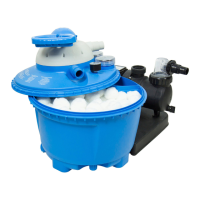
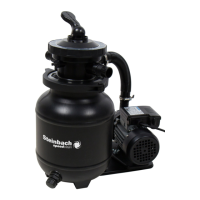
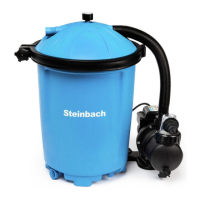
Preparing the pump
At the me of delivery, the pump is only parally assembled.
Only hand-ghten all screw connecons. Excessive ghtening of the screw
connecons damages seals and plasc components. Do not use a tool.
You can use Teon tape to seal screw connecons with minor leakage.
1. Loosen the threaded ring
on the
prelter cover
by turning it
counterclockwise.
2. Li the prelter cover
with the
threaded ring o the pump housing.
3. Insert the large O-ring seal
into the
groove on the pump housing.
4. Insert the prelter
into the pump.
The prelter is already inserted into
the pump at the factory.
5. Check the O-ring seal for dirt or damage. Replace the seal if necessary.
6. Place the prelter cover
on the pump housing.
7. Guide the threaded ring over the prelter cover.
8. Turn the threaded ring clockwise unl it is hand-ght.
9. Insert the small O-ring seal
into the prelter cover.
10. Screw the hose adapter
clockwise into the prelter cover unl it is hand-ght.
11. Place the medium O-ring seal
into the recess of the pump outlet
.
12. Screw a hose adapter
clockwise into the pump outlet unl hand-ght.
The pump is ready for operaon. You can now connect it to the lines.
53