INSSQBF0700607
B) INSTALLATION USING SLIDING BRACKETS
1
PREPARATION
Before proceeding with the installation, plan ahead by taking into consideration the required clearances, ductwork and electrical wiring
involved. Make sure it will not impact the existing wiring.
2
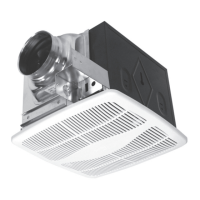
SPACING
Where joist spacing is between
16 inch on center to 24 inch on
center, the fan housing must be
centered between the joists.
For installation using slid-
ing brackets (included)
and where joist spacing is
16 inches on center, the
fan housing can be either
secured to the side of a ceil-
ing joist or can be centered
between the joists.
3
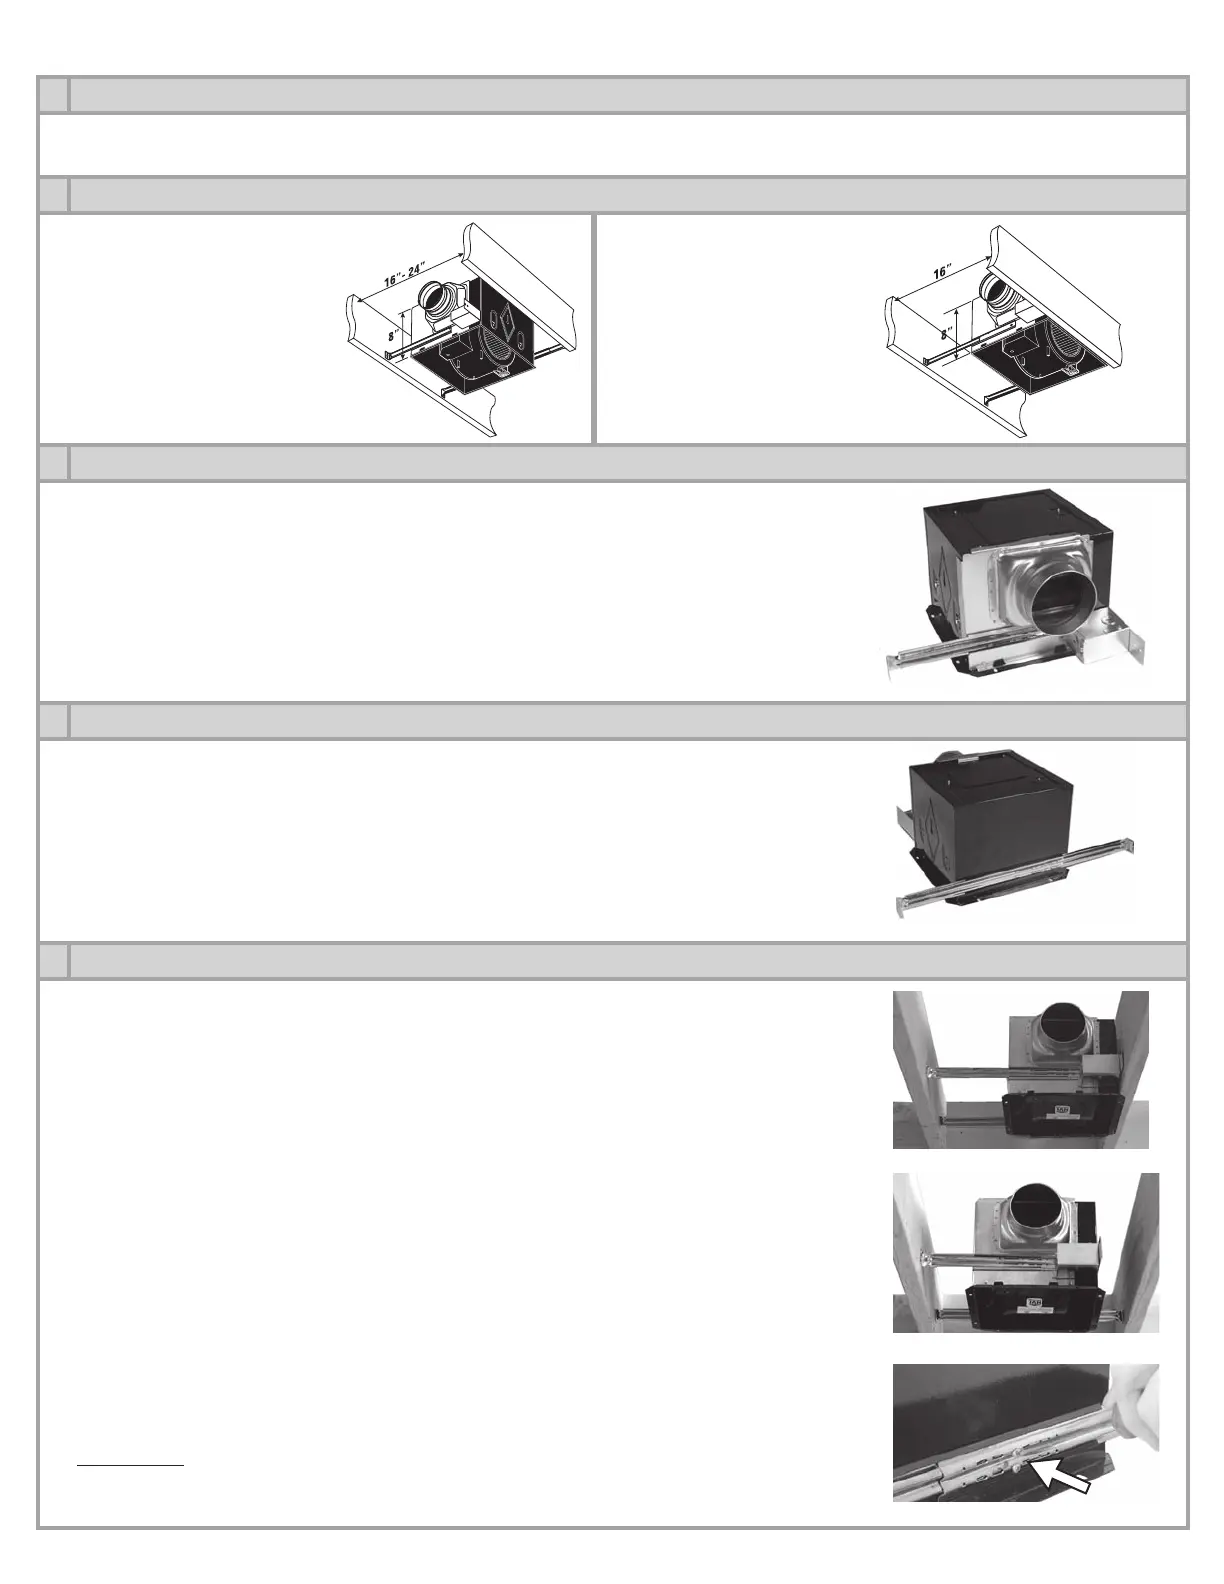
ASSEMBLING THE BRACKET ONTO THE ADAPTOR
Slide the short bracket onto the railing located on the adaptor (under the duct).
4
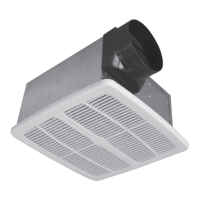
ASSEMBLING THE BRACKETS ONTO THE HOUSING (OPPOSITE END TO THE ADAPTATOR)
Slide 2 brackets onto the railing located on the fan housing, with the extremities of the brack-
ets overlapping each other.
5
SECURING THE FAN HOUSING
Fan housing located against one of the joists
• If joists are less than 8 inch height, add furring strips to achieve the installation height re-
quirement (8 inches). (Fig. 5.1)
• Using 1 1⁄2 inch screws (included), secure housing flange flush with the lower edge of the
joist.
• Slide the rails outwards to reach the 2 adjacent joists. Use 1 1⁄2 inch screws to secure the
sliding brackets to the joists.
OR
Fan housing centered between the ceiling joists (Fig. 5.2)
• If joists are less than 8 inch height, add furring strips to achieve the installation height re
-
quirement (8 inches).
• Hold the fan housing centered between the ceiling joists. The housing flange must be level
with the lower edges of the joists.
• Slide the rails outwards at both sides until they reach the adjacent joists. Use 1 1⁄2 inch
screws to secure the sliding brackets to the joists
IMPORTANT
For brackets spanning wider than 18 1⁄4 inches, secure the overlapping portion of the brack-
ets to the fan housing, using 1⁄2 inch screws. (Fig. 5.3)
Fig. 2.1 Fig. 2.2
Fig. 3.1
Fig. 4.1
Fig. 5.1
Fig. 5.2
Fig. 5.3
6