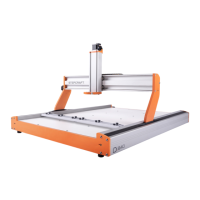
Stepcraft allows you to change out tools in a fairly straightforward manner.
You have two options for adding a laser to a StepCraft CNC:
ON / OFF control which is easier but has some quality issues– This will be using the spindle relay to turn on and off the laser.
PWM control – This will use a different pin to produce a PWM signal for power control.
2.
Option #1: ON / OFF Control:
There is a DB 15 connector on the CNC.
On this connector is a relay that you can control via software.
The 15 pin connector is the one on the right.
From the instruction manual:
To connect the laser you will need to use the following on the DB15 connector:
PIN 13 = LASER + on Driver Board
PIN 2 = LASER – on Driver Board
•
Make sure the positive and negative is correct!
You can make your own D Sub cable if you know how to solder. You can pick them up at your local electronics shop. Or you can buy a breakout board
from various locations online.
Here is an example of a soldered cable.
Stepcraft Laser Install instructions
June 11, 2018 11:27 AM