FR
ES
PT
IT
EL
PL
RU
KZ
UA
RO
EN
FR
ES
PT
IT
EL
PL
RU
KZ
UA
RO
EN
238
FR
ES
PT
IT
EL
PL
RU
KZ
UA
RO
EN
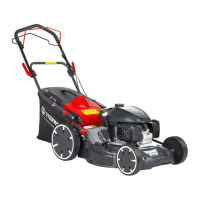
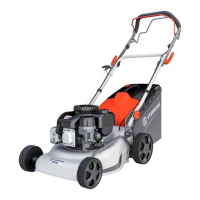
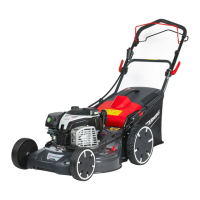
3. TECHNICAL DATA
Model PLM3-56Z200.6
Engine type XP 200 A
Self propelled YES
Engine displacement (cc) 196
Rated power (kW) 3,5
Working power (kW) 3,0
Spark brand LG
Spark model F6RTC
Cutting width (cm) 56
Blade type DAYE 2105200257
Blade tightening torque (N.m) 44-46
Working speed (min
-1
) 2800
Oil tank capacity (L) 0,6
Fuel tank capacity (L) 1,3
Fuel type
SP95 - UNLEADED (Europe / US)
SP92 - UNLEADED (Russia)
Grass bag capacity (L) 70
Net weight (kg) 37.9kg
Gross weight (kg) 42.9kg
Sound pressure level LPA
92dB(A)
Uncertainty K
PA 3dB(A)
Measured sound power level LWA 96.3dB(A)
Uncertainty KWA 1.79dB(A)
Guaranteed sound power level (according
to 2000/14/EC amended by 2005/88/EC)
98dB(A)
Vibration 5.92m/s²
Uncertainty K 1.5m/s²
The sound values have been determined according to noise test code given in EN ISO 5395-1
& EN ISO 5395-2, using the basic standards EN ISO 3744 and EN ISO 11094.
The sound intensity levels for the operator may exceed 80 dB(A) and ear protection measures
are necessary. The noise figures quoted are emission levels and are not necessarily safe
working levels. Factors that influence the actual level of exposure of work-force include the
characteristics of the work room, the other sources of noise, etc. ie the number of machines
and other adjacent processes, and the length of time for which an operator is exposed to the
noise. Also the permissible exposure level can vary according to your country. This information,
however, will enable the user of the machine to make a better evaluation of the hazard and risk.
239
FR
ES
PT
IT
EL
PL
RU
KZ
UA
RO
EN
4. ASSEMBLY
WARNING! THE PRODUCT MUST BE FULLY ASSEMBLED BEFORE
OPERATION! DO NOT USE A PRODUCT THAT IS ONLY PARTLY
ASSEMBLED OR ASSEMBLED WITH DAMAGED PARTS! FOLLOW
THE STEP-BY-STEP ASSEMBLY INSTRUCTIONS AND USE THE
PICTURES PROVIDED AS A VISUAL GUIDE TO EASILY ASSEMBLE
THE PRODUCT!
4.1 UNBOXING
1
3
12
14
13
4
2
7
8
9
10
11
6
5
1. Handle bar
2. Self drive control bar
3. Switch bar
4. Locking lever
5. Indicator plate
6. Grass collection box handle
7. Starter handle
8. Grass collection box
9. Height adjusting lever
10. Wheel
11. Side discharge
12. Fuel cap
13. Oil cap
14. Spark plug
Unboxing instructions:
→ Wear gloves when unboxing.
→ Do not use cutter, knife, saw or any other similar tool for unboxing.
→ Carry the tool only by the handle.
→ Keep the box for further reuse (transportation and storage).
→ Keep instruction manual in a dry area for further consultation.
4.2 ASSEMBLY
Set up the lawn mower
Set up the lawn mower on flat and firm ground to ensure safe and sturdy operating.
Release the know of the lower handle, hold the lower handle to the operation position. Fix the
upper and lower handles with the quick clamp.
Adjust the handle height : illustration
2.1
to
2.6
Adjust the lower handle to the correct position for comfortable height, by aligning the line on
end of the lower handle with one of the four lines on the mower body. Fit the quick clips through
the lower handle, then tighten it.
 Loading...