INSTALLATION
Commissioning
ENGLISH
www.stiebel-eltron.com
DHB-E LCD | 12
11. Commissioning
11.1 Preparation
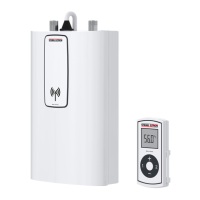
Internal anti-scalding protection via jumper slot
43
50
55
60
D0000085932
Jumper position Description
43 Forexample, nurseries, hospitals etc.
50
55 Max. for shower operation
60 Factory setting
No jumper Limited to 43°C
f Install the anti-scalding protection setting jumper in the re-
quired position (= temperature in °C) on the pin strip.
CAUTION Burns
If operating with preheated water, e.g. if using a solar
thermal system, the internal anti-scalding protection can
be overridden.
f In this case, limit the temperature with an upstream
central thermostatic valve (e.g. ZTA3/4).
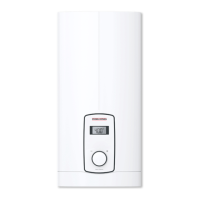
Changing the connected load via the jumper slot; only for
appliances with adjustable output
If you select a connected load other than the factory setting for
appliances with selectable connected load, you will need to repo-
sition the jumper.
1
2
3
D0000085933
f Install the jumper in the required position on the pin strip.
Jumper position Connected load
DHB-E 11/13 LCD
Connected load
DHB-E 18/21/24 LCD
1 11kW 18kW
2 13,5kW 21kW
3 11kW 24kW
No jumper 11kW 18kW
11.2 Initial start-up
≥ 60 s
D0000053277
f Open and close all connected draw-off valves several times,
until all air has been purged from the pipework and the
appliance.
f Carry out a tightness check.
D0000053278
f Activate the safety switch by firmly pressing the reset button
(the appliance is delivered with the safety switch disabled).
D0000073198
f Connect the programming unit connecting cable to the PCB.
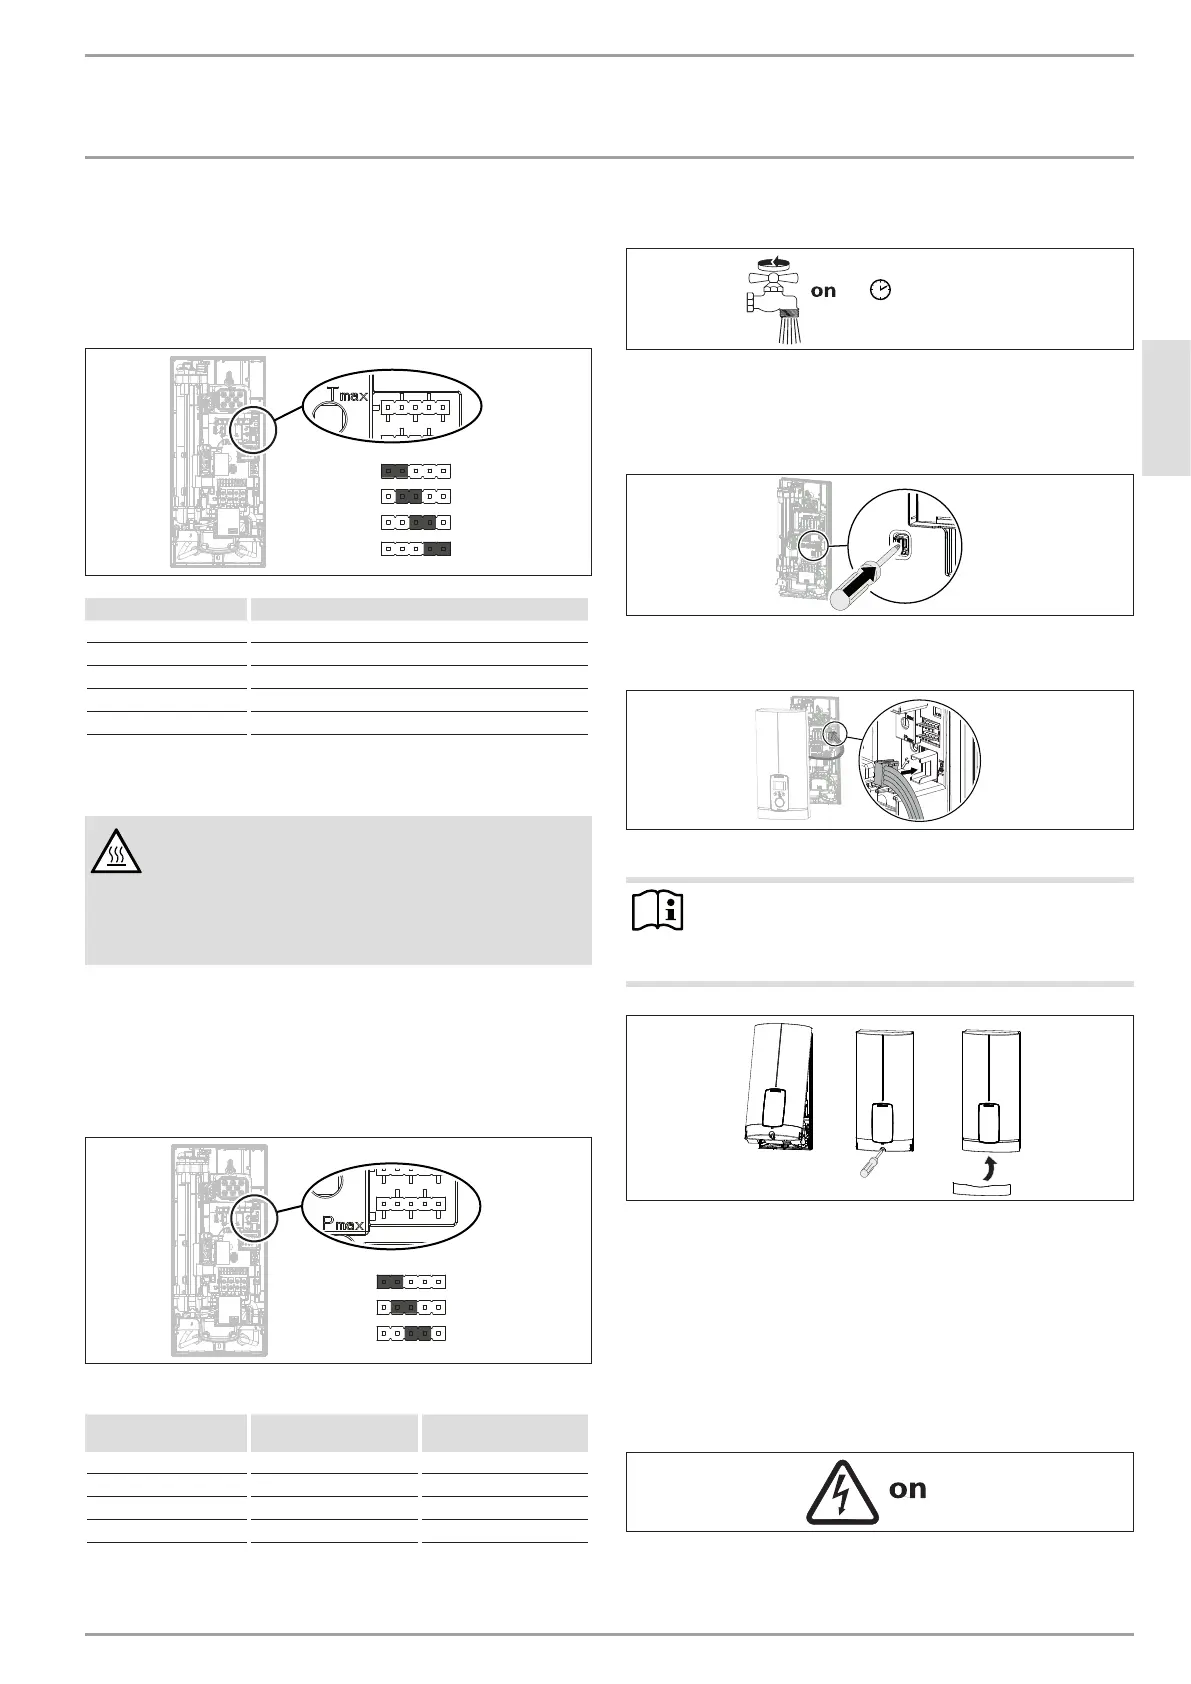
Note
For undersink installation, the appliance cover should
be turned round for easier operation; see chapter "Alter-
native installation methods/ Pivoting appliance cover".
D0000053280
f Hook the appliance cover at the top rear into the back panel.
Pivot the appliance cover downwards. Check that the appli-
ance cover is securely seated at both top and bottom.
f Tick the selected connected load and rated voltage on the ap-
pliance cover type plate (on both sides). Use a ballpoint pen
to do this.
f Secure the appliance cover with the screw.
f Fit the fascia to the appliance cover.
f Remove the protective film from the user interface.
D0000053281
f Switch on the power supply.
 Loading...