ENGLISH
GB
SYMBOLS
The following symbols are displayed on the ma-
chine in order to remind you about the safety pre-
cautions and attention necessary when using the
machine.
The symbols mean:
Warning! Read the Instruction Book and
Safety Manual before using the machine.
Warning! Keep spectatorsaway. Beware of
objects being flung out.
Warning! Take out the safety key before
any type of maintenance is carried out.
Warning! Do not put hands or feet under
thecover of the machine when it is running.
Warning! The blades continue to rotate
even after the machine has been switched
off.
When a red lamp lights up on the mower’s
control panel and/or a sound signal is acti-
vated, take out the safety key.
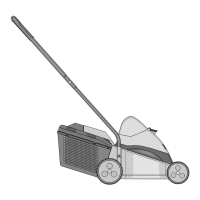
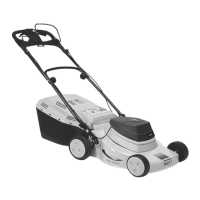
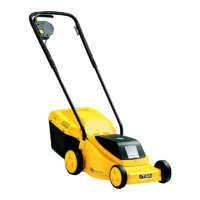
ASSEMBLY
WHEELS/CUTTING HEIGHT (fig. 1)
1. Insert the wheel bolt A in the hub cap B.
2. Snap-on the centre cup C.
3. Place a bushing oneach side of the wheels(only
the back wheels).
4. Fit the wheel in one of the fixing plate's four po-
sitions.
5. Tighten securely by hand using the finger-grip
holes in the hub cap.
Note! The same cutting height should be set on all
four wheels.
STEERING (fig. 2)
1. Insert the tubes into the ends of the handlebar.
2. Fit the screws. Tighten securely.
3. Insert the ends of the U tubeintotheholes inthe
chassis.
4. Fit the screws. Tighten securely.
5. Attach the handle to the U tube using the bolts,
washers and locking knobs provided. The han-
dlebar can be folded forwards by undoing the
locking knobs slightly. This reduces the space
the mower takes up during transport, etc.
6. Secure the electrical cable into the cable holder.
7. Fix the electrical cable using a cable tie.
GRASS COLLECTOR (fig. 3)
1. Snap-together the grass collector's upper and
lower parts.
2. Open the cover on the machine and hook the
grass collector onto the chassis.
Note! The lawn mower can be used without the
grass collector. The grass will then collect in a
bead behind the machine.
BATTERY
GENERAL
Before starting the mower for the first
time andafter winter storage, youshould
charge the battery for 1 - 2 days other-
wise the battery can be damaged.
In order for the battery to maintain its
capacity and to give optimum perform-
ance, it is important that the charging
and storage instructions are carefully fol-
lowed.
• The battery used in this machine is a lead-acid
type battery. This type of battery must always
be stored fully charged.
• Always charge the battery indoors, in a garage,
etc. where the battery is dry and protected from
the weather.
• Only charge the battery when the temperature is
at least 0°C and not over +40°C. Charging in
lowerorhighertemperaturescandamagethe
battery.
STOP