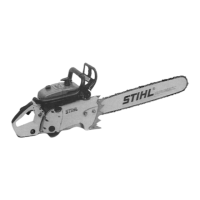
Installed
rewind
spring
Now reinstall the remaining parts of the rewind starter in
. - the correct sequence as shown on the illustration.
It
is important that the two fiber material washers have
to
be
inserted in front
of
and behind the friction shoe system_
The friction shoe system is mounted property when the
lugs at the spring retainers point In clockwise direction.
Secure rope. with retaining washer and tension rewind
spring.
Replacing
a
broken
rewind
spring
The spare spring
Is
supplied ready
lor
Installation complete
with
spring housing and should
be
applied with a few drops
of oil belore mounting.
Insert recoil spring
wHh
spring housing - housing bottom
pointing downwards - in the Ian housing and hook outer
spring lug into the
cast lug
01
the fan housing. Should the
rewind spring jump out during Installation loop it back into
the spring housing in clockwise direction starting with the
outer loop and ending
wHh
the inner loop. Cover rewind
spring
with
washer and mount rope pulley again.
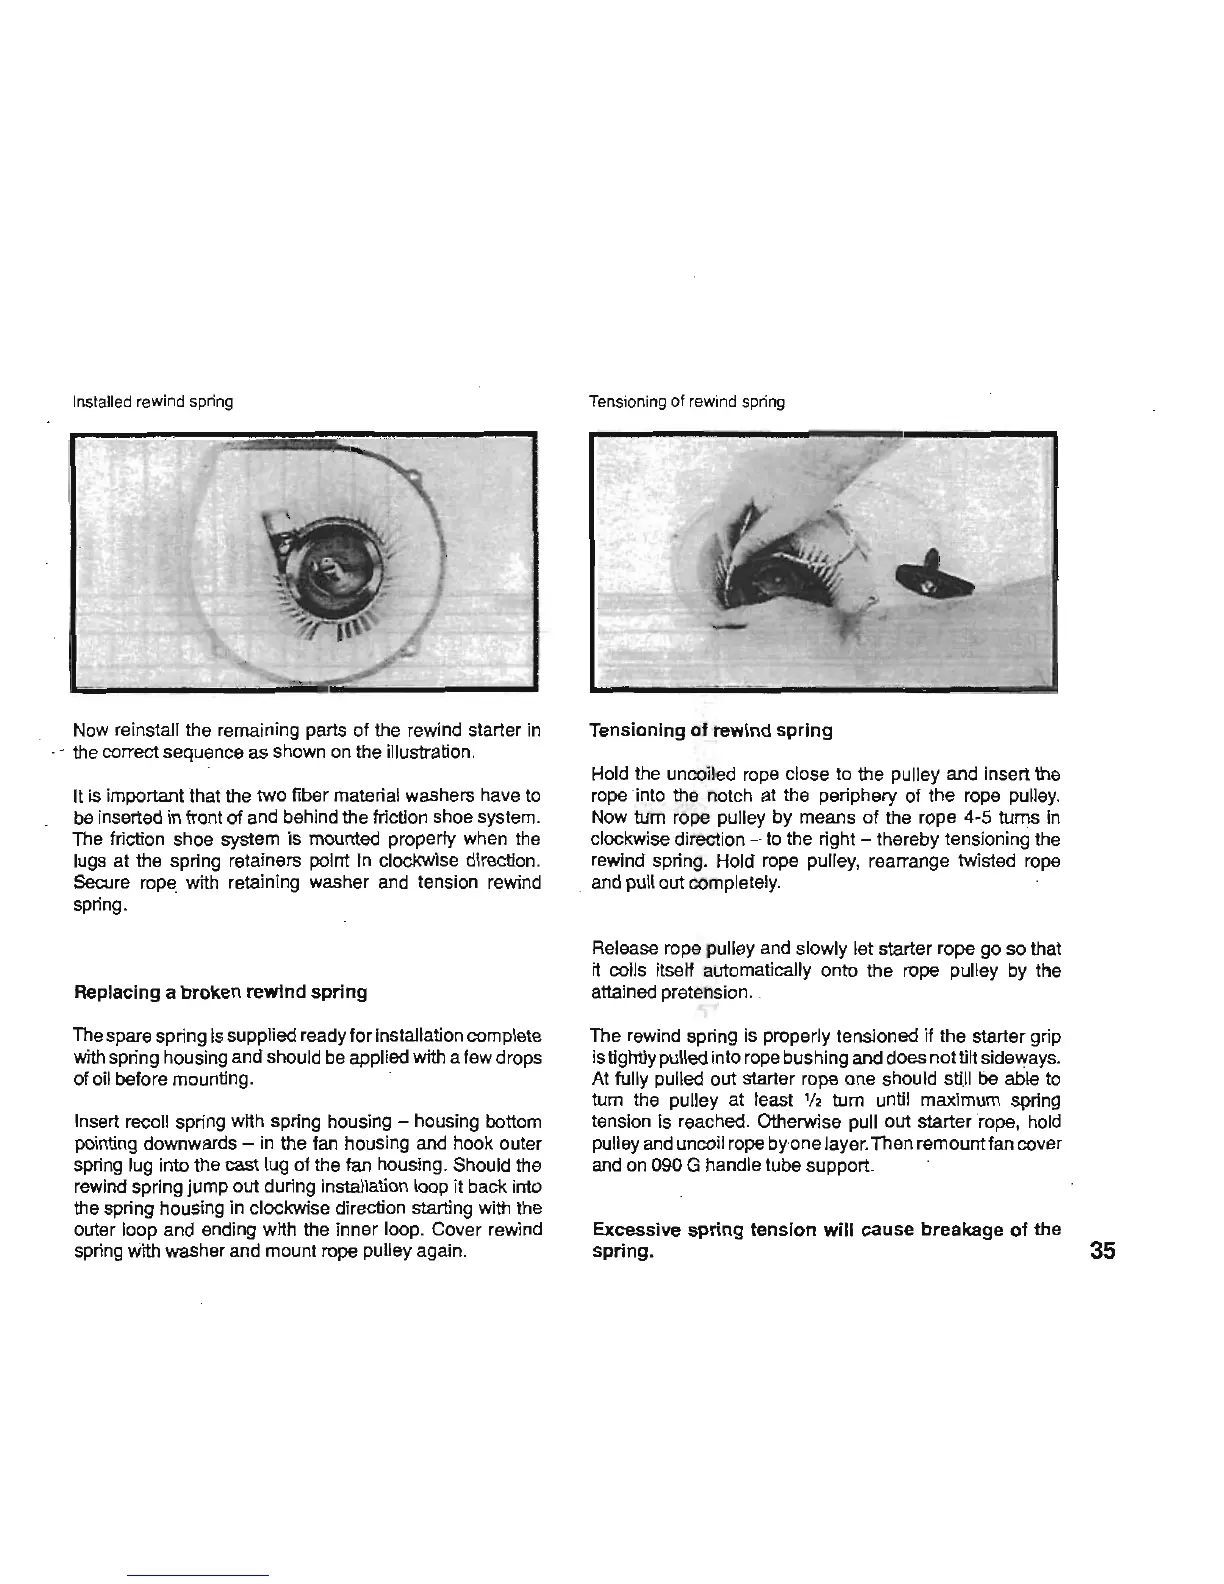
Tens
ioni
ng
of
rewind
spring
Tensioning
01
rewind
spring
Hold the uncoiled rope close to the pulley and Insert the
rope ·into the notch at the periphery
of
the rope pulley.
Now
tum
rope pulley by means
of
the rope 4-5 turns
In
clockwise direction -
to
the right - thereby tensioning the
rewind spring. Hold rope pulley, rearrange twisted rope
and pull out completely.
Release rope pulley and slowly let starter rope go so that
it
colis itsen automatically onto the rope pulley by the
attained pretenSion.
The rewind spring is properly tensioned
ij
the starter grip
Is
tightly pulled into rope bushing and does
not
tin
sideways.
At fully pulled out starter rope one should
sti.ll
be able
to
tum the pulley at least
';'
tum until maximum spring
tension Is reached. Otherwise pull out starter rope, hold
pulley and uncoil rope by·one layer. Then remount Ian cover
and on 090 G handle tube support.
Excessive
spring
tension
will
cause
breakage
01
the
spring.
35