0458-724-8601-A
21
English
16 Checking the Controls
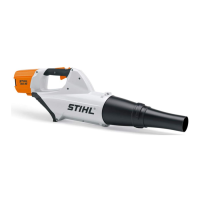
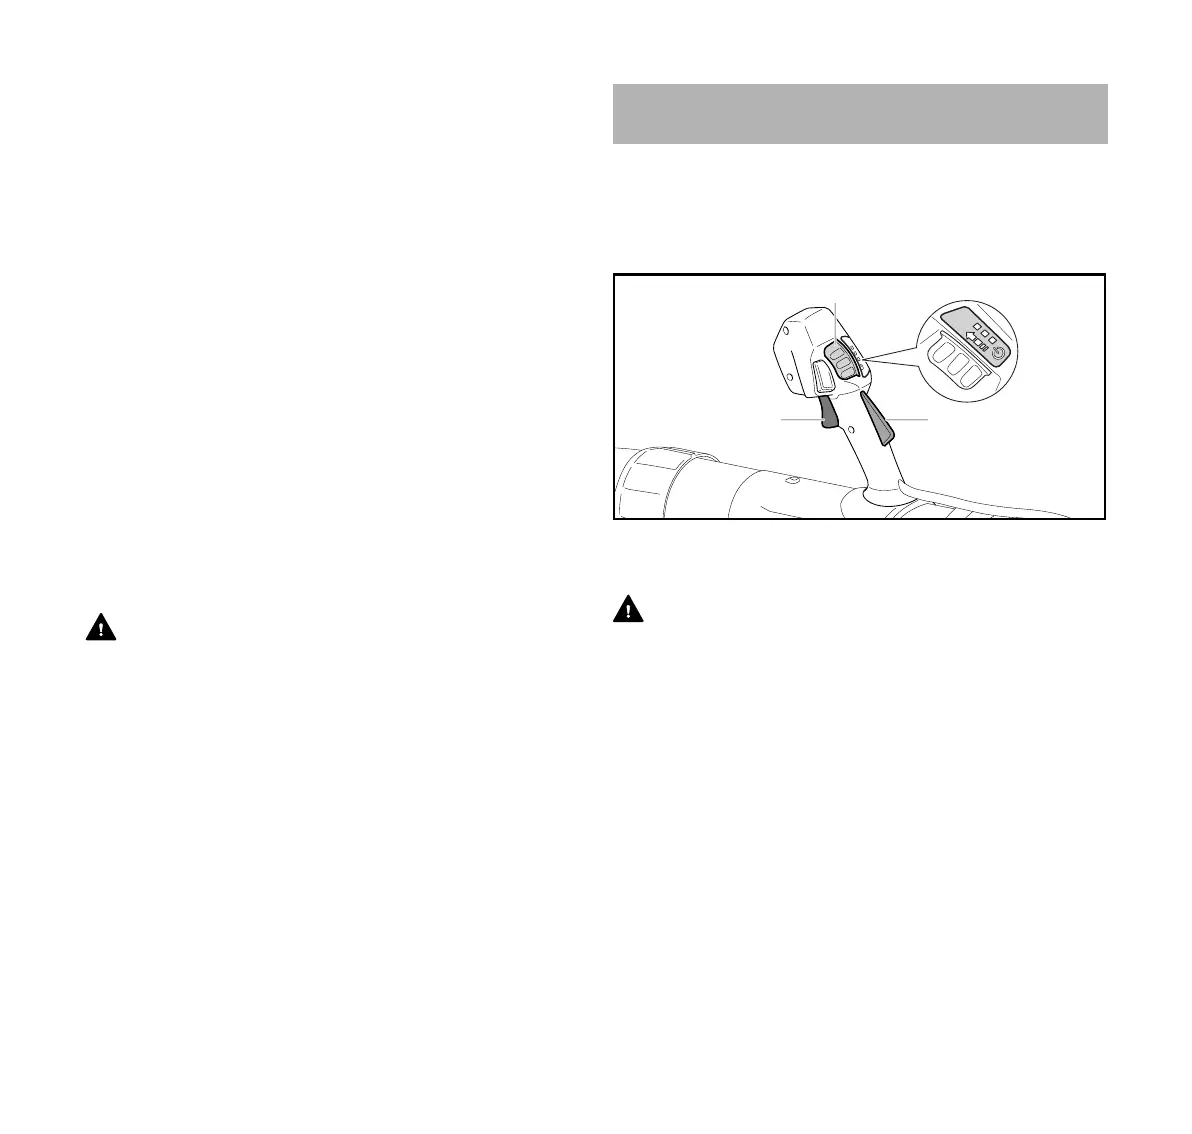
► While holding the trigger switch lockout, push the retaining
latch (2) forward with your thumb and release it.
The LEDs indicate the current power level.
► Squeeze the trigger switch (3) with your index finger.
The blower will activate.
You can also unlock the trigger switch by pushing the
retaining latch forward and depressing the trigger switch
lockout within 3 minutes (as long as the LEDs are glowing).
Squeeze the trigger switch with your index finger to activate
the blower.
The motor will not switch on unless the trigger switch lockout
is depressed, the retaining latch has been pushed forward
and the trigger switch has been pressed.
If the trigger switch and the trigger switch lockout are
released, the LEDs will remain glowing for approximately
3 minutes. As long as the LEDs are glowing, the blower can
again be switched on without pushing the retaining latch
forward.
The further the trigger switch is depressed, the stronger the
blowing force.
15.2 Switching Off
WARNING
To reduce the risk of personal injury from unintended
activation or unauthorized use, switch off the motor and
remove the battery before transporting or putting the blower
down.
To switch the blower off:
► Release the trigger switch and trigger switch lockout so
that the trigger switch springs back to the locked position.
In the locked position, activation of the trigger switch is
blocked by the trigger switch lockout. Activation of the
blower is also electronically blocked by the retaining latch
once the LEDs stop flashing (after approximately
5 seconds).
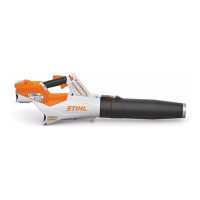
16.1 Testing the Controls
Before starting work, confirm that the trigger switch
lockout (1), retaining latch (2) and the trigger switch (3) are
undamaged and functioning properly.
Trigger Switch Lockout (1), Retaining Latch (2) and Trigger
Switch (3)
WARNING
To help reduce the risk of injury from blown objects, always
wear proper eye protection while testing the controls. Keep
bystanders at least 17 ft. (5 m) away.
To test the controls:
► Remove the battery.
► Attempt to depress the trigger switch.
If the trigger switch can be depressed without first
depressing the trigger switch lockout, take the blower to
an authorized STIHL servicing dealer to be repaired
before use.
► Press down on the trigger switch lockout and push the
retaining latch forward. Make sure they move freely and
spring back into place when released.
16 Checking the Controls
2
13
0000099106_001
 Loading...