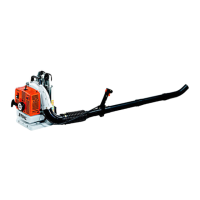
BR 350, BR 430
English
12
N Push the hose clamp (1) onto the
pleated hose (2).
N Line up the positioning marks on the
hose clamp (1) and elbow (3) – the
screw recess facing down.
N Secure the hose clamp (1) with the
screw (4).
N Push the hose clamp (5) (without
retainer for throttle cable) onto the
elbow (6) – the positioning marks
must face to the right.
N Push the blower tube (6) into the
pleated hose (2).
N Push the hose clamp (5) onto the
pleated hose (2).
N Line up the hose clamp (5) and
blower tube (6) – as shown.
N Secure the hose clamp (5) with the
screw (7).
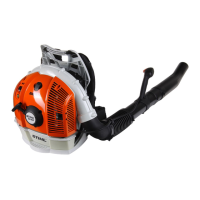
Mounting the nozzle
N Push the nozzle (1) onto the blower
tube (2) and engage it on the
lugs (3).
Removing the nozzle
N Rotate the nozzle (1) in the direction
of the arrow until the lugs (3) are
covered.
N Pull the nozzle (1) off the blower
tube (2).
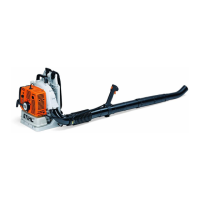
Adjusting the control handle
N Put the machine on your back and
adjust the harness – see "Fitting the
Harness".
N Move the control handle (1) along
the blower tube (2) to the most
comfortable position.
N Secure the control handle (1) with
the screw (3).

 Loading...