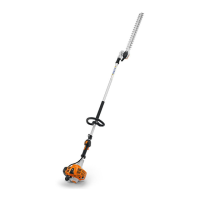
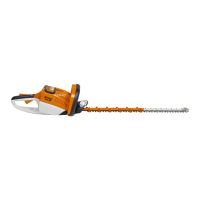
HL 100, HL 100 K
English
15
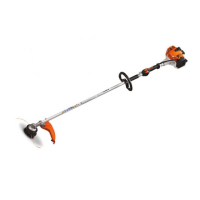
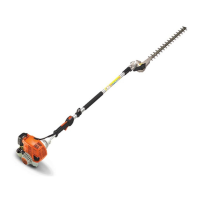
Mounting the Loop Handle
Necessary on versions with long drive
tube and 135° adjustable cutter bar (not
on HL 100 K).
N Place the clamp (1) in the loop
handle (2) and position them both
against the drive tube (5) between
the carrying ring (3) and handle
hose (4).
N Place the clamp (6) against the
drive tube.
N Line up the holes.
N Insert the screws (7) with
washers (8).
N Fit the square nuts (9) and screw
home the screws.
N Align the loop handle (2) and move
it to the most comfortable position.
Distance (A) must not be more than
21.6 in (55 cm) (recommended:
about 13.8 in (35 cm)).
N Tighten down the screws firmly.
Attachment
1)
may not be mounted to versions
with a short drive tube (HL 95 K,
HL 100 K)
2)
loop handle necessary on versions
with a long drive tube (HL 95,
HL 100)
3)
loop handle is necessary
Application
FCS
1) 2)
Edger
FH
1) 2)
Power scythe
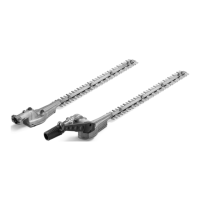
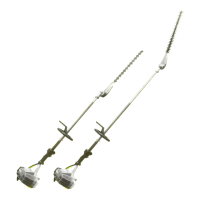
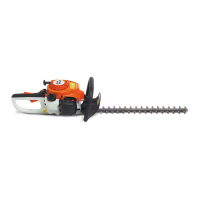
HL 0° Long reach hedge
trimmer
HL 135°
3)
Long reach hedge
trimmer
HT
1)
Pole pruners
BF
1) 2)
Pick tines
KB (4601)
1) 2)
Bristle brush
KW (4601)
1) 2)
PowerSweep
Assembling the Unit
 Loading...