HL 100, HL 100 K
English
19
N Fold the grip down so that it is flush
with the surface.
If the grip is not flush with the surface
and the lug on the clip does not engage
entirely in the recess (arrow), the cap is
not properly closed and the steps
described above must be repeated. See
also the "Toolless cap with grip" section
in the Safety Precautions.
Opening the threaded filler cap
N Turn the cap counterclockwise until
it can be removed from the tank
opening.
N Remove the filler cap.
Refueling
Take care not to spill fuel while fueling
and do not overfill the tank.
Closing the threaded filler cap
N Position cap.
N Turn the cap clockwise as far as it
will go and tighten it as securely as
possible by hand.
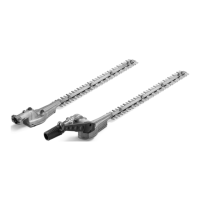
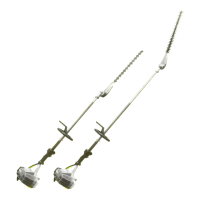
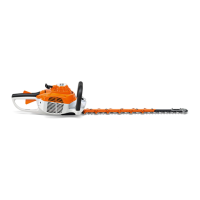
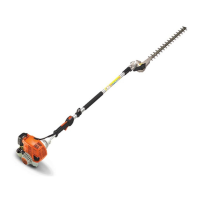
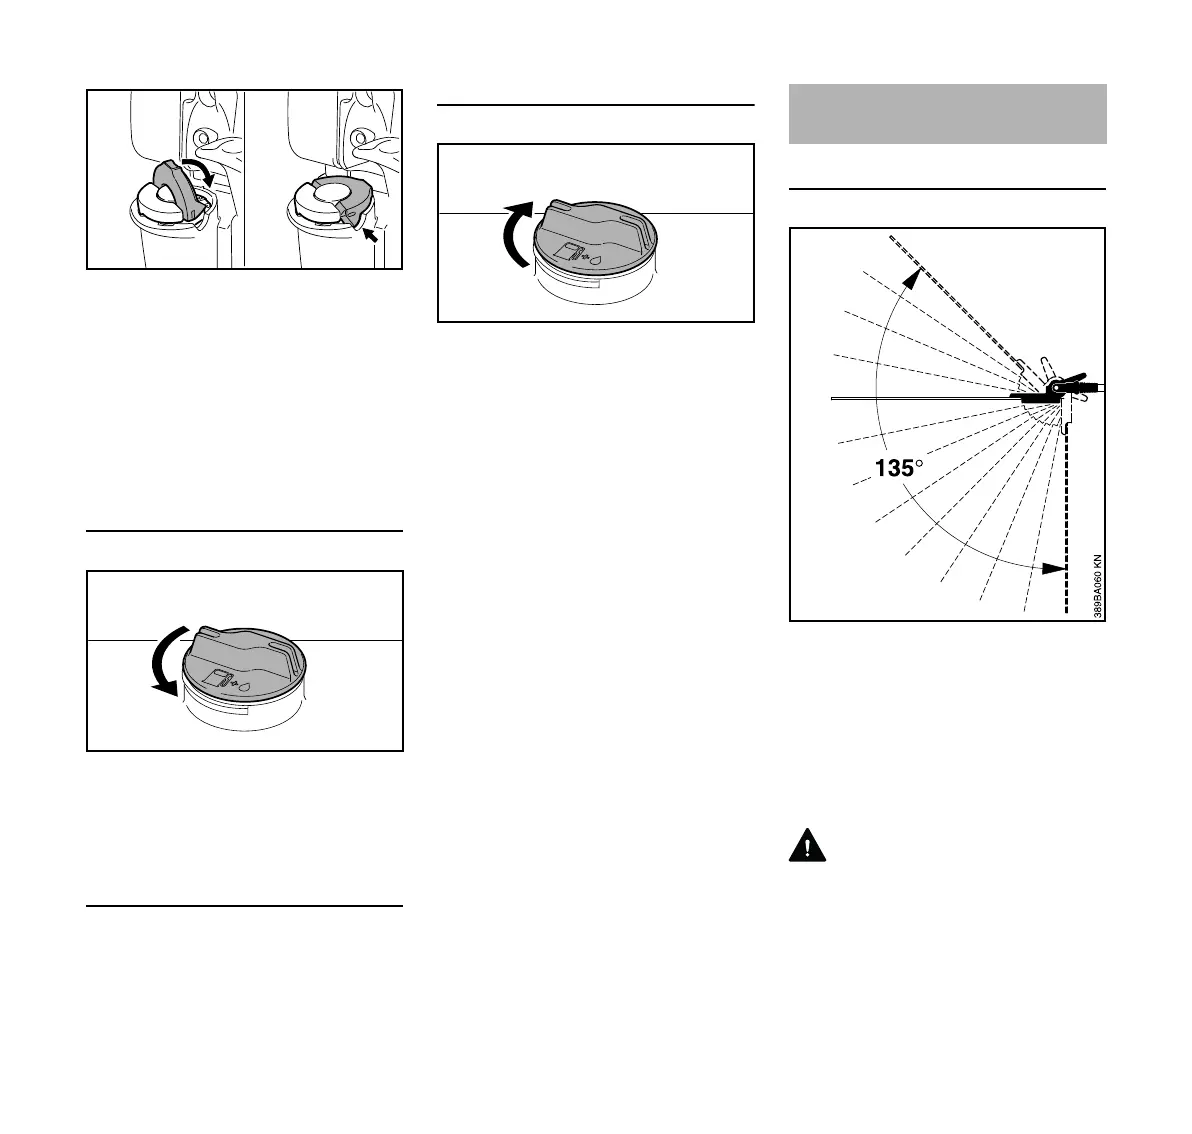
135° Version
The angle of th cutter bar can be
adjusted upwards in 4 stages from 0°
(straight) to 45°, and downwards in 8
stages from 0° to 90° (right angle facing
down). There are therefore 13 possible
working positions.
There is also a special transport position
for the cutter bar.
WARNING
To reduce the risk of injury, carry out the
adjustment only when the cutting blades
are at a standstill – engine at idle speed.
Adjusting the Cutter Bar
 Loading...