17HS 81 R, HS 81 T
English / USA
When engine begins to fire:
: Move the choke lever to e and
continue cranking.
As soon as engine runs
: Open the throttle wide, the starting
throttle button pops out and the
engine settles down to idle speed.
At very low outside temperatures –
warm up the engine
As soon as engine runs:
: Allow engine to run in starting
throttle position for about 10
seconds.
: Then open the throttle wide, the
starting throttle button pops out and
the engine settles down to idle
speed.
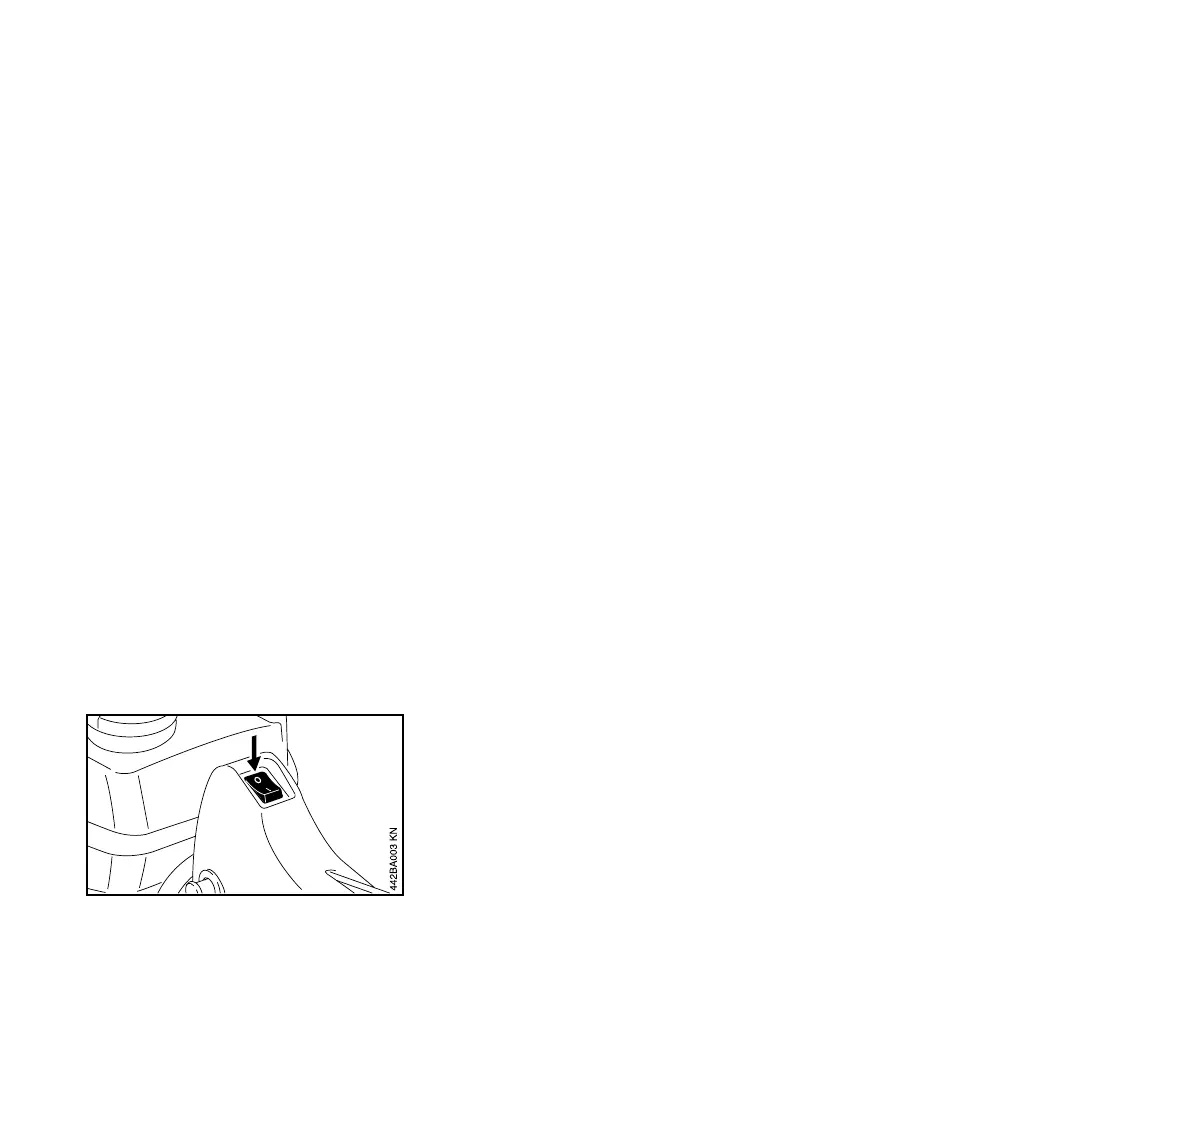
Stopping the engine
: Set the stop switch to 0.
If the engine doesn’t start
Fuel tank has been run dry and then
refueled
: Press the fuel pump bulb at least
fives times, even if it is already filled
with fuel.
: Now start the engine.
Engine is flooded
: If you did not move the choke lever
to e quickly enough after the
engine began to fire, the engine is
flooded.
: Set choke lever to e even if the
engine is cold.
: Now start the engine with a few
brisk pulls of the starter rope.
During break-in period
A factory new machine should not be run
at high revs (full throttle off load) for the
first three tank fillings. This avoids
unnecessary high loads during the
break-in period. As all moving parts
have to bed in during the break-in
period, the frictional resistances in the
engine are greater during this period.
The engine develops its maximum
power after about 5 to 15 tank fillings.
During operation
After a long period of full-throttle
operation, allow engine to run for a while
at idle speed so that the heat in the
engine can be dissipated by flow of
cooling air. This protects engine-
mounted components (ignition,
carburetor) from thermal overload.
After finishing work
Wait for engine to cool down. Drain the
fuel tank. Store the machine in a dry
place. Check tightness of nuts and
screws (not adjusting screws) at regular
intervals and retighten as necessary.
Operating Instructions

 Loading...