0478 111 9841 A - EN
20
Installing the cables:
● RM 448 PC, RM 448 TC:
Route motorstop cable (3) and self-
propulsion cable (4) into cable
guides (6) of the handlebar bracket and
handlebar.
RM 448 VC:
Route motorstop cable (3), self-
propulsion cable (4) and Vario drive
cable (5) into cable guides (6) of the
handlebar bracket and handlebar.
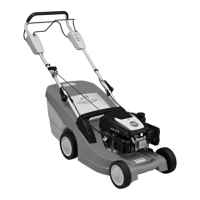
7.3 Installing the dual handlebar
(RM 443, RM 443 T, RM 448 PT,
RM 448 T, RM 448 TX)
● Fit protective sleeves (H) onto the two
lower handlebars (1).
● Insert bolt (F) through the bore in cable
guide (G).
● Fit upper handlebar (2) onto lower
handlebar sections (1).
● Left-hand side:
Attach cable guide (G) to
motorstop cable (3).
● Right-hand side (RM 443 T,
RM 448 PT, RM 448 T, RM 448 TX):
Attach cable guide (G) to self-
propulsion cable (4).
● Insert bolt (F) from the outside inwards
through the bores on both sides.
● Screw quick clamping devices (E) onto
bolts (F) (the screw should project by
about one screw thread turn) and fold
upwards.
● Check correct assembly:
Quick-clamping devices (E) must be
sufficiently tightened so that they are
pressed tightly against the handlebar
and the upper handlebar is firmly
connected to the lower handlebar.
If the handlebar is not firmly installed or
the quick-clamping devices are not
correctly located, open the quick-
clamping devices and turn them until
they are securely fastened.
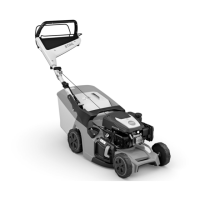
7.4 Assembling the grass
catcher box
● Fit the upper part of the grass
catcher box (B) onto the lower part of
the grass catcher box (C). Ensure
correct location in the guides.
● Push pin (D) through the bores
provided from inside.
● Allow the upper part of the grass
catcher box (B) to engage in the lower
part of the grass catcher box using
slight pressure.
● Attach the grass catcher box (Ö 8.3).
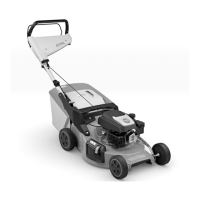
7.5 Attaching and detaching the
recoil starter rope
Attaching
● Detach the spark plug socket from the
engine.
● Press motorstop lever (1) to the
handlebar and hold.
● Slowly pull out recoil starter rope (2).
● Release motorstop lever (1) and attach
recoil starter rope (2) to rope guide (3).
● Connect the spark plug socket.
Detaching
● Detach the spark plug socket from the
engine.
● Detach recoil starter rope (2) from rope
guide (3).
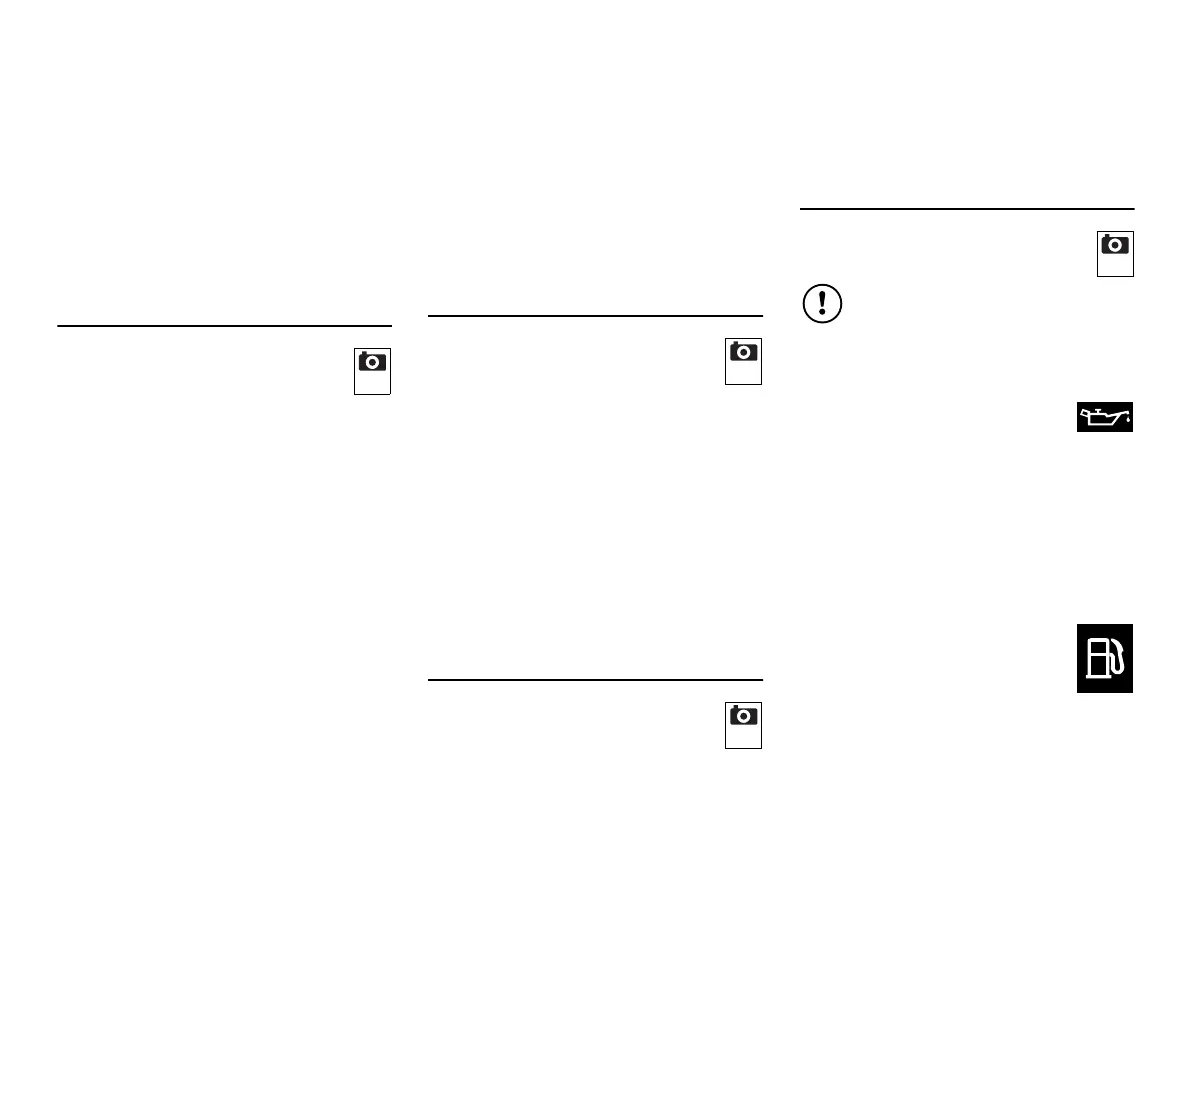
7.6 Fuel and engine oil
Engine oil:
Please consult the engine
instruction manual for the type of
engine oil to be used and the oil capacity.
Check the oil filling level at regular
intervals (see engine instruction manual).
Avoid exceeding or falling below the
correct oil level.
Screw on the oil tank cap properly before
operating the engine.
Fuel:
Recommendation:
Fresh good quality fuels,
unleaded petrol.
Please consult the engine instruction
manual for details on the fuel quality
(octane rating).
4
5
6
Avoid damage to the machine
Top up engine oil before starting for
the first time. Use a suitable filling
aid when topping up the engine oil
and when refuelling (e.g. funnel).
7
 Loading...