24
AUS
AFTER SALES SUPPORT
MODEL: STR-E15BGD PRODUCT CODE: 708548 10/2022
1300 112 534
tempo.org/support
Instructions (Cont.)
Dispensing hot water
You may also use the espresso machine to heat water, which you can add to an
espresso to create a long black coffee.
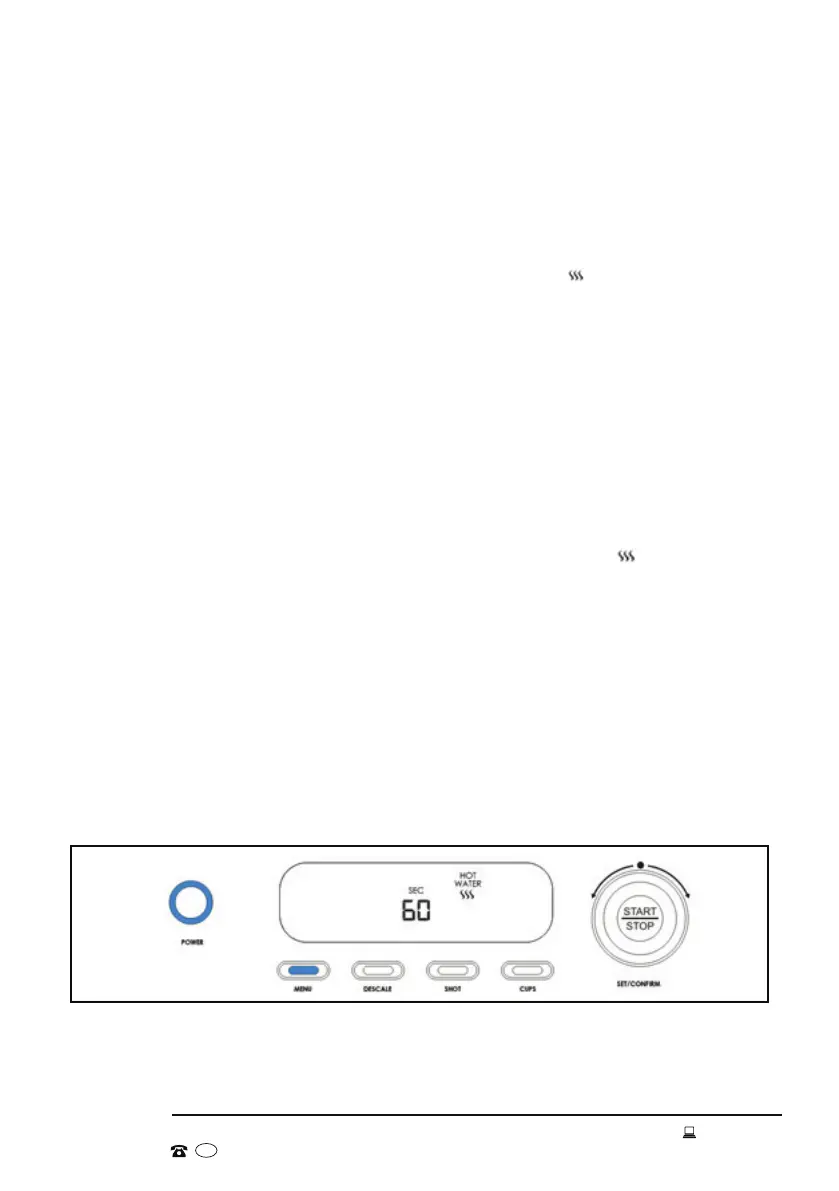
1. Preheat. Once the POWER button is illuminated (after the power has been
switched on), press the MENU button until the hot water [
] symbol is
visible (Fig. 16).
2. Dispense water. Press the START/STOP button to dispense hot water into
the cup. The automated timer will count down from 60 seconds, after which
time it will stop (see page 25 for information on how to alter this pre-set value
between 10 and 99 seconds).
3. Stop the water flow. Alternatively, when you have enough hot water in the
cup, press the START/STOP button. Wait a few seconds before removing the
cup, as some water may still be expelled from the dispenser.
TIP: To retain as much crema as possible, dispense hot water into the cup
first, then extract an espresso shot into the water.
8. Straight after texturing milk, wipe the steam wand with a damp cloth.
Take care to avoid getting burnt, the metal parts are very hot. Use the silicone
tab to swivel the wand back over the drip tray.
9. IMPORTANT! To avoid milk building up inside the steam wand, purge the
steam wand after every use. Make sure the steam wand is over the drip tray.
Press the START/STOP button while the steam icon [
] is fully illuminated.
Wait for a few seconds, before pressing the START/STOP button again.
10. Enjoy! Pour the hot milk into the cup containing the espresso and if you
wish, spoon some milk froth on top. Sprinkle with grated chocolate or
instant chocolate powder, if desired. Your cappuccino is now ready for your
enjoyment. Be careful when drinking it as it will be hot.
Fig. 16